Start by matching a smart lock to your UK door and hardware: check material, door thickness, backset (44/57mm), spindle alignment, and for uPVC multipoint confirm PZ spacing plus a TS007 3‑star euro cylinder. Choose a platform (Matter/HomeKit/Alexa) and a low‑power protocol like Thread or Z‑Wave for resilience over Wi‑Fi. Create unique 6–8 digit PINs, time‑bound guest codes, lockout rules, and audit logs, then enable tamper alerts and keep an emergency override plan. Next, you’ll see how to harden the hub, network, and failover testing.
Key Takeaways
- Define entry methods, offline needs, user count, and total costs for lock, keypad, hub, batteries, subscriptions, and installation.
- Confirm door material, thickness, latch/backset, spindle alignment, and cylinder/multipoint compatibility before buying any smart lock.
- Choose a smart home platform and protocol (Matter/Thread, Z‑Wave, Wi‑Fi, Bluetooth) that supports secure local control and reliable range.
- Install carefully: align escutcheons, ensure smooth bolt throw, weather-seal external parts, and cycle the lock repeatedly to confirm zero binding.
- Secure and manage access: segment networks, update firmware, enable MFA, avoid port forwarding, enforce strong PIN policies, and revoke lost credentials immediately.
Define Your Keyless Entry Needs and Budget
Before you buy any hardware, pin down exactly what you need your keyless entry system to do and what you’re willing to spend. Decide whether you want PINs, RFID fobs, smartphone BLE, or a mixed method, and whether entry must work offline during broadband outages. Set your access control goals: single door or multi-door, timed schedules, and audit trails for compliance or peace of mind. Define user management requirements: how many users, temporary codes for cleaners, revocation speed, and whether you’ll administer locally or via a UK-hosted cloud. Choose your security baseline (e.g., encrypted comms, tamper alerts, auto-lock). Budget for the lock, keypad, hub/bridge, batteries, and any monthly subscription, plus installer labour if required.
Check Your Door Type, Latch, and Lock Fit
Before you choose a keyless lock, you’ll need to identify your door material (timber, uPVC, composite, or metal) because it determines fixing points and hardware compatibility. You should then confirm the latch type and measure the backset (typically 44 mm or 57 mm in the UK) to verify the keypad unit and spindle line up correctly. If these basics don’t match your existing prep, you’ll need an alternative lock body or additional drilling before installation.
Identify Door Material
How do you know a keyless entry set will actually fit your door? Start by identifying the door material, because it dictates mounting method, fixings, and long-term stability. On a timber door, check for sound stiles and rails; soft or split wood won’t hold through-bolts. On uPVC, confirm you’ve got a reinforced core and a flat mounting area, as curved skins can stop the keypad sitting flush. On composite, locate the internal reinforcement plate before drilling to avoid cracking the outer skin. On aluminium, expect tighter tolerances and use anti-corrosion fixings. If it’s an external door, prioritise weather resistance: look for an IP-rated keypad, gasketed backplate, and seals that won’t wick water inside.
Confirm Latch And Backset
Once you’ve confirmed the door construction, measure the latch and backset so the keyless set aligns with the existing cut-outs and keeps the handle geometry correct. Remove the current latch and note its faceplate type (square or radius) and case depth. For latch alignment, check the latch centreline meets the strike plate aperture without binding; the bevel should face the closing direction. Take a backset measurement from the door edge to the centre of the spindle/follower—UK sets commonly suit 44mm or 57mm, while some multi-point handles differ. Verify the cross-bore diameter and edge-bore match the new latch. If your door has a euro cylinder or multipoint strip, confirm the lock case backset and PZ spacing before ordering. Tighten fixings, then test operation.
Pick Your Smart Home Platform (Matter/HomeKit/Alexa)
Next, you’ll need to choose a smart home platform—Matter, Apple HomeKit, or Amazon Alexa—because that decision governs which UK-available smart locks and hubs will pair cleanly and which features you’ll actually get. You should check whether your lock supports Matter over Thread/Wi‑Fi, HomeKit (often via Home Hub), or Alexa routines, and confirm any bridge requirements before you buy. You’ll also want to prioritise local control (on‑hub automations, offline access) and strong security (end‑to‑end encryption, robust account protection) to reduce cloud dependency and attack surface.
Matter Vs. HomeKit Vs. Alexa
Although most smart locks now advertise broad compatibility, your choice of platform—Matter, Apple HomeKit, or Amazon Alexa—sets the rules for how your keyless entry behaves day to day in a UK home. Matter prioritises local control over Thread/Wi‑Fi, so automations stay responsive even if your ISP drops. HomeKit leans into on-device processing and Apple Home hubs, giving tight privacy and consistent geofencing for arrival/unlock routines. Alexa focuses on voice-first control and broad routine logic, but you’ll depend more on cloud availability and account security.
- Choose Matter for resilient, vendor-neutral automations.
- Choose HomeKit for privacy and reliable presence triggers.
- Choose Alexa for voice-centric routines across rooms.
- Plan Smart lock installation and Battery management around your hub placement.
Compatibility With Smart Locks
Your platform choice only matters if the smart lock can actually pair to it in the UK without workarounds, so treat “compatible” as a checklist, not a badge. Check the lock’s radio: Thread/Matter, Bluetooth, Zigbee, or Wi‑Fi, and confirm it ships with the right hub for 230V UK plugs. Verify your door type too: night latch, mortice sash, multipoint uPVC, and whether you need a euro cylinder or rim cylinder. For HomeKit, confirm “Works with Apple Home” and UK-region availability; for Alexa, confirm the specific Skill and language support. Matter helps, but only if the lock is Matter-certified. Don’t ignore smart lock aesthetics (handle colour, escutcheon size) or battery life under frequent UK winter use.
Local Control And Security
Because keyless entry sits on the boundary between your home network and the physical security of the door, pick a platform based on how it behaves when the internet drops and how it handles credentials. For UK installs, prioritise local control, audited Wireless encryption, and robust user authentication. Matter over Thread can keep automations running via your border router, but confirm your lock supports offline PIN/NFC and local events. HomeKit’s Home Hub (Apple TV/HomePod) gives strong on-device key handling and end-to-end encryption, but you’ll rely on iCloud only for remote access. Alexa often defaults to cloud routines; you must check local-only behaviour and revoke unused skills.
- Local release works during ISP outages
- Credentials store on hub, not cloud
- Granular user roles and audit logs
- Secure onboarding and device attestation
Choose Connectivity for Locks (Wi‑Fi, Thread, Z‑Wave)
Before you buy a smart lock, choose the radio it’ll use to talk to the rest of your system, since that decision drives range, battery life, reliability, and whether it’ll work cleanly with UK hubs and door hardware. Your main Connectivity options are Wi‑Fi, Thread, and Z‑Wave, and each has different Wireless protocols trade-offs.
Wi‑Fi locks connect directly to your router, but they’ll drain batteries faster and depend on 2.4GHz coverage through brick walls common in UK homes. Thread (Matter-ready) forms a low-power mesh; you’ll need a Thread border router (HomePod mini, Nest Hub, or compatible hub) for remote access. Z‑Wave (UK 868.42MHz) offers long range and stable meshing via a hub, with less interference than crowded Wi‑Fi channels.
Choose a Smart Lock That Matches Your Door
Three measurements decide whether a smart lock will fit and function properly on a UK door: the lock type you already have (euro cylinder, night latch/rim, or multipoint uPVC/composite), the cylinder/backset and spindle dimensions, and the door’s thickness/handle set layout. Match the product to your existing mechanism to avoid misaligned cams, fouling handles, or failed latch throw. Prioritise TS007 3‑star cylinders or Sold Secure ratings where applicable, and check whether you need a double, thumbturn, or key‑override cylinder. Use these checks before you buy:
- Measure PZ and backset on multipoint locks.
- Confirm cylinder length and cam position.
- Verify clearance for escutcheons/roses—Smart lock aesthetics matter.
- Choose AA/CR123 options for Battery life optimization and cold weather.
Choose Entry Methods: PIN, NFC, Biometrics
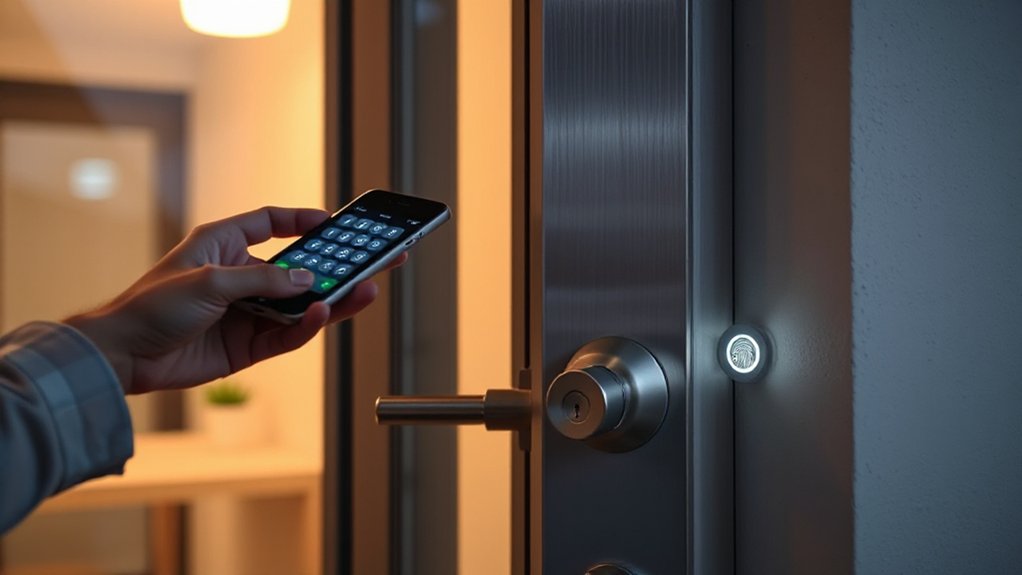
Once you’ve confirmed the lock will physically fit your door and cylinder, choose how you’ll actually authenticate at the doorstep—PIN keypad, NFC tag/phone, or biometrics—based on your security policy, household access patterns, and UK operating conditions.
Use PINs when you need shareable access: assign unique codes per user, enforce 6–8 digits, disable predictable sequences, and require lockout after failed attempts. Choose NFC technology for fast, tap-to-open entry; prefer encrypted credentials, support for phone secure elements, and the ability to revoke lost tags instantly. Pick biometrics for convenience, but treat Biometric sensors as a secondary factor or for low-friction entry; guarantee liveness detection and a fallback method for wet fingers, gloves, or winter conditions. Confirm the lock’s audit logs track each method consistently.
Set Up a Hub and Secure Remote Access
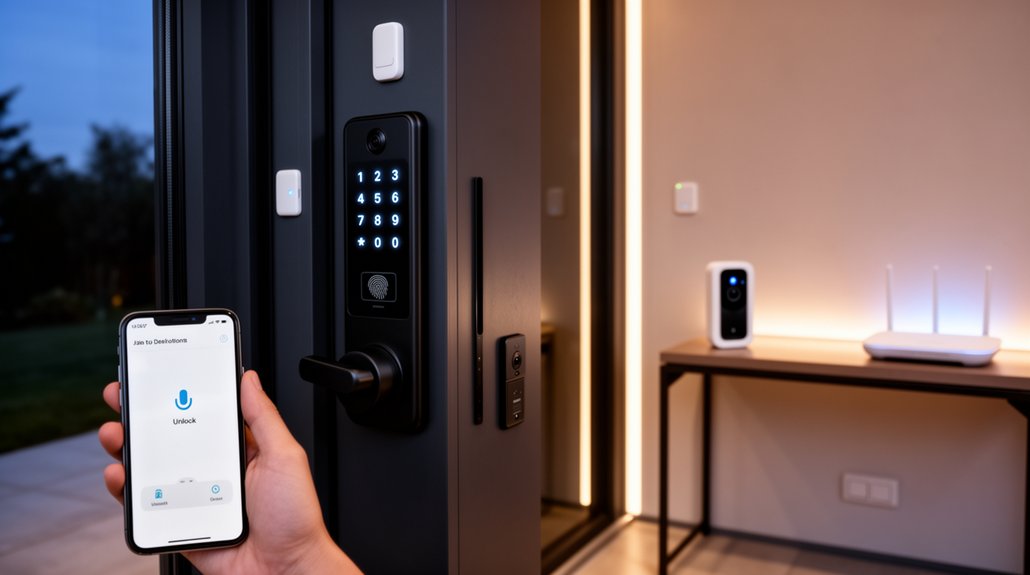
You’ll choose a smart hub that supports your lock’s protocol (e.g., Zigbee, Z-Wave, or Wi‑Fi), offers local control, and fits your UK connectivity and power-backup needs. Then you’ll harden both the hub and your home network by updating firmware, disabling unused services, enforcing strong admin credentials, and segmenting IoT devices onto a separate VLAN or guest SSID. Finally, you’ll configure secure remote access using encrypted channels (preferably a VPN or vendor-secured relay), MFA, and least-privilege user roles so you can manage entry safely when you’re off-site.
Choose A Smart Hub
A smart hub acts as the control plane for your keyless entry setup, brokering traffic between the lock, your network, and remote services. You’ll pick a hub that matches your lock’s protocol (Zigbee, Z-Wave, Thread, or Wi‑Fi) and fits UK availability and support.
- Protocol fit: Confirm your lock and any Smart sensor use the same radio, or that the hub bridges them cleanly.
- Local control: Prefer hubs that run automations on-box, so your door still works if cloud services wobble.
- Remote access: Choose a hub with first-party apps and audited integrations, avoiding brittle third-party relays.
- Ecosystem: Guarantee it links to your Voice assistant and exposes events to Home Assistant or Matter where possible.
Harden Network And Hub
Before you expose anything to the internet, lock down your home network and hub so the smart lock can’t become the weakest link in your security chain. Put your hub on a dedicated VLAN or guest SSID, separate from phones and laptops, and block inter-VLAN routing by default. Enable WPA3 where available; otherwise use WPA2-AES and disable WPS. Keep Network encryption consistent end-to-end by preferring Zigbee 3.0 or Z-Wave S2 devices and removing legacy join keys.
Harden the hub itself: change default admin usernames, enforce strong User authentication with unique passwords and, if supported, MFA. Turn off UPnP on the router, disable unused hub services, and restrict local management to a single wired device. Apply firmware updates promptly and review device join logs regularly.
Configure Secure Remote Access
How do you control your smart lock when you’re away from home without punching unsafe holes in your router? Use your hub’s secure cloud relay or a proper VPN, not ad-hoc port forwarding. In the UK, prioritise MFA, encrypted transport, and auditable access so you can unlock for deliveries without weakening your network.
- Pair the lock to a local hub (Matter/Thread, Zigbee, or Z-Wave) and enable end-to-end encryption where supported.
- Turn on Smartphone integration via the vendor app, then enforce MFA and per-device authorisation.
- Set up remote access through the hub service or WireGuard on your router; restrict to UK time zone alerts and IP allowlists.
- Add Voice control via Alexa/Google, but require a PIN for unlock and disable it on shared speakers.
Install the Smart Lock and Test Alignment
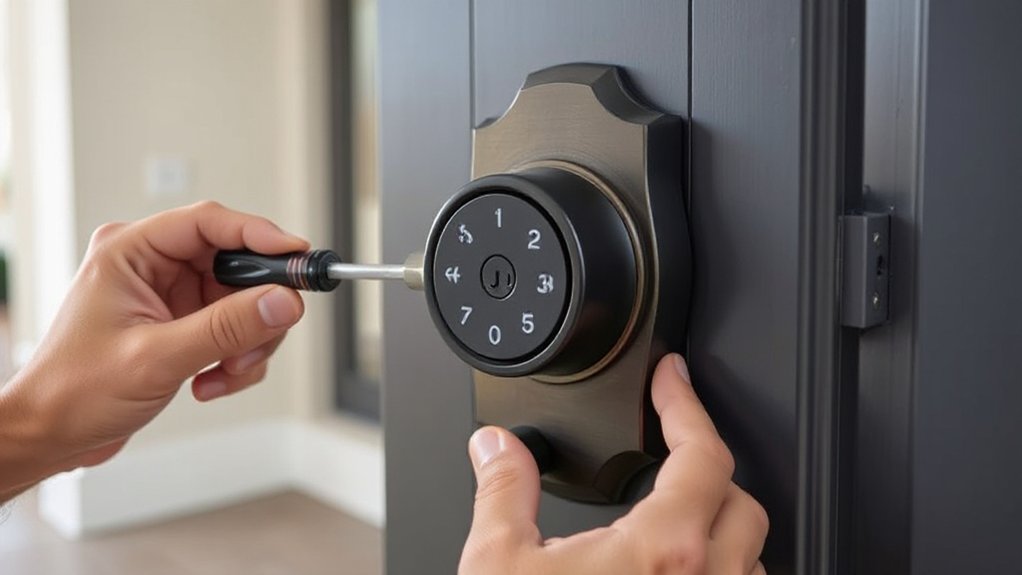
Once you’ve confirmed the door and frame sit true, mount the smart lock hardware to the manufacturer’s template and tighten fixings only finger-tight at first. Check the backset suits your existing UK mortice or rim setup, and verify the spindle runs square through the follower without binding. Keep Smart lock aesthetics in mind: centre the exterior escutcheon, align it to the handle line, and avoid pinching the gasket so it seals against rain.
Fit the strike/keep, then close the door and test bolt throw into the frame: it should land centrally with no scraping. If it drags, shim the keep or adjust the latch position before final torque. Cycle the lock 20 times, listen for strain, and confirm Battery life won’t suffer from a tight mechanism.
Create Codes, Users, and Guest Access Rules
After you’ve verified smooth bolt travel and alignment, open the lock’s app and build a clear access structure: create a primary admin account, add named users (family, staff, trades) with individual PINs or app keys, and set guest rules that match UK routines such as school runs, cleaners, and weekend lets. Apply Code management and User permissions so each identity maps to a purpose, not a shared code. Use unique PIN lengths your lock supports (often 6–8 digits), and disable keypad “always-on” if offered.
- Assign roles: admin, standard, temporary, visitor.
- Set PIN complexity and lockout thresholds after failed attempts.
- Name every credential (e.g., “Cleaner–Thu”) and log changes.
- Revoke access immediately after jobs, tenancies, or lost phones.
Automate Access With Schedules and Geofencing
Why rely on manual lock/unlock routines when schedules and geofencing can enforce access automatically and consistently? In your smart lock app, define time windows for each user: weekdays for the cleaner, evenings for family, and expiry rules for trades. Pair this with your phone’s location permissions so the door arms when you leave your street and disarms as you arrive, reducing missed locks without sharing codes.
Tune behaviour for UK use: set a conservative geofence radius (around 100–250 m) to avoid false triggers from dense terraces or nearby stations, and require Bluetooth proximity before unlock. Add Voice command integration via Alexa or Google only for in-home locking, not remote unlock. For Battery life management, limit frequent polling, disable always-on Wi‑Fi bridge if not needed, and schedule night-time auto-lock.
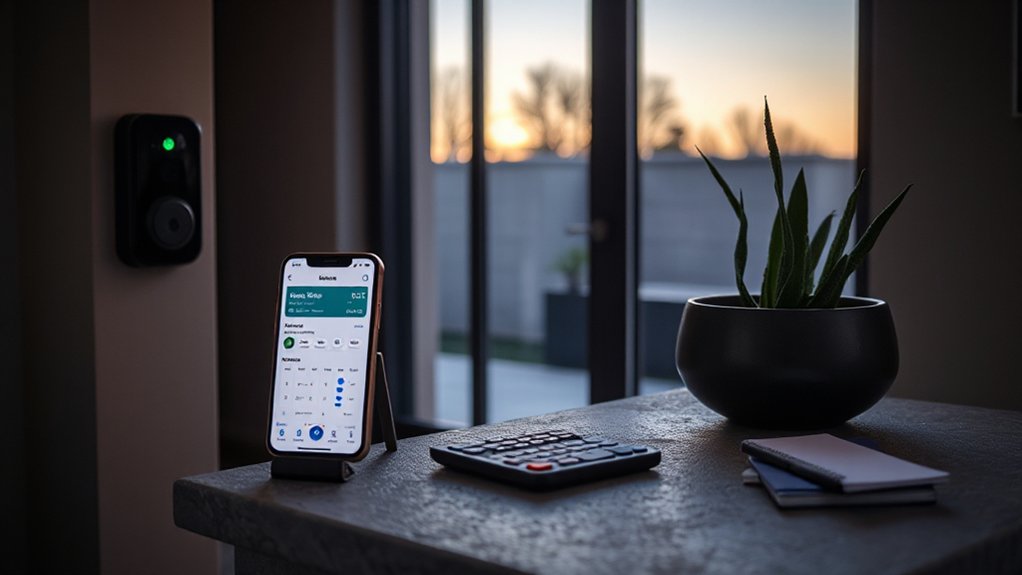
Turn On Alerts, Logs, and Tamper Notifications
Automation handles the routine locking and unlocking, but you still need visibility when something unexpected happens, so switch on alerts, activity logs, and tamper notifications in your smart lock app. Proper Access monitoring helps you verify who entered, when, and from which method (PIN, app, or fob), which is essential for UK multi-occupancy homes and short lets.
- Enable instant push alerts for unlocks, failed PIN attempts, and “door left ajar” events.
- Use alert customization to set quiet hours and different priorities for day vs night.
- Review audit logs weekly; export them if your platform supports CSV for recordkeeping.
- Turn on tamper detection for forced rotation, cover removal, or repeated keypad presses.
Route critical alerts to multiple phones, and confirm time zones and DST settings are correct.
Lock Down Security and Set Failure Backups
Even if your smart lock goes offline or the batteries die, you can still keep the door secure by hardening the account and configuring sensible fallback access. Enable MFA on the lock vendor account, use a unique password, and revoke old sessions after Smart lock installation. Lock firmware to auto-update, and restrict remote unlocking to your home geofence. In the UK, prioritise BS3621-rated cylinders where your lock uses a key override, and keep a sealed spare with a trusted neighbour. For Access code management, issue time-bound PINs, disable master codes, and set anti-guess lockouts. Store recovery keys in a password manager, not email. Finally, test failover monthly: battery low alerts, offline mode behaviour, and mechanical operation without Wi‑Fi.
Frequently Asked Questions
Will a Smart Lock Work During a Power Outage or Low Battery?
Yes, it’ll usually work: the lock runs on internal batteries, not mains, so a power cut won’t stop it. With low battery, use Battery backup or a key. Expect signal interference on remote control.
Can Renters Install Keyless Entry Without Replacing the Existing Deadbolt?
Yes—you can, without disturbing the landlord’s hardware. Choose a retrofit smart lock or internal turner that keeps the deadbolt. Check rental compatibility, seek written consent, and prioritise installation flexibility with non-destructive fitting, UK-standard cylinders.
How Do I Prevent Being Locked Out if My Phone Is Lost?
Set up Backup access: register a second trusted phone, issue temporary PINs, and store emergency keys in a UK-rated key safe. Keep your smart lock’s physical override cylinder, and record recovery codes offline securely.
Are Smart Locks Compliant With Fire Codes or HOA Regulations?
You can fit smart locks, but you must meet UK fire egress rules and your HOA/lease terms. Check access control requirements, lock compatibility with panic hardware, and request written approval from managing agents/building control.
What Maintenance Is Required for Long-Term Reliability in Humid Climates?
When you’re wiping condensation off the porch camera, you’ll keep locks reliable by scheduling quarterly seals checks, battery swaps, and firmware updates. Add humidity control, apply corrosion prevention spray, clean contacts, and inspect UK-rated gaskets.
Conclusion
You’ve now built a fully keyless entry setup that fits your door, your budget, and your chosen platform, whether that’s Matter, HomeKit, or Alexa. You’ve matched connectivity (Thread, Wi‑Fi, or Z‑Wave), issued user codes, and tightened guest rules. You’ve also automated schedules and geofencing, then enabled logs, alerts, and tamper events. With UK police data showing many burglaries still involve forced entry, you’ll prioritise backups: physical key, PIN, and battery failover.