
In many rural areas, up to 60% of older barns are underused or fully redundant, yet a large share can’t be converted without major intervention. You’ll need to verify structure first, then map planning risk and Building Regs constraints before you sketch a layout. You’ll balance airtight insulation with moisture control, and you’ll plan daylight openings without weakening frames. Get those early calls wrong and costs spike fast—so start with the one survey that decides everything.
Key Takeaways
- Confirm permitted residential use, access, utilities, flood risk, ecology, and heritage status before spending on design or surveys.
- Commission measured, structural, and timber-condition surveys to understand stability, decay, moisture, and repair requirements.
- Build a package-based budget with 10–20% contingency, validate quotes against specifications, and order long-lead items early.
- Plan layout around existing bay geometry and headroom, stacking wet rooms and routing services discreetly to protect historic structure.
- Use a moisture-first envelope strategy: breathable insulation, intelligent membranes, and robust drainage, while optimizing daylight with well-placed glazing.
Can Your Barn Conversion Work (and What Will Stop It)?
Before you fall in love with the idea of a sleek barn-to-home conversion, you need to confirm the building can legally and physically take the upgrade. Start with zoning, permitted use, and whether residential conversion is allowed, especially in agricultural or conservation areas. Check access requirements: driveway width, turning radius for emergency vehicles, and a compliant address. Verify utilities: capacity for electric service, water source approval, wastewater solution, and broadband options. Watch for deal-breakers like flood zones, protected habitats, contaminated soils, or restrictive covenants. Confirm you can meet energy and fire-safety codes without wrecking the character. If constraints tighten, pivot your Interior decor toward reversible elements and aim landscaping ideas at drainage, screening, and outdoor living that don’t trigger extra approvals.
Structural Surveys to Get Before Design or Planning
Once zoning, access, and utilities look workable, lock down the building’s real condition with targeted structural surveys so your architect isn’t designing on guesswork. Start with a measured building survey and 3D scan to capture lean, twist, and out-of-square bays—common in timber frames. Commission a structural engineer’s appraisal: foundation type, wall plumb, truss thrust, and point loads from new mezzanines. Order timber decay and insect testing (moisture mapping, resistograph cores) and a roof survey for spread, slipped purlins, and corrosion at fixings. If masonry’s involved, run crack monitoring and mortar analysis to avoid incompatible repairs. Where there’s Historical significance, add a fabric and condition assessment so interventions stay reversible while improving Structural integrity.
Planning Permission and Building Regs for Barn Conversions
Although barn conversions feel design-led, planning permission and Building Regulations dictate what you can legally change, how you’ll detail it, and how much it’ll cost. Start by checking whether you qualify for Class Q (if in England) or if full planning is required; councils often limit new openings, cladding changes, and curtilage in sensitive countryside. If the barn is listed or in a conservation area, expect heritage restrictions: you’ll need listed building consent, and you may have to retain fabric, openings, and rooflines. Confirm zoning regulations, access, biodiversity net gain triggers, and flood risk constraints early. Building Regs then drive compliance: structure (Part A), fire safety (Part B), moisture (Part C), ventilation (Part F), drainage (Part H), energy performance (Part L), and electrics (Part P).
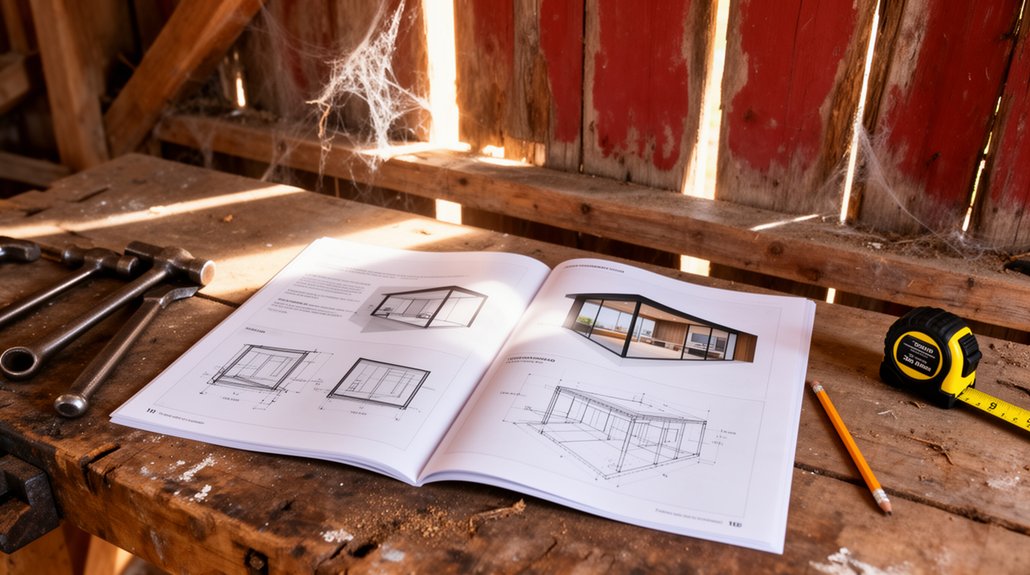
Plan a Barn Conversion Layout: Levels, Flow, Services
When you map the layout early, you lock in the conversion’s structural moves, circulation logic, and MEP strategy in one coordinated plan. Start by surveying existing slab levels, thresholds, and bay spacing, then decide where you’ll introduce split levels, mezzanines, or a continuous floor to manage headroom and views.
Set a clear circulation spine from entry to living zones, and keep wet rooms stacked to shorten drainage runs and simplify venting. Route services through discreet risers, ceiling voids, or floor zones so you don’t compromise trusses or heritage fabric. Plan Interior lighting alongside daylight: align pendants, track, and wall washers with sightlines and task areas. Validate furniture placement with scaled drawings, ensuring door swings, clearances, and power/data points land exactly where you’ll use them daily.
Insulate a Barn Conversion Without Damp or Rot
Before you insulate, you’ll run a moisture risk assessment so you know where rain ingress, rising damp, and interstitial condensation could bite. You’ll then specify a breathable insulation build-up—think wood fibre, hemp, or mineral wool with intelligent membranes—so the structure can dry in both directions instead of trapping water. Finally, you’ll lock in long-term performance with airtight-but-ventilated detailing, plus drainage basics like perimeter falls, land drains, and ventilated voids where required.
Moisture Risk Assessment
How do you insulate a barn conversion without trapping moisture that later turns into mold, rot, or frost damage? You start with a moisture risk assessment, not product hype. Map where water arrives: wind-driven rain at cladding, capillary rise at plinths, leaks at valleys and flashings, and vapor from kitchens and showers. Then measure, don’t guess: log indoor RH/temperature, spot-check timber moisture content, and scan cold bridges with IR on a cold morning. Identify drying paths and decide where moisture barriers belong; misplaced layers can push dew point into beams. Prioritize damp prevention: repair gutters, add perimeter drainage, break capillary paths, and detail window/door junctions. Finally, set targets for ventilation rates and airtightness so the assembly stays within safe moisture loads year-round.
Breathable Insulation Systems
Where do you want the drying to happen—outward through the wall, inward to the room, or both? Your answer drives breathable insulation design, because barns store moisture in timber, masonry, and old lime mortars. Aim for assemblies that buffer vapor, limit liquid water, and still hit modern climate control targets without trapping humidity.
- Choose vapor-open insulation: wood fiber, hemp, cellulose, or mineral wool; pair with smart membranes so permeability shifts seasonally.
- Prioritize capillary-active layers against masonry, using lime-based plasters or boards that redistribute moisture instead of isolating it.
- Tune material selection to hygrothermal modeling: check dew-point risk, drying potential, and thermal bridges at posts, girts, and lintels.
Skip foil-faced boards unless you can prove drying paths remain resilient.
Ventilation And Drainage Details
Even with a vapor-smart insulation stack, you’ll still lose the battle against damp if bulk water and stale air don’t have controlled exit routes. Start outside: regrade to fall away from walls, add gutters with oversize downpipes, and run discharge to a soakaway or swale—simple drainage solutions that cut splashback and capillary rise. Keep a capillary break under any new slab, and detail a perimeter drain where ground levels can’t drop.
Inside, design intentional air circulation. Use a continuous air barrier, then ventilate the roof void with eaves-to-ridge paths or a ventilated over-roof. Add MVHR if you’re tightening the envelope, and include boost extract in wet rooms. Leave inspection points so you can spot leaks early.
Add Daylight to a Barn Conversion (Windows, Doors, Rooflights)
Because most barns were built for ventilation and storage rather than comfortable living, you’ll need a deliberate daylight strategy that balances dramatic openings with thermal performance and planning constraints. Start by mapping solar path and views, then use window placement to pull natural light deep into the plan without overheating. Retain existing apertures where possible, enlarging only where structure allows and proportions stay agricultural.
- Specify slim-profile, thermally broken frames and low‑E glazing; add external shading on south/west elevations to cut glare.
- Use full-height glazed doors to link yard and kitchen; include flush thresholds and robust seals for wind-driven rain.
- Add rooflights sparingly between rafters; choose conservation-style, recessed units and integrate blackout blinds for bedrooms.
Aim for layered light: side light, top light, and borrowed light through internal glazing.
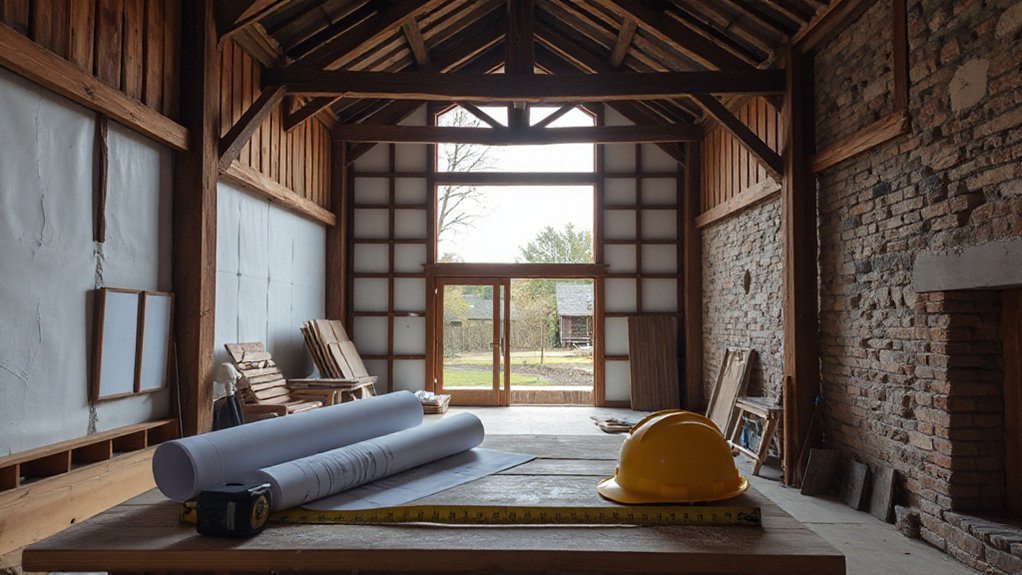
Barn Conversion Costs, Timeline, and Hiring the Right Team
How much will your barn conversion really cost, how long will it take, and who should you trust to deliver it? Start with a measured survey, structural engineer’s report, and services capacity check, then build cost estimates around fabric repair, insulation strategy, glazing, MEP, and contingencies (10–20%). Include heritage conditions, bat surveys, and access upgrades—they swing budgets fast. Track cashflow by work packages, not vague totals, and stress-test quotes against a specification.
Set a realistic timeline: planning and approvals 8–20 weeks, design and procurement 6–12, construction 16–40, plus commissioning. Reduce risk by locking long-lead items early (heat pumps, bespoke glazing). For team selection, hire an architect experienced in rural conversions, a builder with proven envelope detailing, and a clerk-of-works for quality control.
Frequently Asked Questions
How Do I Insure a Barn Conversion During Construction and After Completion?
Get builder’s risk Insurance coverage during construction after a risk assessment, plus public liability and contractor’s all-risk. After completion, switch to specialist home Insurance coverage, update rebuild values, certify works, and add contents, fire, and flood protection.
Can I Finance a Barn Conversion With a Mortgage or Specialist Loan?
Yes, you can—if the lender likes what’s next. You’ll use a mortgage, self-build, or specialist renovation loan; meet renovation loan requirements on plans, surveys, costs. Consider Alternative funding options if you’re short.
What Address, Council Tax Band, and Utilities Accounts Will the New Home Need?
You’ll need a registered postal address from the local authority, a new council tax band after property valuation, and separate gas/electric/water/broadband accounts. Secure planning permissions, then notify Royal Mail, VOA, and utility providers for new meters.
How Do I Handle Bats, Owls, or Nesting Birds Found in the Barn?
Stop work and commission a licensed ecologist survey; you can’t disturb protected roosts or nests. Implement Wildlife mitigation: seasonal timing, bat boxes, owl lofts. Use Bird exclusion netting/screens post-fledging, document compliance, notify regulators.
What Ongoing Maintenance Does Timber Cladding, Stonework, and Roofing Require?
You’ll inspect timber cladding yearly, recoat stains/oils every 3–5 years, and follow Cleaning schedules to prevent algae. You’ll repoint stonework as joints fail. You’ll check roofing biannually, clear gutters, and apply Weatherproofing tips.
Conclusion
If you’ve confirmed the structure, permissions, and moisture strategy, you’re ready to turn a redundant barn into a high-performance home without losing its DNA. Keep services logical, detailing airtight, and insulation vapour-aware, so you don’t trap moisture where timber and masonry can’t dry. Prioritise daylight early—openings drive layout, comfort, and energy use. *Importantly*, buildings account for roughly 39% of global energy-related CO₂ emissions, so your upgrade choices genuinely matter.


