
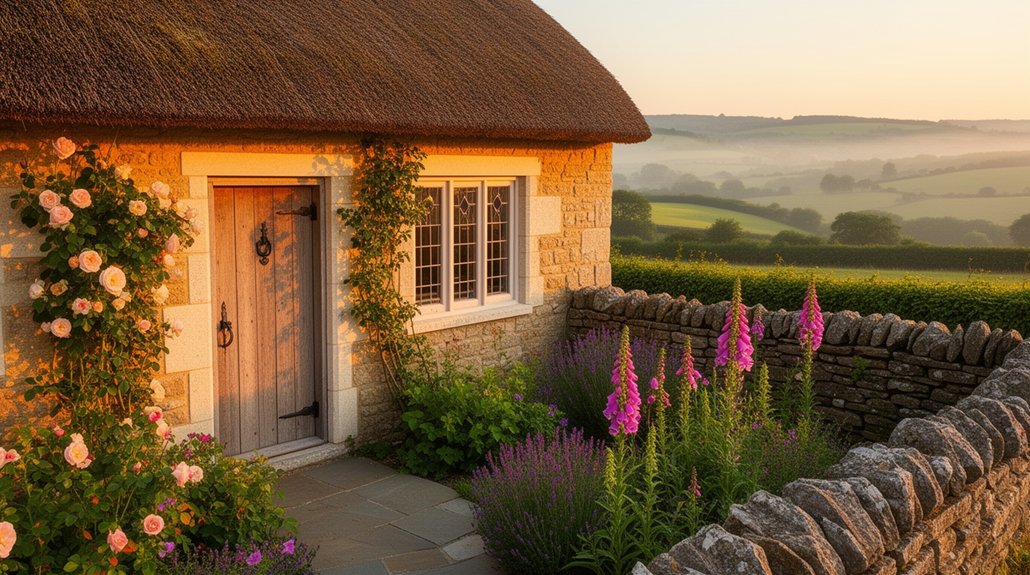
You can’t restore a rural character Devon cottage well until you know what you’ve actually got, so you start with a proper survey and check what consents apply. Then you treat damp as a building physics problem, not a cosmetic one: sort drainage, gutters, and ventilation before you touch finishes. You’ll repoint stone with lime, repair lime plaster, and keep everything breathable. After that, the real choices begin—because comfort upgrades can either disappear quietly or announce themselves.
Key Takeaways
- Commission a heritage-focused survey covering structure, moisture, roof, chimneys, and historic fabric, with a phased repair plan and costed defect schedule.
- Confirm listing status, Conservation Area rules, and Permitted Development rights, and secure Listed Building Consent before altering fabric, openings, or layouts.
- Fix water ingress first: repair gutters, downpipes, drains, and ground levels, and route discharge to soakaways away from foundations.
- Restore breathability by removing cement, gypsum, and vinyl, then repoint and plaster using matched lime mortars and limewash or silicate finishes.
- Upgrade comfort discreetly with breathable insulation, zoned low-temperature heating, and improved ventilation, while repairing original floors, roof coverings, and joinery.
Start With a Cottage Survey (and Consents)
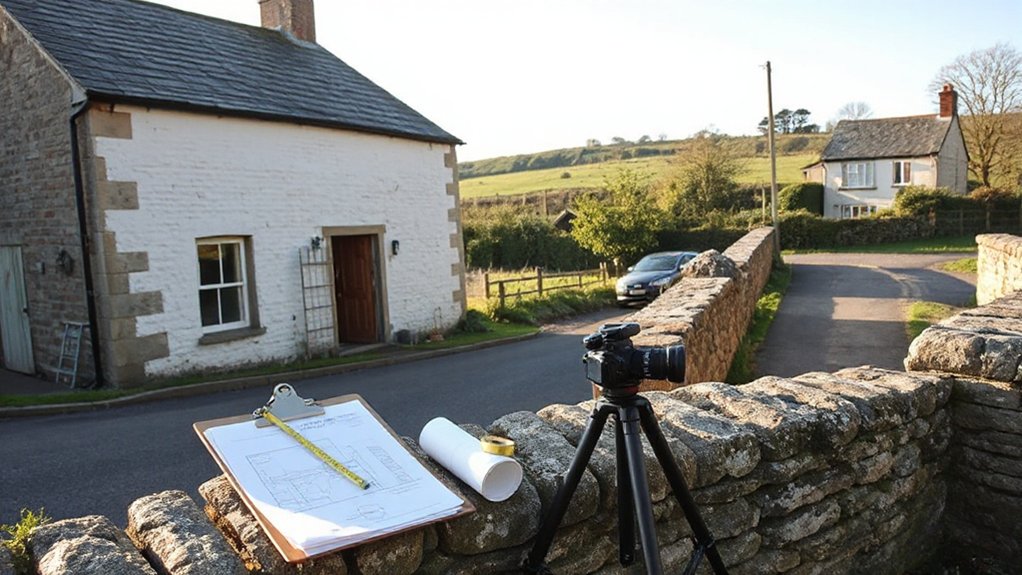
Before you lift a floorboard or strip back plaster, commission a proper cottage survey that goes beyond a standard homebuyer report and maps the building’s structure, moisture pathways, roof condition, and any historic fabric worth preserving. Ask for a room-by-room schedule of defects, annotated photos, and a phased repair plan that prioritises conservation over replacement. Confirm wall build-ups, timber species, chimney integrity, and any structural movement, then cost it with a heritage-aware builder. Check listing status, Conservation Area constraints, and whether Permitted Development still applies; you’ll often need Listed Building Consent for windows, fireplaces, and internal alterations. Align early with your designer so details feel intentional. Extend the survey scope to outbuildings, boundaries, and levels so Cottage landscaping and garden restoration respect historic setting and access.
Tackle Damp First: Drainage, Gutters, Ventilation
If you don’t control moisture at the edges of the building, every cosmetic upgrade inside will fail. Start with Damp prevention outdoors: check ground levels so soil doesn’t bridge the DPC, clear splashback zones, and add discreet gravel trenches where runoff pools. Verify drains flow freely; CCTV them if you suspect collapse or silted bends. Fix gutters and downpipes before anything else—reset falls, replace cracked joints, and extend discharge away from footings into a soakaway, not the wall base.
Inside, balance warmth with Ventilation strategies. Unblock chimneys or fit ventilated caps, keep air bricks clear, and specify humidistat extractor fans in kitchen and bath. Don’t seal the cottage up; you’ll trap moisture and drive mould.
Repoint Stonework With Lime (Not Cement)
Once you’ve got rainwater and internal humidity under control, the next weak link is often the pointing, because hard, impermeable cement traps residual moisture in the wall and forces it to evaporate through the stone faces instead. Rake out cement carefully with hand tools to avoid bruising arrises, then clean joints to sound depth. Specify Lime repointing with a compatible lime mortar (often NHL 2 or hot-mixed) matched to the original aggregate, colour, and joint profile. Keep joints slightly recessed and well compacted, so the stone stays visually crisp and the wall can breathe. Work in cool, damp conditions, mist as needed, and protect from sun, frost, and wind while curing. Done well, traditional craftsmanship stabilises masonry and restores the cottage’s texture.
Repair Lime Plaster and Breathable Wall Finishes
Although sound pointing keeps most weather out, your Devon cottage will still struggle if the internal plaster and finishes can’t manage moisture. Strip back impervious gypsum, cement skim, or vinyl paint that traps salts and drives damp to the surface. Patch with like-for-like Lime plastering: rake out loose areas, dampen the masonry, then rebuild in breathable coats—scratch, float, and a fine finish—keying each layer and allowing slow carbonation. Use hair-reinforced base coats where movement’s expected, and finish corners with timber beads rather than metal. Keep detailing crisp: reveal edges, deep window returns, and gentle undulations that suit rural walls. Complete the system with Breathable finishes such as limewash or silicate paint, tinted to soft Devon tones and applied thinly.
Sort Floors: Joists, Sagging, and Stone Flags
Because floors sit at the junction of ground moisture, structural movement, and day-to-day wear, you need to treat them as both an engineering problem and a design feature. Start by mapping levels with a laser, then lift a few boards or flags to inspect bearing ends, sleeper walls, and ventilation paths. If you find bounce or twist, specify joist reinforcement with sistered timbers, steel flitch plates, or discreet resin anchors, keeping interventions reversible where possible. Correct sagging by packing on solid supports, not soft wedges, and re-level only as much as the cottage’s character allows. For stone flag restoration, tag and lift each slab, clean salts, reset on a lime-based bed, and finish joints with breathable mortar. Seal nothing; let moisture move safely.
Fix Roofs, Chimneys, and Thatch Details
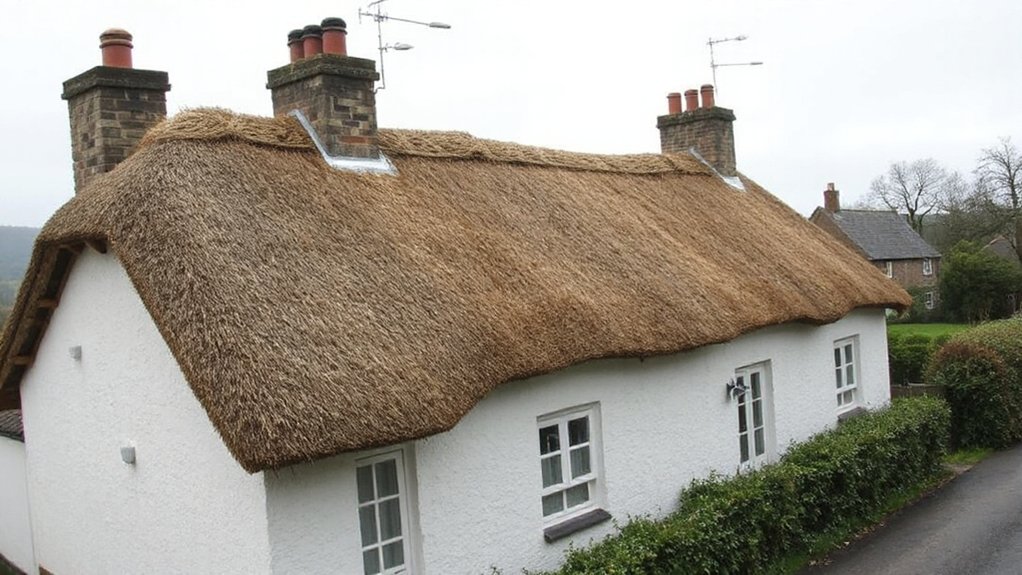
When you tackle the roofline, treat it as a weathering system—not a cosmetic layer—and start by tracing how water leaves the building from ridge to eaves. Check ridges, valleys, and leadwork for splits, then confirm gutters and drip edges throw water clear of walls. Replace failed battens, re-fix loose tiles or slates, and match existing fixings to avoid point loading.
For thatch maintenance, inspect the coat for thin spots, algae, and bird damage; you’ll re-dress and spar, then renew the ridge before you patch broad areas. Keep eaves crisp so runoff doesn’t soak the wall head. With Chimney restoration, rake out soft mortar, repoint in lime, reset loose pots, and add discreet lead soakers to stop leaks without trapping moisture.
Improve Windows and Doors: Repair Before Replace
Start with the joinery you’ve already got: original Devon cottage windows and doors often outlast modern replacements if you stop moisture at the source and repair the timber properly. Strip back failing paint, clear clogged drip grooves, and keep sills shedding water; then splice in matching softwood where rot’s local, using scarf joints and epoxy only where needed. For window repair, re-bed loose panes, replace cracked putty with linseed putty, and ease sticking sashes by correcting swollen meeting rails rather than planing character away. Upgrade discreetly: fit brush seals, refurbished ironmongery, and slimline security bolts that don’t shout. For door restoration, tighten joints, square the frame, and add a traditional threshold and weather bar to cut draughts without changing proportions.
Insulate the Breathable Way (Loft, Walls, Floors)
Although a Devon cottage needs better thermal performance, you’ll keep its fabric healthier if you insulate in ways that still let moisture move and evaporate. Start in the loft: lay Breathable insulation (wood fibre, sheep’s wool, or cellulose) between joists, add a cross-layer to cut thermal bridging, and keep eaves clear so airflow isn’t choked. At walls, avoid cementitious linings; choose lime plaster over wood-fibre boards or hemp-lime where appropriate, and detail junctions tightly to prevent drafts while staying vapour-open. For floors, lift boards carefully, fit netted insulation between joists, and reinstate an air gap above the ground with clear subfloor vents. Pair upgrades with Natural ventilation paths—trickle routes, vents, and unblocked chimneys—so damp can’t accumulate.
Choose Heating That Suits a Devon Cottage
Once you’ve insulated the breathable way, you need heating that respects your Devon cottage’s fabric while still delivering steady, controllable warmth. You’ll get the best results by prioritising heritage-friendly options—such as carefully specified woodburners, discreet column radiators on low-temperature circuits, or zoning that keeps rooms comfortable without overheating the whole house. You can balance efficiency and comfort by matching the system to your cottage’s room sizes, heat-loss profile, and day-to-day patterns, then fine-tuning controls for gentle, even heat.
Heritage-Friendly Heating Options
Where do you begin when you need modern comfort without undermining a Devon cottage’s historic fabric? Start by prioritising low-impact systems that respect original floors, beams, and chimney breasts. If you can lift flags or boards during repairs, consider underfloor heating with thin-profile panels so you don’t raise thresholds or bury skirtings. Pair it with breathable build-ups to protect timber and lime-based substrates.
For hot water, solar thermal can sit discreetly on a rear roof slope or outbuilding, reducing demand without altering interiors. If you keep a fireplace, choose a stove sized to the room and route the flue through existing chimney lines. Specify reversible fixings, concealed pipe runs, and minimal boxing so the cottage’s proportions stay legible and authentic.
Balancing Efficiency And Comfort
Low-impact heating only pays off if it matches how a Devon cottage actually holds heat: thick stone walls that buffer temperature, small rooms that warm quickly, and plenty of draught paths around old joinery. Start by zoning: you’ll get better comfort from room-by-room control than from oversized whole-house systems. Pair a modest air-source heat pump with low-temperature emitters where floors allow, but keep radiators in tighter rooms to avoid disruptive floor build-ups. Improve airtightness surgically—brush seals, chimney balloons, and secondary glazing—so Historic preservation stays intact. Your Material selection matters: lime plaster and breathable insulation manage moisture, letting walls perform without trapping damp. Finally, tune setpoints and schedules; steady, lower heat beats short blasts in stone buildings.
Update Electrics and Plumbing Without Damage
Although a Devon cottage’s thick stone walls and irregular timber framing can make modern services feel intrusive, you can upgrade electrics and plumbing without scarring the fabric if you plan the routes as carefully as the finishes. Begin with a survey that maps joists, hearths, and historic plaster so you only open up where it’ll be concealed and reversible. Prioritise Electrical upgrades and plumbing rerouting that respect original lines and avoid chasing stone.
- Use surface-mounted conduit in cupboards, skirtings, or behind joinery for clean, serviceable runs.
- Thread cables through floor voids and ceiling zones, then drop to sockets in studded linings.
- Reroute water with slim multilayer pipework through secondary spaces, boxing neatly for access.
- Consolidate valves, manifolds, and consumer units in one discreet service hub.
Avoid Common Cottage Mistakes (Modern Sealants, Shortcuts)
You’ll undo a Devon cottage’s breathability fast if you reach for modern silicone sealants or cement-rich fillers that trap moisture and force decay into timber and stone. Specify lime-based mortars, breathable paints, and proper flashing details instead of quick beads and patches that only hide movement. If a fix feels like a shortcut, it probably is—take the time to repair the fabric correctly so the finishes stay crisp and the character reads authentic.
Avoid Modern Sealants
Where do well-meaning Devon cottage repairs so often go wrong? You reach for modern sealants that promise a quick fix, then trap moisture in solid stone and lime joints. Instead of letting the building breathe, you create hard, impermeable skins that force damp to migrate, blister paint, and salt-spall faces. Avoid Synthetic adhesives and plastic finishes; they don’t move or vapour-permeate like traditional materials, and they telegraph as shiny, flat patches against aged texture.
Choose breathable, compatible details instead:
- Specify lime mortar over cementitious sealants at joints.
- Use vapour-open limewash, not acrylic masonry paint.
- Keep perimeter pointing slightly recessed to shed water.
- Repair timber with breathable oils, not silicone caulk.
Reject Restoration Shortcuts
Because old Devon cottages behave like systems rather than surfaces, restoration shortcuts rarely stay hidden for long: hard cement pointing, “quick-dry” plasters, injected damp-proof creams, and patch repairs done for speed all disrupt breathability and movement, then push moisture and stress into the surrounding stone and timber. You’ll see salts bloom, skirtings rot, and hairline cracks widen season after season. Specify lime mortar matched to aggregate, breathable plaster, and repairs that continue through to sound material. Don’t chase a perfect flat wall; accept gentle undulation and let detailing do the work. When you plan Historic landscaping, avoid plastic membranes that trap runoff against foundations; use falls, drains, and permeable finishes. Inside, Traditional furniture sits best against stable, dry surfaces—achieved by patience, not “miracle” products.
Frequently Asked Questions
How Do I Balance Restoration With Adding a Modern Kitchen Extension?
Balance restoration and a kitchen extension by retaining key historic elements, matching proportions, and keeping new work clearly contemporary. Use modern design with sympathetic materials, discreet glazing, and reversible details, so you won’t damage original fabric.
What Grants or Tax Relief Exist for Restoring Devon Heritage Cottages?
You can access heritage conservation grants via Historic England, National Lottery Heritage Fund, and local council schemes; confirm grant eligibility through listing status and repair scope. You may claim VAT relief on approved alterations; ask your conservation officer.
How Can I Source Reclaimed Stone and Salvage Materials Locally in Devon?
Start with local salvage yards across Devon, then contact stonemasons for vetted reclaimed stone sources. You’ll also find listings via SalvoWEB, FB Marketplace, and demolition firms. Inspect for frost damage, matching patina, and provenance.
Will Restoration Work Affect My Home Insurance and Rebuild Valuation?
Like shifting foundations, yes—restoration will affect your cover. Tell your insurer before work; Insurance implications can include exclusions or premium shifts. Update your Rebuild valuation for materials and labour, and document specs to avoid underinsurance.
How Long Does a Typical Devon Cottage Restoration Project Usually Take?
You’ll typically spend 6–18 months on restoration, depending on scope, access, and consents. If you prioritise historical accuracy and use careful preservation techniques, you’ll add time for surveys, specialist trades, lime curing, and bespoke details.
Conclusion
Restore your Devon cottage by putting the building first: survey properly, secure any consents, then fix water at source with sound drainage, gutters, and steady ventilation. Repoint and plaster with lime, keep finishes breathable, and repair floors and joists before you insulate with low-impact, vapour-open layers. Choose heating that complements thick walls, and route new services with minimal chasing. Why risk trapping moisture with modern sealants and rushed cement? Keep it honest, durable, and quietly beautiful.


