
After the last king tide, you find a neat salt line on the hearth like a pencil mark across a drawing. You start with a measured survey and a do-no-harm plan, because every rushed fix can trap damp and erase tool marks that tell the cottage’s story. You choose lime, reclaimed slate, discreet drainage, and coastal planting that work with wind and water, not against them—but the first hard decision comes sooner than you expect…
Key Takeaways
- Commission a measured survey and condition report, then adopt a “repair before replace” strategy using like-for-like traditional materials.
- Preserve character features—original sash proportions, ledged-and-braced doors, thumb latches, shutters, worn thresholds—while documenting all changes for future maintenance.
- Use breathable, salt-tolerant construction: lime mortar and plaster, mineral paints, marine-grade fixings, and isolated metals to prevent galvanic staining.
- Improve comfort carefully with vapour-open insulation, airtightness using lime-compatible gaskets, and discreet secondary glazing that retains original sightlines.
- Design for estuary storms and flooding: elevate key rooms, create sacrificial/service zones, strengthen roof and junction details, and add coastal-resilient landscaping.
Start With a Survey and a “Do-No-Harm” Plan
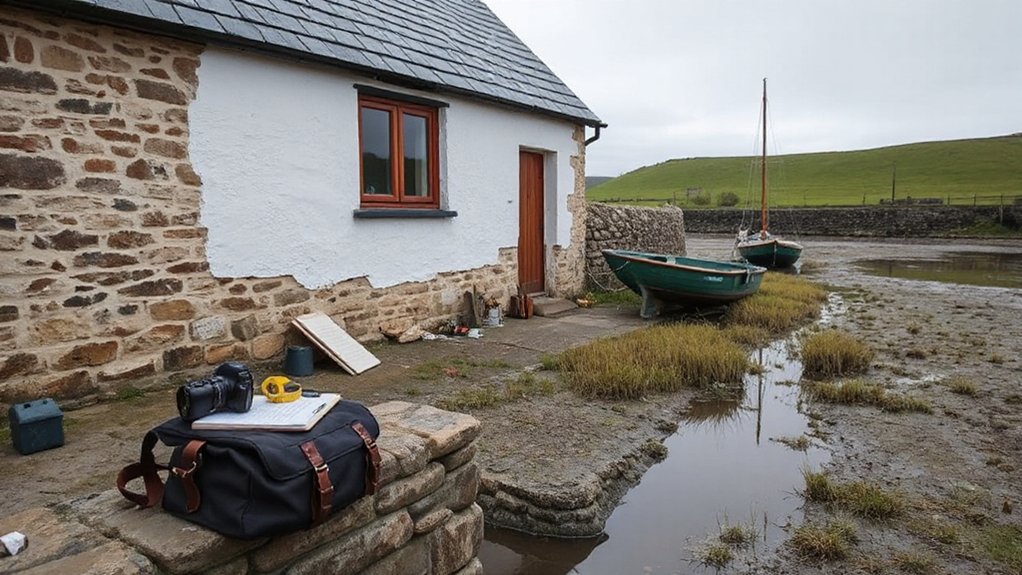
Before you lift a floorboard or strip a wall, commission a measured survey and a condition report that map the cottage exactly as it stands—out-of-square rooms, bowed rafters, salt-stained masonry, and all. You’ll use these drawings to locate structural movement, trapped moisture, failing lintels, and later cement repairs that are throttling breathable fabric. Photograph every junction, log materials, and date alterations so you can read the Historical context rather than erase it. Then write a “do-no-harm” plan: retain original joinery, repair before replacing, specify like-for-like lime mortars, and trial-clean small areas first. You’ll set up protection zones for hearths, stair treads, and graffiti, recognising their Cultural significance. Agree a light-touch sequence with your contractor and keep changes reversible.
Design for Floods, Salt, and Storms First
You’ll plan the layout for flood events first, keeping sacrificial, easy-clean spaces at low level and lifting services and joinery where the tide can’t reach. You’ll specify salt-tolerant materials—marine-grade fixings, breathable lime finishes, and durable timbers—so the cottage’s original fabric stays sound. You’ll then detail a storm-ready envelope, tightening junctions, protecting openings, and securing roof edges without compromising the cottage’s historic proportions.
Flood-Resilient Layout Planning
Because an estuary cottage lives at the mercy of tide, wind, and salt-laden air, you should plan the layout as a defensive strategy first and a decorative exercise second. Keep ground level for wet-tolerant uses: boot room, store, workshop, and a sacrificial hall with clear escape routes. Lift principal rooms one storey where possible, preserving original stair positions and sightlines to the water. Create a straight-through ventilation and drying axis from door to rear, so damp air doesn’t stagnate after surges. Place services and sockets above projected flood lines, and group shut-offs by the entry for quick isolation. Shape thresholds, steps, and paths to respect Marine ecology and protect Coastal flora. Plan furniture zones for easy relocation.
Salt-Corrosion Material Choices
Although the sea’s salt feels invisible on a calm day, it works like a slow electrolyte in every joint, fixing, and finish, so choose materials as if they’ll be rinsed, dried, and re-wetted for decades. Keep the cottage’s character by repairing in like-for-like, but upgrade where decay began: specify lime mortar for breathable stone, and use denser, fired clay or reclaimed slate where splashback bites. Pick stainless or silicon-bronze fixings, not plated steel, and isolate dissimilar metals to stop galvanic staining. At ground level, detail a discreet Salt barrier behind skirtings and within service zones, then finish with mineral paints or linseed systems that shed moisture without sealing pores. Expect Marine algae; choose scrub-tolerant, non-film-forming coatings and sacrificial limewash you can renew easily.
Storm-Ready Envelope Detailing
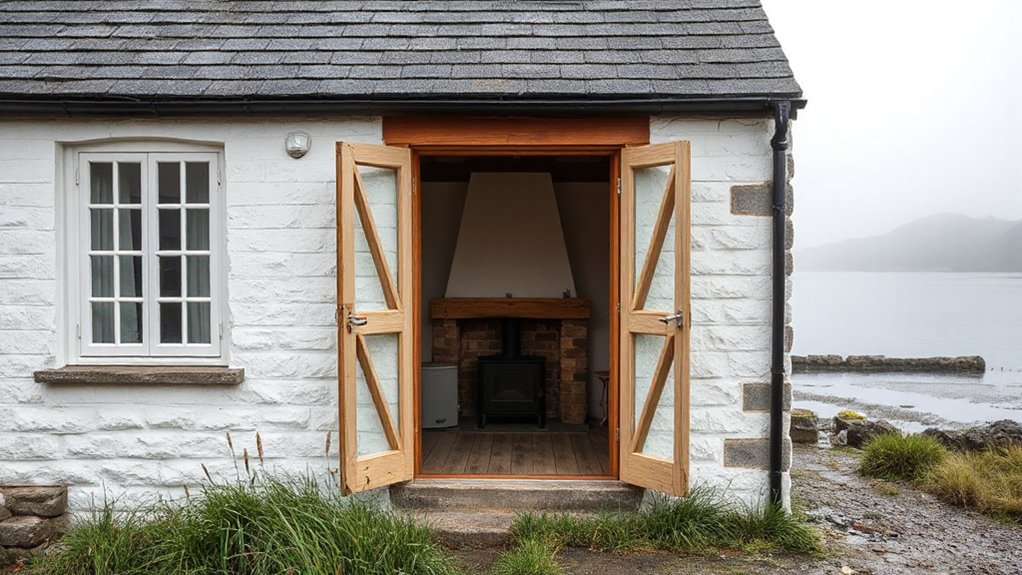
Where does a storm hit first—at the waterline, the windward eaves, or the hairline crack around a sash? You design your envelope like a sequence of sacrificial thresholds, keeping the cottage’s historic proportions while hardening every joint. Raise vulnerable services, let lower zones drain and dry, and detail trims so they shed salt-laden spray without trapping it against original stone.
- Fit a demountable flood board to the door reveal, gasketed yet reversible.
- Vent the roof with baffles and tape the sarking to resist wind-driven rain.
- Specify lime mortar repointing and drips on sills to keep capillarity moving outward.
- Use corrosion-proof fixings where Coastal flora brushes walls and Marine wildlife splash the quay.
Keep the Cottage Details That Matter
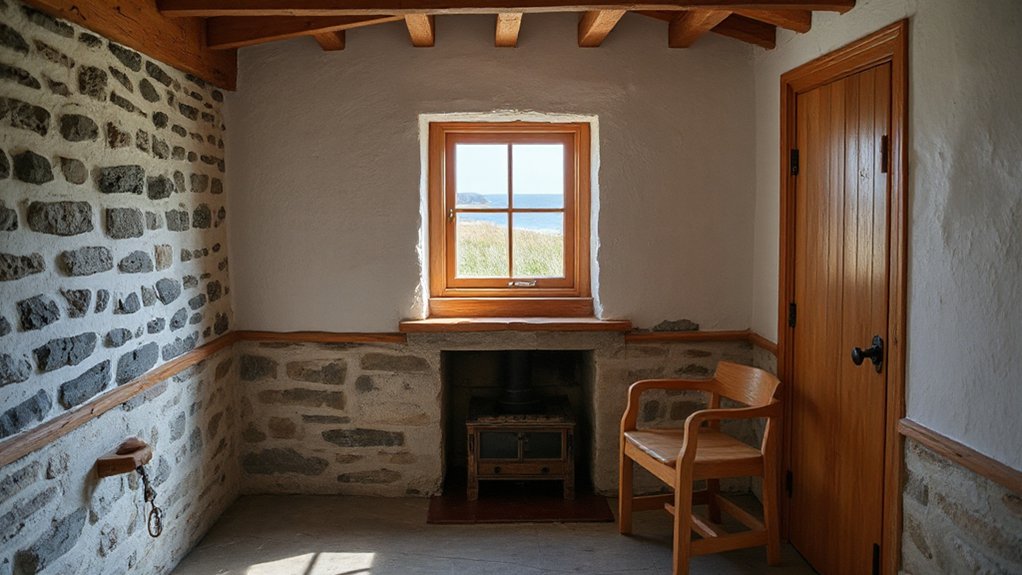
If you strip a fisherman’s cottage back too far, you don’t just lose clutter—you erase its working history. Keep the Coastal heritage visible in the small, honest elements: the worn threshold that carried wet boots, the simple board-and-batten door, the original sash proportions, and the hand-fitted skirtings that hide uneven floors.
You’ll get the best result when you catalogue what survives before you design. Reuse ledged-and-braced doors, keep iron thumb latches, and repair rather than replace interior shutters. Let Traditional craftsmanship guide your choices: match bead profiles, keep peg-fixing where it exists, and reinstate rope lines, hooks, and drying rails as functional features. Finish timber with breathable paints and oils so grain reads, light shifts, and age stays legible.
Repair Fisherman’s Cottage Stonework With Lime
You start by reading the stonework like a record of tide, salt, and past repairs—spotting open joints, friable faces, damp staining, and any hard cement pointing that’s trapping moisture. You then rake out failed mortar by hand, protect the stone arrises, and repoint with a breathable lime mix that matches the original colour, aggregate, and joint profile. You’ll finish with gentle curing and weather protection so the wall can dry evenly and keep its rugged estuary character intact.
Assessing Stonework Decay
How do you tell the difference between timeworn character and active failure in an estuary-side cottage wall? You start with close observation, then map change over time, keeping Historical preservation and Material conservation at the forefront. Read the elevations in raking light, note salt-laden wind exposure, and trace moisture routes from gutter to footing. You’re looking for patterns: decay that accelerates, migrates, or concentrates at interfaces where hard past repairs meet softer stone.
- Check joints for open voids, friable edges, and vegetation roots prising stones apart
- Tap stones to locate hollow drummy areas that suggest delamination
- Record efflorescence, tide-line staining, and persistent damp patches after dry weather
- Compare cracking to openings and lintels to separate settlement from surface erosion
Lime Mortar Repair Techniques
Because estuary air drives salts deep into porous stone, lime mortar repairs need to stay breathable, sacrificial, and visually quiet—so the wall can dry without forcing decay into the masonry. You start by raking joints by hand to a consistent depth, protecting arrises and keeping vibration off fragile faces. You mist the stone, then press in a hot-lime or feebly hydraulic lime mix matched to the original aggregate for Historical accuracy and aesthetic consistency. You compact in thin lifts, finish slightly recessed, and brush back to expose grains, not a smeared ribbon. You avoid cement, additives, and over-tight pointing that traps moisture. Finally, you cure slowly: hessian, light misting, and shelter from wind, sun, and frost until carbonate sets evenly.
Make Low Ceilings and Small Rooms Feel Bigger
Although a fisherman’s cottage often comes with low beams and tight, cellular rooms, careful visual edits can make it read taller and calmer without sanding away its seafaring character. You’ll get the best Ceiling illusion by keeping beams exposed, then lifting everything else visually: lighter ceilings, taller joinery lines, and a disciplined palette that reflects estuary light.
- Paint ceilings a half-step paler than walls, and run colour over cornice lines to blur edges.
- Hang curtains high and wide, in washed linen, so window reveals feel generous.
- Choose slim, legged furniture and built-ins that stop short of the ceiling for Room expansion.
- Use one continuous floor finish, and mirror panels in cupboards to bounce daylight.
Keep pendants shallow, and favour wall lights that graze plaster.
Insulate a Fisherman’s Cottage Without Trapping Damp
Once you’ve visually opened up low beams and compact rooms, you’ll feel the cottage’s next weakness straight away: cold walls and draughty floors that tempt you to over-insulate and accidentally lock moisture into old stone and soft lime mortar. Instead, you’ll keep the building breathable. Use vapour-open, Eco friendly insulation such as wood fibre, hemp, or sheep’s wool, and pair it with lime plaster so moisture can migrate and evaporate. You’ll seal obvious air leaks with compressible, lime-compatible gaskets and careful parging, not hard foams that bridge movement. Treat insulation as a continuous layer, but respect thermal bridges around joist ends and reveals. Add controlled ventilation where you cook and wash, and monitor humidity. Choose sustainable materials that age quietly, not systems that fight the tide.
Pick Coastal-Tough Floors, Windows, and Doors
If the estuary air can rust iron overnight, it can just as quickly punish the wrong joinery and finishes, so you’ll choose floors, windows, and doors that handle salt, sand, and wind without losing the cottage’s character. You’ll aim for Coastal durability with finishes that age gracefully, not plasticky.
- Lay limewashed oak, engineered timber, or sealed brick pavers; skip soft pine that cups and dents.
- Specify storm-rated, timber-look composites or painted hardwood with marine-grade primer and microporous paint.
- Fit double- or secondary-glazed units in slim profiles, keeping original sightlines and sash proportions.
- Choose Storm resistant materials: stainless fixings, bronze hardware, robust thresholds, and brush seals that stop grit without trapping moisture.
You’ll keep details crisp, repairs honest, and patina intentional.
Upgrade Services Without Ripping Up Walls
Floors, windows, and doors can take the estuary’s punishment, but the cottage won’t feel truly sorted until the wiring, plumbing, and heating work just as hard behind the scenes. You can rewire by chasing only in sacrificial plaster, then run cables in skirtings, ceiling voids, and cupboard risers to protect old stone and lath—good Historical preservation without guesswork. Swap tired pipework using existing service routes, and choose slim isolation valves you can hide behind access panels set into joinery. For warmth, fit compact radiators or underfloor zones only where floors already lift, and use a small air-source unit tucked behind planting. Specify discreet grilles, period-style switches, and flush access hatches for real aesthetic enhancement. Test, label, and photograph routes for future care.
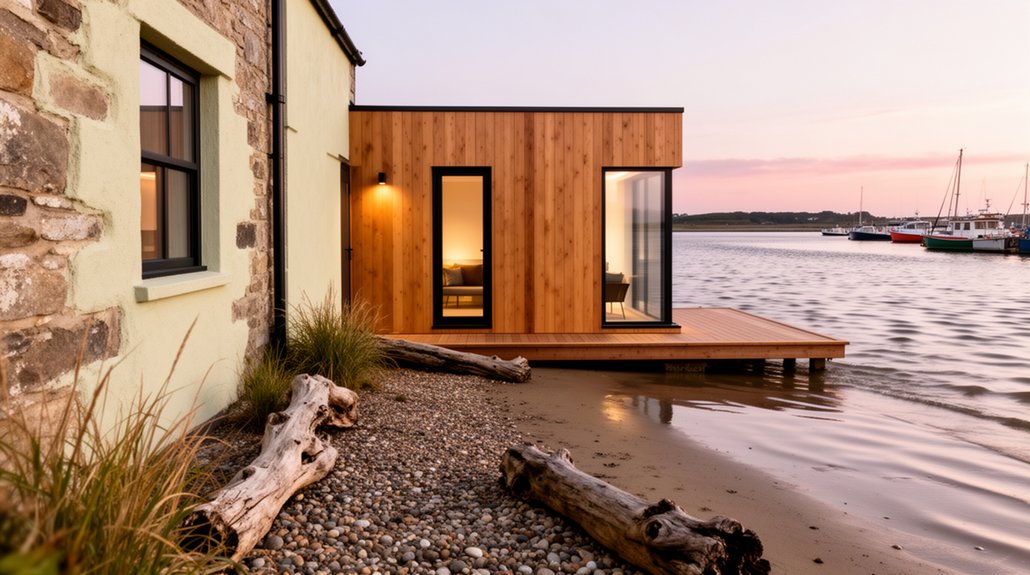
Add an Extension That Blends In
Because an estuary-side cottage reads as a single, weathered form, any extension has to feel inevitable rather than appended. You’ll get there by echoing the original massing, keeping the ridge low, and setting the new volume back so the old gable stays dominant. Match openings by proportion, not mimicry, and let shadow gaps declare what’s new without shouting.
- Use reclaimed or limewashed timber cladding to take salt spray gracefully
- Keep window heads aligned, with deep reveals and slim frames
- Specify a muted roof finish that weathers like the existing slates
- Tie thresholds to Coastal landscaping and Seaside landscaping with dune grasses and stone edging
Detail the junctions: lead flashings, breathable membranes, and a discreet gutter line that won’t scar the facade.
Frequently Asked Questions
Do I Need Planning Permission for Renovating an Estuary-Side Fisherman’s Cottage?
You’ll likely need planning permission if you alter structure, extend, change windows, or affect setting. Coastal conservation and Heritage preservation rules can apply; check listing, flood-risk, and local authority constraints before you submit drawings.
How Much Does a Sympathetic Renovation Typically Cost per Square Metre?
Like threading a needle, you’ll typically budget £2,000–£4,000/m² for a design-led, heritage-sensitive scheme. Historical preservation, specialist trades, services upgrades, and bespoke joinery drive costs, so your renovation budgeting should include contingencies.
How Long Do Cottage Renovations Usually Take From Survey to Completion?
You’ll typically spend 6–18 months from survey to completion. You’ll allow extra time for historic preservation approvals, design-led detailing, and environmental impact studies, plus tendering, specialist trades, and weather-sensitive site works.
Can I Claim Insurance for Storm or Flood Damage During Renovation Works?
Yes—you can, but only if your policy covers works-in-progress; otherwise, Insurance claims may fail. Document Flood damage fast, notify insurers immediately, protect heritage fabric, and coordinate design-led repairs with your contractor. Check exclusions.
What Grants or Tax Reliefs Are Available for Restoring Traditional Coastal Cottages?
You can tap Heritage grants from national trusts, local councils, and lottery funds, and explore Coastal tax reliefs like VAT reductions for listed repairs. You’ll need conservation-led specifications, approvals, and documented traditional materials, and invoices.
Conclusion
You’ve surveyed, planned, and repaired with restraint—lime mortar breathing, reclaimed slate settling back into place. You’ve detailed for salt and storms: discreet gutters, dune grasses, raised thresholds, tough floors, tight joinery. Indoors, insulation stays vapour-open, services slip in quietly, rooms lift with light and proportion. Even the extension sits back, reading as “always there.” Then the estuary rises on a hard wind… and you realise what you’ve really rebuilt: time.


