
You don’t start with lime and good intentions; you start with evidence. Walk the cottage and map every damp stain, salt bloom, bulge, and hairline crack, then trace each back to how water moves across the roof, into gutters, and through the ground at the base of the flint. Fix drainage and shedding first, stabilise the wall second, and only then repoint for breathability. Miss the sequence, and you’ll lock in failure—starting at the eaves.
Key Takeaways
- Survey and map cracks, bulges, open joints, and damp indicators; photograph elevations on a grid for future comparison.
- Stop water ingress first: repair roofs, flashings, gutters, and downpipes; regrade ground and add shallow French drains.
- Stabilise flint walls by pinning loose nodules, stitching cracks, and tying back separated skins before any surface repairs.
- Repoint using compatible lime mortars, hand-raking joints, pre-dampening walls, compacting in thin lifts, and curing slowly to prevent shrinkage.
- Improve comfort with vapour-open insulation and controlled ventilation, maintaining airtight continuity while avoiding moisture-trapping layers.
Survey Your Flint Cottage for Damp and Movement
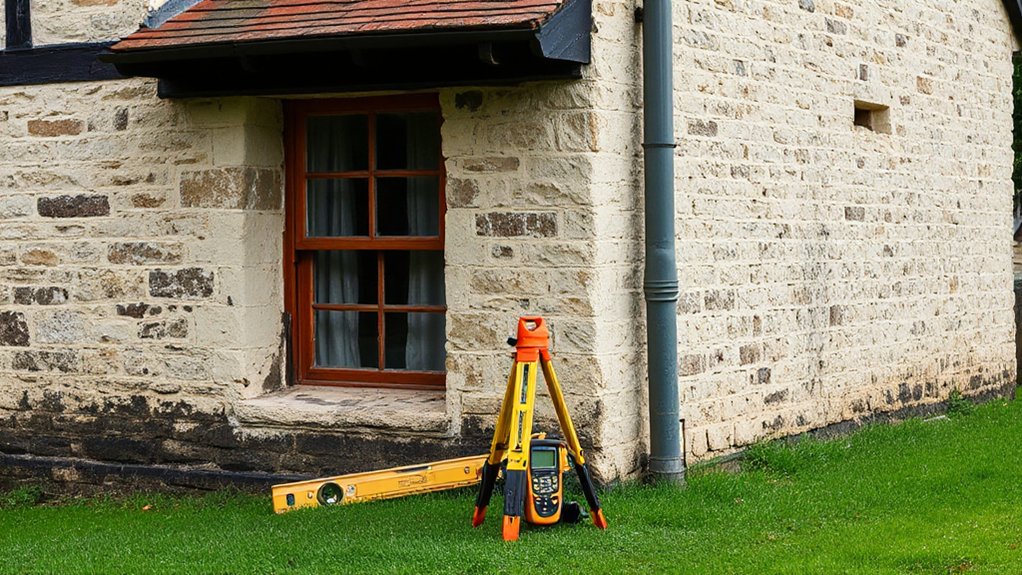
Before you touch a trowel, you’ll need a clear read on where the cottage is holding moisture and where the structure is shifting. Start with a disciplined flint wall inspection: map cracks, bulges, and open joints, and note whether they track around openings or step through mortar beds. Photograph elevations, then mark a simple grid so you can compare changes later.
For damp detection, work from the interior outward without guessing. Check skirtings, window reveals, and chimney breasts for tide marks, salts, and blistered finishes. Use a moisture meter comparatively, not absolutely, and confirm with surface temperature readings to spot condensation patterns. Lift a corner of floor finish at thresholds to look for staining and decay. Finally, test how mortar behaves: friable lime suggests chronic wetting; hard cement may be trapping moisture.
Stop Water Ingress: Roof, Gutters, and Drainage
Once you’ve mapped where damp shows up, you can usually stop it at the top edge of the building envelope: the roof, rainwater goods, and the ground’s ability to shed water away from the flint. Start with Roof maintenance: replace slipped tiles, renew cracked flashings, and clear valleys so water can’t track under coverings. Then schedule gutter inspection in heavy rain; you’ll see overflows, backfalls, and leaking joints instantly.
- Rehang or replace missing slates/tiles; keep fixings stainless
- Flush gutters and downpipes; add leaf guards where trees dominate
- Set downpipe shoes into gullies; repair broken runs, seal joints
- Regrade ground to fall away; install shallow French drains at perimeters
Keep splashback off walls with gravel margins, and extend eaves where design allows.
Stabilise Flint Walls Before You Repoint
With roof run-off controlled and the ground shedding water away from the base, you can assess the flintwork on its own terms rather than through a veil of active damp. Start by mapping bulges, open joints, and loose nodules; mark them on elevations so you don’t lose track once scaffolding goes up. Rake out only friable debris with hand tools, then pin any rocking flints back temporarily with lime-safe shims or stainless helical pins where movement demands it. If faces have slumped, stitch cracks and tie back separated skins before touching surface work. Consolidate eroded chalk or greensand inclusions with compatible shelter coats and minimal intervention. These Historical preservation techniques protect structure while respecting Flint wall aesthetics. Re-check alignment after drying cycles.
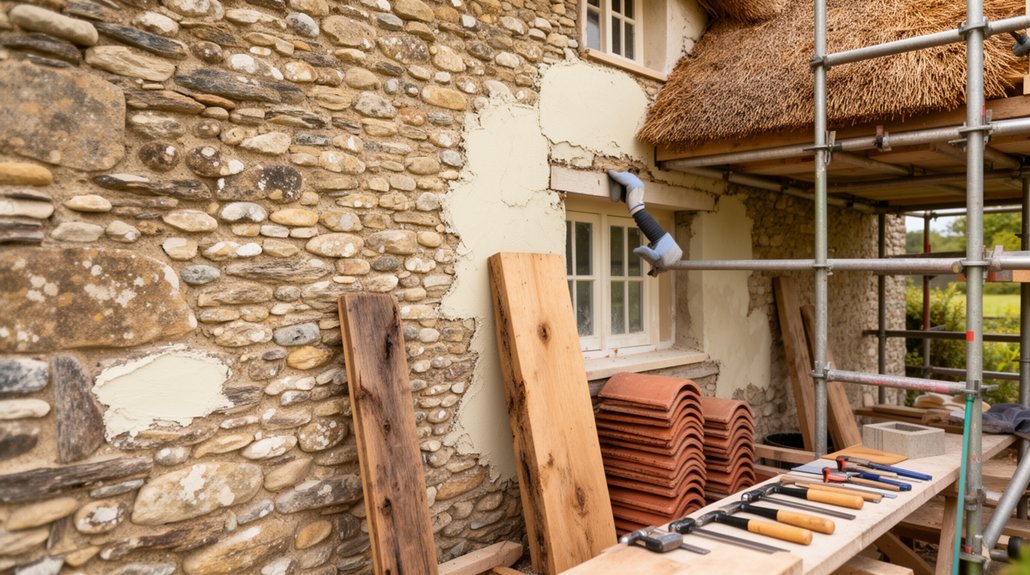
Repoint Flintwork With Breathable Lime Mortar
After you’ve stabilised the wall and confirmed it’s drying evenly, repoint the flintwork with a breathable lime mortar that matches the cottage’s historic fabric and manages moisture by design. Rake out failed joints by hand, keeping arrises crisp and avoiding flint bruising. Specify Lime mortar compatibility: choose NHL or hot-lime mixes to suit exposure, substrate hardness, and existing binder, never cement-rich blends. Pre-dampen the wall so the mortar cures slowly, then compact it in thin lifts to eliminate voids. Finish joints slightly recessed to frame each knapped face and protect edges—this preserves Flintwork aesthetics while shedding rain.
- Match aggregate colour, grading, and sparkle
- Use lime putty for sheltered, NHL for exposed
- Keep joint width consistent; don’t smear flint faces
- Brush back at green-hard, then mist-cure gently
Improve Comfort With Vapour-Open Insulation and Ventilation
Because flint and lime walls manage moisture by breathing rather than blocking it, you’ll boost comfort by adding vapour-open insulation and controlled ventilation that work with that hygrothermal balance instead of fighting it. Specify wood fibre, hemp-lime, or sheep’s wool internally where you can’t alter historic elevations, and keep junctions continuous to prevent cold bridges at eaves, reveals, and floors. Pair insulation with an airtightness layer that remains vapour-permeable, then detail service zones so you don’t puncture it. For ventilation, use demand-controlled extract in kitchens and baths, and add trickle or wall vents sized to room volumes. You’ll stabilise humidity, improve Indoor air quality, and deliver dependable thermal regulation without trapping moisture in the fabric.
Frequently Asked Questions
What Permissions or Listed-Building Consents Are Needed Before Restoring a Flint Cottage?
You’ll need Listed Building Consent for any fabric-altering works, and often Planning permissions for extensions, openings, or boundary changes; check Heritage regulations, conservation-area rules, and building-control approvals early. Consult your conservation officer before design decisions.
How Much Does a Full Flint Cottage Restoration Typically Cost per Square Metre?
Like laying flint in lime under salt-wind light, you’ll typically pay £2,500–£5,500 per m² for a full restoration, rising with Historical preservation demands and tricky Material sourcing, bespoke joinery, and services upgrades.
How Do I Source Matching Flint, Lime, and Traditional Aggregates Locally?
Start with local sourcing: ask your conservation officer and nearby flint quarries for proven provenance. Take samples for material matching. Use NHL lime from regional suppliers. Specify graded sands/aggregates via local pits, sieve analyses, mock panels.
Can I Live in the Cottage During Restoration, and for How Long?
You can live in the cottage during restoration, but you’ll need phased Living arrangements. Plan your renovation timeline around dust, noise, and utilities shutdowns. Expect 2–8 weeks off-site for structural, roof, or rewiring works.
Which Tradesperson Should Lead the Project: Conservation Builder, Architect, or Surveyor?
Choose an architect to lead—design vision beside compliance rigor. You’ll brief a conservation builder for Historic preservation detailing, while a surveyor verifies structure and moisture. You’ll coordinate Building regulations early, so interventions stay elegant, approved, buildable.
Conclusion
When you restore your flint cottage, you don’t start with cosmetics—you start with evidence. You’ve surveyed damp and movement, cut off water at the roofline, and fixed drainage so walls can dry. You’ve stabilised flintwork with pins and stitching before you repoint, then finished with breathable lime that moves and breathes. Add vapour-open insulation, airtight detailing, and controlled ventilation, and you’ll have put the building on a firm footing—quietly resilient, unmistakably original.


