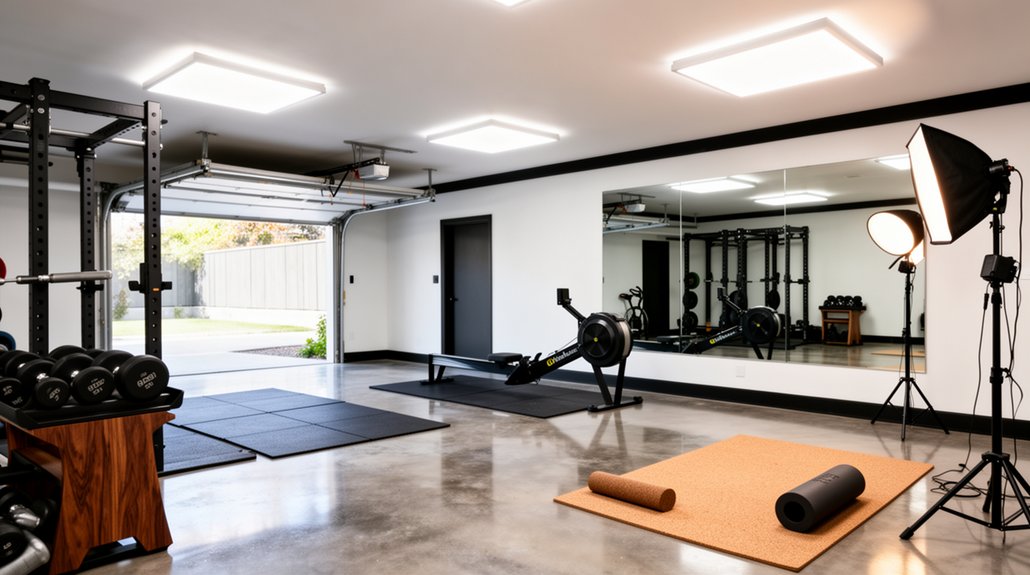
Measure your garage and mark door swings, access routes, and 1 m circulation paths, then tape out zones for strength, cardio, mobility, and a studio corner. Check UK permitted development and Building Regs, and plan dedicated circuits, RCD/RCBO protection, Ethernet, and dimmable LED lighting. Insulate walls, roof, and door with a vapour control layer, add ventilation to stop condensation, install a DPM under hard-wearing rubber flooring, and decouple walls for sound control. Next, you’ll refine layouts, services, and kit choices.
Key Takeaways
- Measure the garage, map door swings and routes, and plan zones with 1 m clearance and heavy kit near load-bearing walls.
- Check UK planning and Building Regulations early, especially permitted development limits, insulation requirements, and electrical compliance.
- Control damp with a slab moisture test, sealed DPM/vapour layers, and balanced ventilation to prevent condensation behind walls and floors.
- Upgrade comfort and noise with full insulation, resilient-bar soundproofing, and an insulated/sealed garage door or internal stud wall.
- Install dedicated electrics and lighting: RCBO-protected circuits, head-height sockets, Ethernet for streaming, and dimmable LED scenes per training zone.
Plan Your Garage Gym/Studio (Space, Regs, Budget)
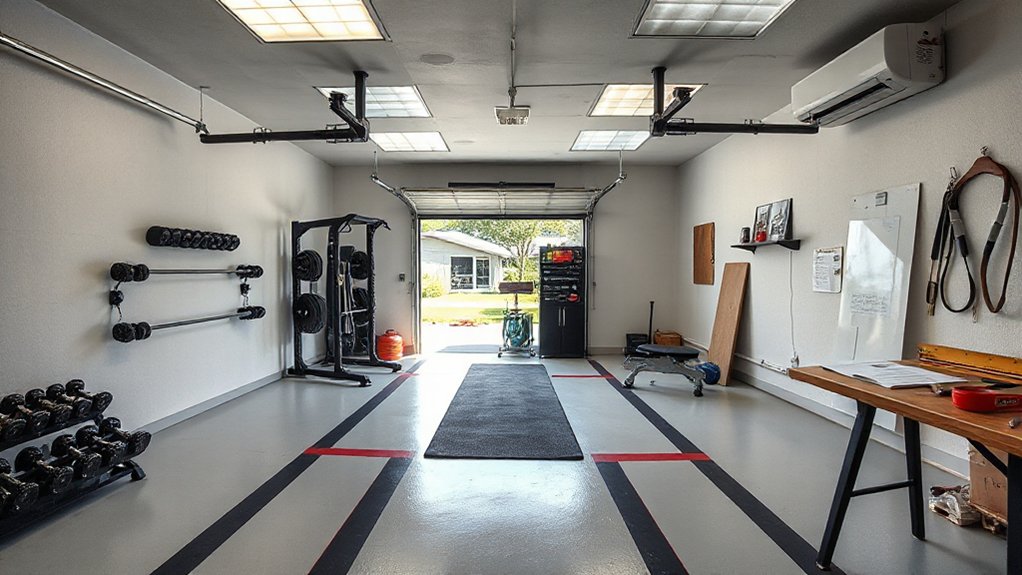
Before you buy equipment or sketch a layout, measure your garage accurately, map door swings and access routes, and confirm what you’re allowed to change under UK planning rules and Building Regulations. If you’re altering the façade, converting to habitable space, or adding plumbing, check permitted development limits and whether you’ll need a Full Plans application, especially for structural openings and ventilation provisions. Set clear zones in your Garage layout: lifting area with safe bar path clearances, cardio lane, and a studio corner with microphone/camera sightlines. Plan power and data runs for lighting, AV, and smart kit, and allow headroom for pull-ups. Specify Storage solutions early: wall-mounted racks, ceiling hoists, and lockable cupboards to protect kit and maintain clear escape routes. Budget for professional electrical certification and contingency.
Insulate, Damp-Proof, and Heat the Garage
You’ll need to control heat loss and moisture before you fit kit, starting with insulation in the roof, external walls, and garage door (PIR boards, mineral wool between studs, and insulated door panels) with a continuous vapour control layer on the warm side. You’ll also have to damp-proof the slab and lower wall junctions (DPM/tanking where needed) and add mechanical or passive ventilation to prevent condensation and mould. Once the envelope’s tightened up, you can choose efficient heating—wall-mounted electric panel or infrared, a small air-to-air heat pump, or wet underfloor tied into your system—sized to UK winter conditions and your intended use.
Insulation Types And Placement
Where does heat actually disappear in a typical UK garage—through the uninsulated up‑and‑over door, the single-skin walls, or the exposed slab? Treat each surface as a U‑value problem and build continuous thermal barriers without gaps at corners, reveals, or around joists.
For single-skin masonry, batten and line with PIR boards (50–75 mm), tape all joints, then overboard with 12.5 mm plasterboard. If you’ve got studs, use mineral wool between, plus a foil-backed board to reduce thermal bridging. Insulate the door with cut-to-fit PIR and a full perimeter brush seal; consider replacing it with an insulated sectional door. On the floor, lay XPS/PIR over a level DPM, then 18 mm T&G chipboard. Keep services inside the insulated zone for moisture control.
Damp-Proofing And Ventilation
Moisture typically builds up in a converted UK garage because cold masonry and an uninsulated slab drop below dew point, so water vapour condenses behind linings and under floor finishes. You’ll prevent mould and timber decay by detailing moisture barriers and managing airflow control as part of the build-up, not as an afterthought.
- Install a lapped 1200-gauge polythene DPM under any new screed or floating floor, tape joints, and seal to the wall DPC.
- Use a cavity drain membrane on damp walls where external waterproofing isn’t feasible, then batten out with a ventilated void.
- Fit continuous vapour control layers on the warm side of insulation and seal penetrations with grommets and tapes.
- Provide background ventilation via trickle vents or a decentralised MVHR, sized to Part F, balancing intake and extract.
Efficient Garage Heating Options
Once you’ve controlled condensation risk with the right membranes and ventilation rates, heating becomes the lever that keeps surface temperatures above dew point and the space comfortable for training year-round. Start by insulating to Part L expectations: 70–100mm PIR to walls/ceiling, taped joints, and an insulated roller door or internal stud wall. For heat, a small air-to-air heat pump delivers high COP in UK mild winters, with fast warm-up for sessions. If you can’t fit one, use wall-mounted electric panel heaters for background warmth and infrared for spot heating. Put zoning on smart thermostats so you’re not heating dead air, and set a setback temperature to protect kit. If you’ve got solar panels, prioritise daytime training to use self-generated electricity.
Run Electrics, Lighting, and Ventilation for Workouts
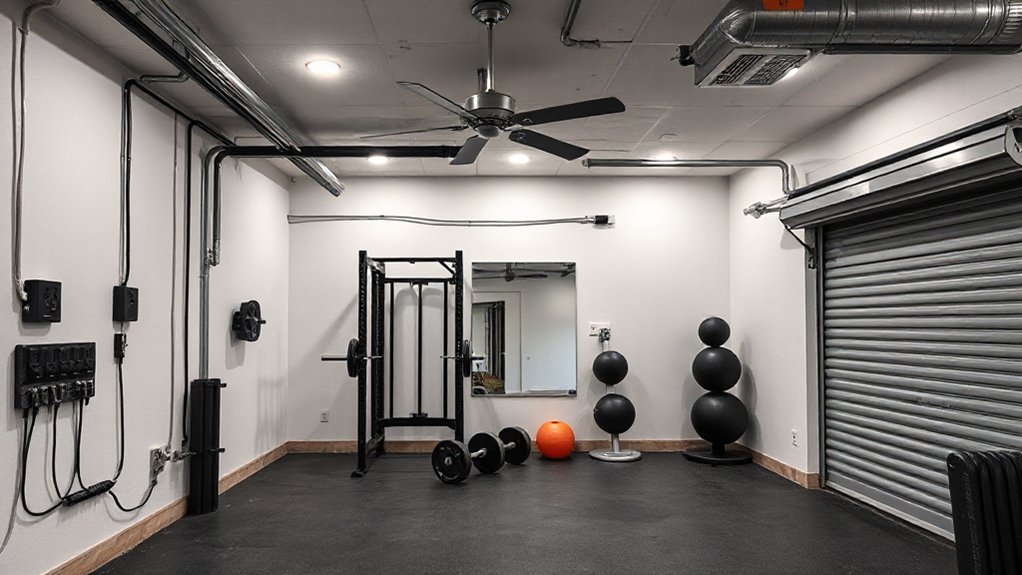
Before you install kit or lay flooring, you’ll want to sort the garage’s electrics, lighting, and ventilation so the space can handle high loads, safe illumination, and heavy perspiration without nuisance trips or stale air. Get a UK-qualified electrician to check the consumer unit capacity and fit RCD/RCBO protection to current regs.
- Dedicated circuits: Run a radial for cardio kit and a separate circuit for sockets, so startup currents don’t trip protection.
- Socket placement: Add double sockets at head height for chargers, wireless speakers, and wall-mounted screens.
- Smart lighting: Fit dimmable LED battens plus task spots, with PIR and smart lighting scenes for training modes.
- Ventilation: Install a timed extractor and passive vents, keeping airflow away from neighbours and avoiding condensation.
Choose Garage Gym/Studio Flooring That Lasts
Next, you’ll need flooring that matches your use case, so compare rubber tiles or rolls, EVA foam, vinyl, and sealed resin/epoxy for cost, thickness, and load rating. You should prioritise durability and grip under sweat and chalk, with enough shock absorption for drops and stable footing for lifts or dance. You’ll also need to manage moisture common in UK garages by using a DPM or damp-resistant underlay, sealing edges, and choosing materials that won’t wick or curl.
Compare Flooring Material Options
Although walls and kit get most of the attention, your garage gym or studio will only perform as well as its floor: it has to manage impact, resist abrasion, tolerate damp, and stay stable through UK temperature swings. Compare materials by installation method, thickness, and how they interact with typical UK concrete slabs and DPMs; build in Eco friendly materials and aesthetic options from the outset.
- Rubber tiles/rolls (SBR or EPDM): quick lay over sealed concrete; heavier grades suit free-weights zones; many recycled-content lines.
- Interlocking EVA foam: light and cheap for yoga/pilates; needs flat, dry slabs; easy to lift for inspections.
- Luxury vinyl tile (LVT): studio-clean look; pair with vapour barrier; precise cuts around posts and drains.
- Plywood + surface layer: creates level platforms; integrates cable runs and insulation below.
Prioritize Durability And Grip
Because a garage slab often stays cooler and slightly damp in winter, you need flooring that keeps its coefficient of friction under sweat and condensation while resisting gouging from knurling, sleds, and dropped plates. Prioritise non slip surfaces with a defined texture (not just a glossy rubber skin), and verify slip ratings where available.
For strength work, choose heavy duty mats in 15–20 mm rubber, ideally high-density SBR or recycled crumb with a tough wear layer. You’ll reduce permanent indenting from power racks and keep deadlift drop zones intact. Check compressive strength and rebound: too soft wastes energy and feels unstable under split squats; too hard transmits impact. For studio use, specify tighter-tolerance tiles with chamfered edges so pivots don’t catch. Keep seams tight to stop edge lift.
Protect Against Moisture Damage
Even if the slab looks dry on move-in day, garages in the UK often wick moisture up through unsealed concrete and pull in damp air through up-and-over doors, so your flooring system must manage vapour as well as spills. Treat moisture control as structural, not cosmetic, or you’ll get lifting tiles, rotten sleepers, and persistent odours.
- Test the slab: run an RH probe or do a 24–48h taped-polythene sheet check for condensation.
- Install Moisture barriers: use an epoxy DPM (two-coat) or heavy-gauge polythene beneath floating floors, lapped and taped.
- Ventilate edges: leave perimeter gaps and fit skirtings that don’t trap damp.
- Specify mold prevention: choose closed-cell rubber or PVC, avoid absorbent underlays, and seal joints at thresholds and door lines.
Add Soundproofing and Built-In Storage
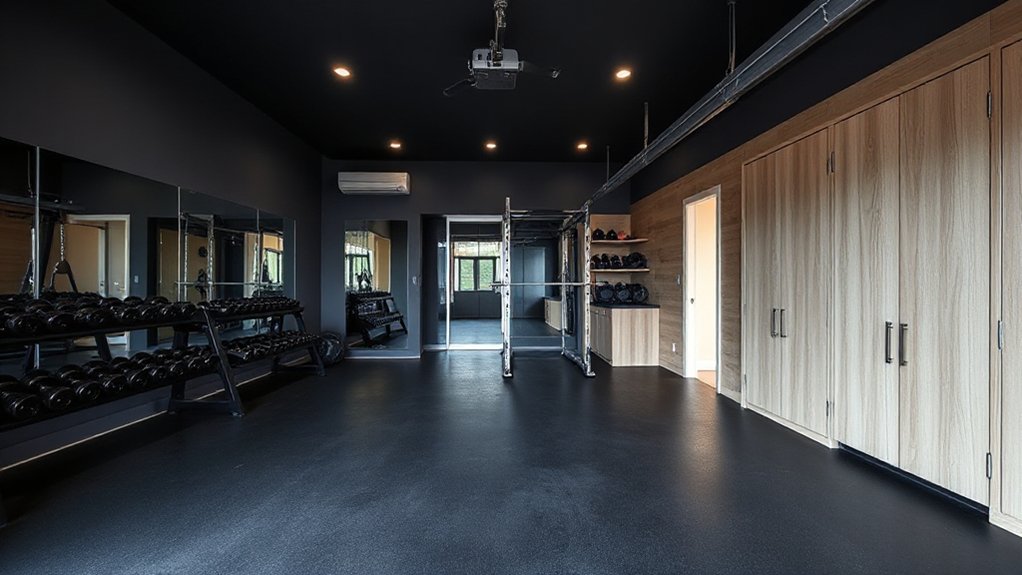
Once you’ve locked in the layout and services, add soundproofing and built-in storage to control noise transfer and keep the garage gym or studio workable day to day. Start with soundproofing solutions that decouple structure: fit resilient bars to walls/ceiling, infill with acoustic mineral wool (45–60kg/m³), then double-layer acoustic plasterboard with staggered joints and acoustic sealant to all perimeters. Upgrade the garage door with an insulated panel system and compression seals, or build an internal stud wall in front. Treat the floor with a dense rubber underlay or floating ply deck to reduce impact noise. For built in storage, specify moisture-resistant MDF or birch ply units, fixed to studs, with vented doors, integrated cable channels, and lockable cupboards for consumables and valuables.
Set Up Equipment Zones for Your Training Style
After you’ve finished soundproofing and storage, map the garage into clear equipment zones that match how you train, so you control traffic flow, floor loading, and power/data runs from the start. Keep heavy kit near load-bearing walls, allow 1 m circulation paths, and plan for UK 13A sockets on dedicated RCD protection where motorised exercise equipment will sit. Use taped floor lines before fixing anything.
- Strength bay: rack, platform, and plates; double-layer 18 mm plywood over rubber to spread point loads.
- Conditioning strip: rower/bike/treadmill; orient to door for ventilation and Wi‑Fi coverage.
- Mobility/rehab mat: clear 2 m x 2 m, mirror optional, dimmable lighting for form checks.
- Studio corner: speakers, tripod, and acoustic panels; route Ethernet for reliable streaming.
Frequently Asked Questions
Will Converting My Garage Affect My Home Insurance or Premiums?
Yes, it can change your premiums and cover. Tell your UK insurer about structural works, new use, and higher contents. Insurance implications include rebuild value updates; Security enhancements like alarms, locks, and cameras can reduce risk.
How Might a Garage Gym Conversion Impact My Property’s Resale Value?
You’ll often boost resale value if you keep reversibility; UK agents report around 60% of buyers favour flexible spaces. Add Garage insulation and smart Flooring options, but preserve parking/storage; you’ll widen appeal and offers.
Do I Need to Inform My Mortgage Lender About the Conversion?
You should tell your mortgage lender if you change use, alter structure, or need Building Control sign-off, as it may affect security valuation. Document garage aesthetics, choose compliant lighting options, and keep approvals for remortgaging.
What Security Upgrades Should I Consider for Expensive Gym Equipment?
Treat it like Fort Knox: fit SS312 diamond-rated locks, laminated glazing, and an alarm with PIRs. Add Security cameras with cloud recording and lighting. Bolt equipment through Gym flooring, and cage valuables; register on Immobilise.
How Do I Maintain Vehicle Parking if the Garage Becomes a Gym?
You’ll maintain vehicle parking by preserving Vehicle access with a partial-fit layout, foldaway equipment, and clear turning space. Use Parking solutions like a widened driveway, permeable hardstanding, or carport, ensuring UK planning and drainage compliance.
Conclusion
Once you’ve planned the footprint, checked permitted development and Building Regs, and set a firm budget, you’re ready to finish strong. You’ve sealed, insulated, and heat-managed the shell, then installed safe sockets, bright LEDs, and balanced ventilation. With hard-wearing rubber or vinyl flooring, plus soundproofing and slick storage, your kit stays controlled and clutter-free. Finally, you’ll zone strength, sweat, and stretch areas so sessions stay smooth, safe, and seriously high-spec.
About the Author