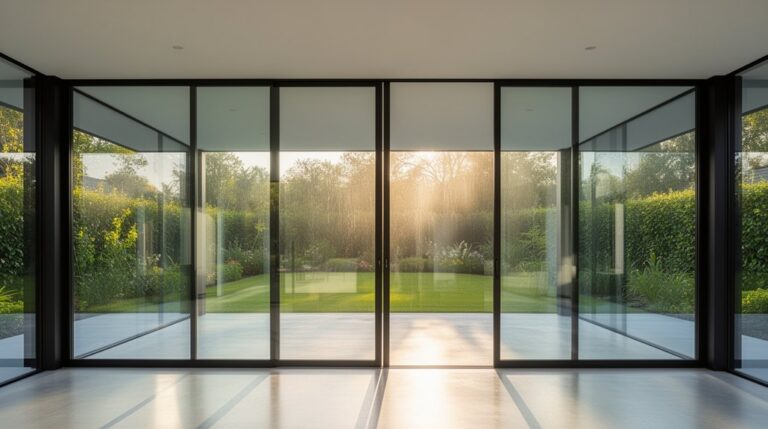
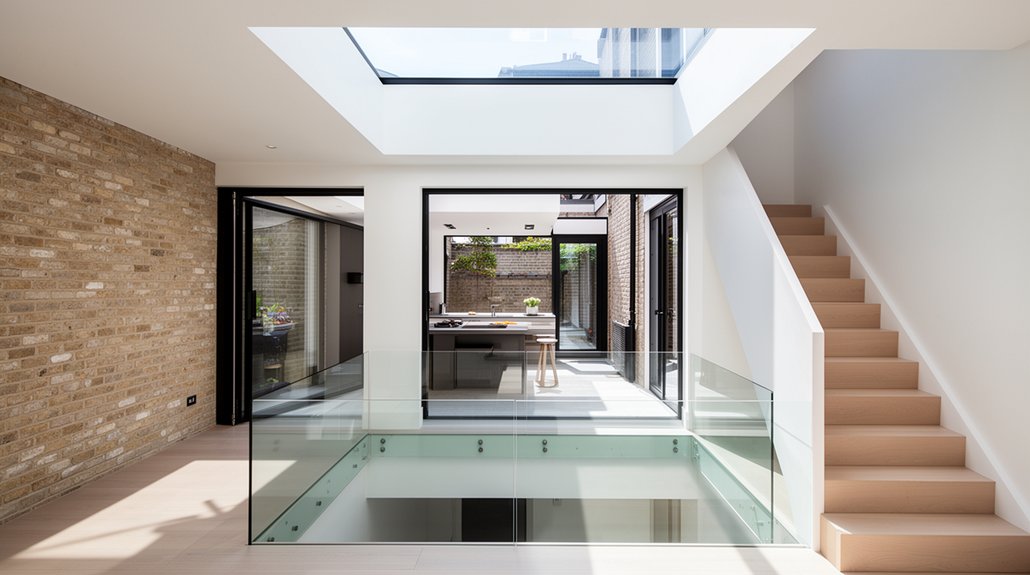
You’ll get the biggest daylight uplift by adding high-level openings, then letting that light travel. Install rooflights over the stair or central spine, and consider a glazed side return or rear doors with slim frames to widen the light source. If you’ve got a basement, excavate a properly drained lightwell to bring in usable lux. Inside, remove or glaze partitions, swap solid doors for glazed, and use matte white reveals to bounce light—next you’ll see how to plan it.
Key Takeaways
- Add rooflights over stairwells or central corridors to pull daylight deep into the terraced plan.
- Replace solid walls with wide openings or glazed screens to spread daylight between front, middle, and rear rooms.
- Install large rear doors or slim-frame glazing in extensions to maximise glass area and minimise framing shadows.
- Create internal transoms, fanlights, or internal windows above doors to borrow light into halls, stairs, and middle rooms.
- Form basement lightwells with proper drainage and pale reflective finishes to bring safe, usable daylight below ground.
Map the Darkest Zones in Your Terraced Home
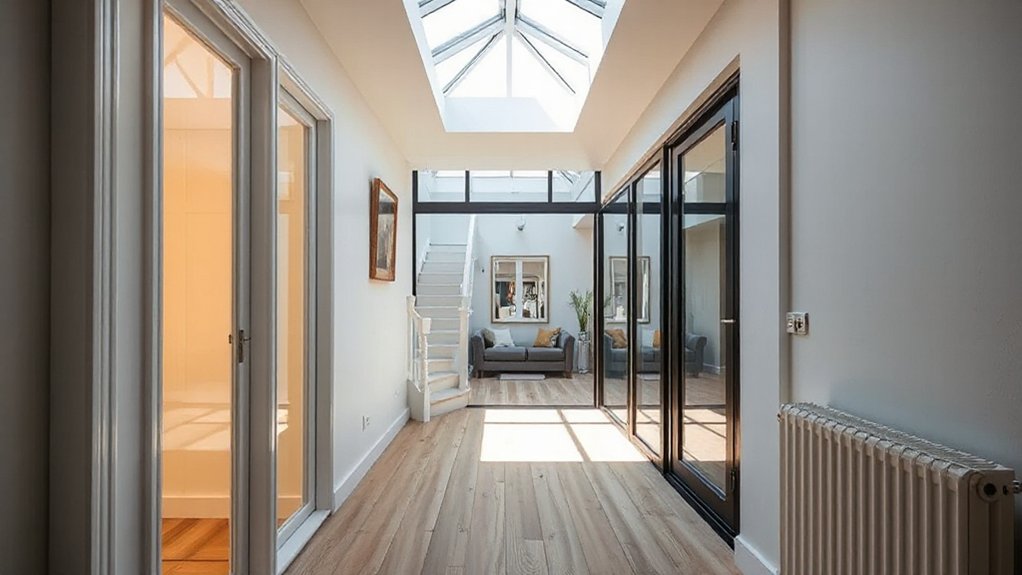
Before you plan any structural work, map where daylight actually drops off in your terraced house by doing a simple room-by-room survey. Walk the plan at 9am, 1pm, and 4pm on a bright day, noting which elevations receive sun and where party walls block spill. Photograph each room from the doorway and log lux readings with a phone meter at worktop height and 1m from windows. Mark stairwells, hallways, and rear reception corners that stay below 100–150 lux. Record external obstructions such as bay projections, neighbouring extensions, or high boundary walls. Note existing window sizes, glazing bars, and Window treatments that cut transmission. Finally, map Lighting fixtures and switching so you can separate daylight deficits from poor artificial coverage.
Open Internal Walls to Let Light Travel
Once you’ve identified where daylight dies in your terrace, open up internal partitions so light can pass from the brighter front and rear rooms into the central hallway and stairwell. Start with non-loadbearing stud walls between living room and hall, or kitchen and dining room, and replace them with wide cased openings or glazed screens. If the wall’s loadbearing, you’ll need a structural engineer, an RSJ or flitch beam, and Building Control sign-off under Part A; allow for services rerouting and fire doors where required. Coordinate Interior color schemes: keep reveals and soffits matte white to bounce light deeper. Optimise furniture placement by keeping tall units off the new opening line and using low-backed seating to preserve sightlines.
Add Rooflights to Brighten Terraced Home Middles
Opening up partitions helps daylight spread, but the middle of many UK terraces still relies on borrowed light, so bring it in from above with rooflights. A well-planned Rooflight installation turns a dim stair core, landing, or rear addition into a usable, naturally lit zone without stealing wall space.
Start with a structural check: you’ll likely cut between rafters, but trimmers and doubled rafters may be needed to maintain roof strength. Use Building Regulations-compliant glazing, insulated upstands, and a continuous air/vapour barrier to prevent condensation. Specify flashed kerbs and correct roof pitch detailing to reduce leak risk in driving rain. For daylight integration, link rooflight openings with light-coloured reveals and airtight plastering so the light reaches deeper and heat loss stays controlled. Coordinate with any loft insulation upgrades too.
Choose Rooflight Types and Placement for Best Daylight
Although you can cut a rooflight almost anywhere, you’ll get noticeably better daylight if you match the type and position to the room’s plan, orientation, and roof form. In a typical UK terrace, use flatter Rooflight styles (fixed or low-profile opening) on shallow pitches, and consider a pitched unit or lantern where you need wider sky view. Specify north-facing for soft, even light; use east or west only if you can control glare with blinds and solar-control glass.
Your Placement strategies should prioritise the centre of the plan: put rooflights over circulation or a stairwell to pull light deep indoors. Keep them high enough to spread light, and align with light-coloured reveals. Where structure allows, combine two smaller units rather than one big opening to reduce shadowing and avoid bulky beams. Check Part K guarding and ventilation needs.
Use a Side Return Extension to Add Width and Light
If you’ve got a typical UK terrace with a narrow side passage, a side return extension lets you reclaim that strip, widen the ground floor, and pull daylight deeper into the plan. You’ll need to choose glazing that suits the structure and heat-loss targets—rooflights, glazed lanterns, or large sliding/bi-fold doors with high-performance double or triple glazing. Done well, it transforms the kitchen into a brighter open-plan space with clearer sightlines and better daylight distribution across dining and living zones.
Side Return Glazing Options
When you build out into a side return, glazing choices determine how much extra daylight you’ll actually pull into the plan. Prioritise side return glazing options that reduce framing: slim aluminium or steel-look profiles, flush thresholds, and large panes keep sightlines open for maximizing daylight. A full-height glazed wall to the infill zone works well, but check Part L U-values and specify low-iron glass if colour matters.
Add a rooflight run over the new strip, or use a glass-to-glass corner where the rear meets the side return to cut shadow lines. For privacy to boundary fences, choose obscure laminated units or high-level clerestory glazing. Use opening lights for purge ventilation and Part F compliance, and consider solar-control coatings to limit summer overheating.
Open-Plan Kitchen Benefits
Glazing brings daylight in, but an open-plan kitchen layout decides how far that light travels once a side return extension adds width to the plan. By removing internal partitions and aligning sightlines, you’ll spread borrowed light from rooflights and glazed doors deeper into the terrace, reducing reliance on downlights.
- Set the Kitchen layout on the party-wall run so the new side return stays clear for glazing and circulation.
- Optimise appliance placement: keep tall units and fridge-freezers to the darkest end; use low worktops under glazing to prevent shadowing.
- Add a slim island parallel to the glazing for prep, leaving 1,000–1,200mm aisles to maintain flow and daylight.
You’ll also simplify ducting for extract and services, supporting Building Regs-compliant ventilation without blocking light.
Pick Rear Extension Glazing for Maximum Light
Although layout and orientation set the baseline, the glazing you choose for a rear extension largely determines how much daylight reaches the back of a UK home. Prioritise large-format sliding or lift-and-slide doors with slim aluminium frames to reduce sightlines and maximise glass area. Specify high light-transmission double or triple glazing (low-iron where budget allows) and keep mullions minimal. If privacy permits, add a glazed return at the side wall to pull light deep into the plan. For terrace rear elevations, consider Balcony extensions with glass balustrades so upper structures don’t shade the doors. Get Skylight design right: place rooflights near the original rear wall, use multiple smaller units to suit joist layouts, and choose north-facing if overheating’s a concern. Use solar-control coatings thoughtfully.
Add Internal Glazing to Share Daylight Between Rooms
You can push daylight deeper into the plan by replacing solid separations with glazed partitions and screens that still control noise and heat loss. Add internal windows over doors to pass light into corridors and north-facing rooms without changing the external envelope. Where head height allows, fit borrowed-light transoms above openings to keep privacy while improving light spread.
Glazed Partitions And Screens
Where can daylight go once it hits a solid internal wall? In a UK terraced home, swap opaque partitions for glazed ones so light from the rear extension or bay can travel deeper. Use toughened or laminated safety glass to meet Part K expectations, and specify acoustic interlayers if you’re controlling noise between kitchen and lounge.
- Install full-height glazed partitions in slim aluminium or timber frames to keep sightlines and maximise transmission.
- Choose Decorative glass (reeded, fluted, or sandblasted) where you need diffusion without losing brightness.
- Add Privacy screens as fixed panes or sliding panels to separate circulation zones while retaining borrowed light.
Detail proper head channels and movement joints, and keep frames light-coloured to reduce visual heaviness. Coordinate with electrics and heating runs early.
Internal Windows Over Doors
How can daylight leapfrog a dark corridor or boxed-in stair when the door’s shut? Fit internal windows above existing door heads so light from a brighter room spills into the circulation space without losing privacy or acoustic separation. In many UK terraces, standard doors sit within timber or masonry openings that’ll take a slim glazed panel if you keep the structural lintel untouched. Use toughened or laminated safety glass (BS EN 12150/14449), and specify clear, reeded, or satin finishes to manage overlooking. Confirm frames are air-tight and allow for movement in older walls. If you’re replacing linings, integrate door transoms to create a stable head, then seal and decorate for a seamless, compliant finish.
Borrowed Light Transoms
Often, a simple borrowed-light transom does more for a gloomy plan than another downlight: add a glazed panel above (or beside) an internal partition so daylight from a brighter room passes into a darker one without opening the layout. In a UK terrace, target hallways, stairs, and middle rooms that never see the sky. Specify laminated or toughened safety glass where it’s within 800mm of floor level or in doors, and use acoustic laminate if you’re stealing light from a living space. Keep frames slim and paint them to match trim so the detail disappears. For privacy, choose reeded or satin glass while preserving Borrowed light.
- Set the head height above door linings to maximise spread.
- Align with existing transom windows for continuity.
- Seal perimeters to control draughts and smoke.
Make the Stairwell Pull Light Down Through Floors
Because a stairwell already forms a vertical void through the building, you can use it as a controlled lightwell to draw daylight down to lower floors. Prioritise stairwell design that opens sightlines: replace solid balustrades with slim spindles or glass, and keep the soffit under the flight as open as structure allows. If you can, introduce a rooflight over the stair head or enlarge the existing landing window, then paint the stair enclosure in high-LRV whites to boost light diffusion. Specify clear or acid-etched glazing to doors on landings so rooms borrow light without sacrificing privacy. Control glare with diffusing blinds and avoid deep, dark runners. Any alterations to stair structure must meet Building Regulations Part K and maintain fire separation where required.
Add a Lightwell to Brighten a Terraced Basement
If your terraced basement feels gloomy, you can cut in a front or rear lightwell to bring daylight directly onto the lower-level glazing and improve ventilation at the same time. For Lightwell installation, you’ll excavate to the external wall, form retaining sides, and specify drainage so water can’t pond against the structure. In the UK, check planning constraints (especially front lightwells), Party Wall matters, and nearby services before you dig. To maximise basement illumination, detail the opening and finishes to bounce light inward:
- Use pale, durable linings (rendered blockwork or light-coloured paving) to increase reflectance.
- Fit a flush walk-on grille or toughened glass cover with slip resistance and load rating.
- Connect a soakaway or trapped gully to a silted channel drain, maintaining falls and access for cleaning.
Swap Solid Doors for Glazed Doors and Screens
Lightwells bring daylight to the perimeter, but solid internal doors can still block it from reaching the rest of the plan. Replace Solid doors on halls, kitchens and basement stairs with glazed doors to keep fire separation while letting light travel. Choose toughened or laminated safety glass and check Part K for guarding plus Part B if the door sits on an escape route; you may need a certified fire door with tested glazing. Use slimline aluminium or timber-framed screens to divide spaces without losing brightness, and specify acoustic glazing if you’re reducing noise from a busy kitchen. Keep sightlines clear by swapping opaque fanlights for glazed panels and using clear rather than reeded glass where privacy isn’t required.
Raise or Vault Ceilings to Spread Daylight Deeper
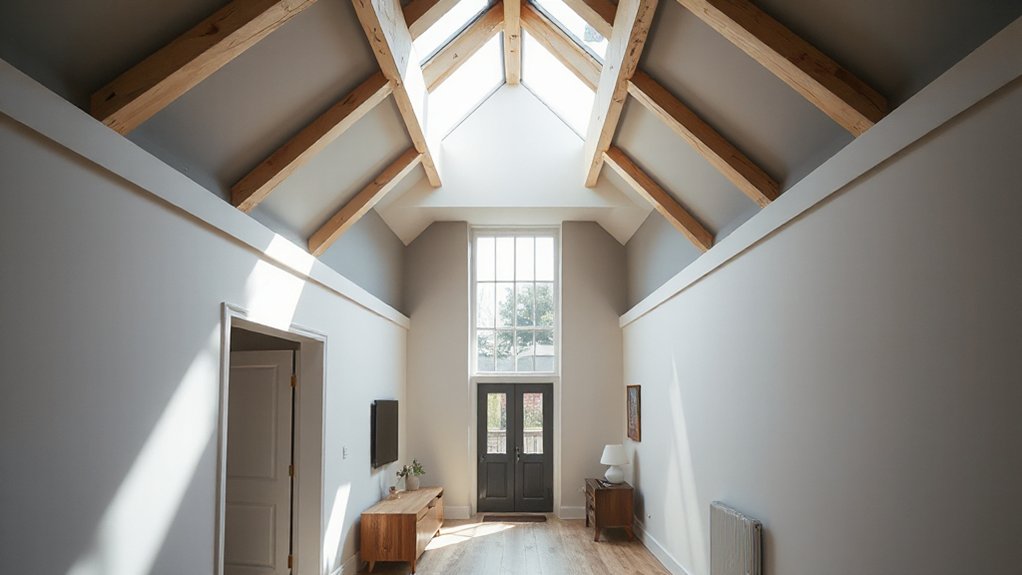
While you can add glazing to doors and screens, a low, flat ceiling will still cap how far daylight travels into the plan, so raising or vaulting it can make a bigger difference than another window. Increasing ceiling height boosts daylight distribution by letting light bounce higher off pale surfaces and travel beyond the rear room threshold. You’ll also reduce contrast between bright openings and the centre of the house, making spaces feel calmer and more usable.
- Form a vaulted ceiling to follow the roof pitch, then add high-level rooflights to wash the ridge and push light down walls.
- Create a partial double-height zone over stairs or a dining area to act as a light reservoir.
- Specify light-reflective finishes and shallow downstand beams to keep the new volume effective.
Plan Terraced Home Works Around Party Wall Rules
Because most terraced upgrades touch a shared structure, you’ll need to plan your daylight strategy around the Party Wall etc. Act early: identify whether rooflights, rear extensions, steel beams, or chimney breast removals affect a party wall, party structure, or boundary. If your design involves cutting pockets for beams, raising a parapet, or chasing services, treat these as shared wall modifications under Party wall regulations. Serve valid notices (typically two months for party structure works, one month for excavations) and allow time for surveyors and an Award. Use structural calculations and method statements to minimise vibration, dust, and temporary propping, which can reassure neighbours and reduce disputes. Sequence works so light-giving openings install after stabilisation and weathering.
Frequently Asked Questions
What Planning Permission Is Needed for Rooflights in a Terraced Home?
You’ll often use permitted development, so you won’t need consent, if rooflights sit flush, don’t exceed the roof plane, and avoid protected areas. Check rooflight regulations, then follow your council’s planning permission process when required.
How Much Do Structural Changes to Increase Daylight Typically Cost?
You’ll typically pay £2k–£30k+ depending on scope; like chasing the sun, bigger openings cost more. Use cost estimates: rooflights £2–6k, side return £15–30k. Budgeting tips: add 10–20% contingency.
Will Adding More Glazing Make My Home Colder or Harder to Heat?
More glazing can make your home colder if you use basic units, but you’ll limit heat loss with high-performance double/triple glazing, low‑E coatings, and warm-edge spacers. Pair Energy efficiency upgrades with Insulation improvements for comfort.
How Long Do Major Daylight-Improving Renovations Usually Take to Complete?
You’ll typically need 4–12 weeks on site, depending on Interior layout alterations and Window placement changes. Planning, building control, and lead times can add 6–16 weeks. You’ll finish quicker with straightforward openings.
Can I Increase Natural Light Without Reducing Privacy From Neighbours?
Yes—you can, like fitting a one-way mirror to sunlight. Optimise Interior layout and Window placement: add high-level glazing, rooflights, frosted/obscure units, and light wells. Use UK planning-compliant screens, blinds, and boundary planting.
Conclusion
You don’t have to live with a gloomy terrace. You can map the darkest zones, open up internal walls, and steer daylight with rooflights. You can widen the plan with a side return, drop a lightwell to the basement, and swap solid doors for glazed screens. You can lift ceilings to pull light deeper, and you can programme works around party wall notices to avoid delays. Measure, model, build—and let your home breathe with light.
About the Author