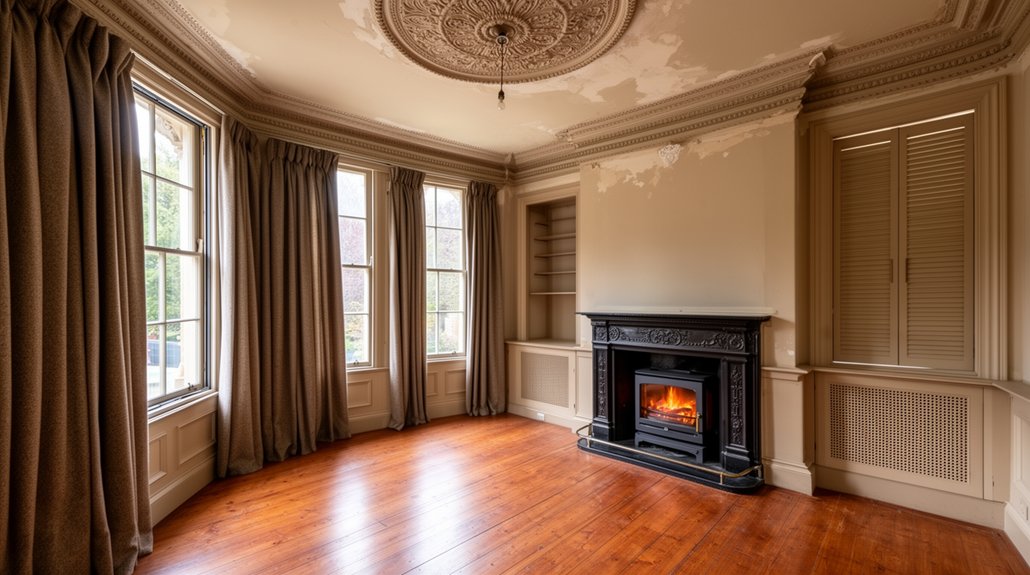
Start with a room-by-room survey, mapping cracks, stains, salts, and damp sources, then fix gutters, ground levels, and ventilation before you insulate. Stop uncontrolled draughts by repairing sash cords and putty, fitting reversible brush and compression seals, sealing loft hatches and service gaps, and blocking unused chimneys with a balloon or top damper. Keep character with lime plaster and vapour-open paints, breathable wall systems, rugs over timber floors, and zoned period-style radiators. Next, you’ll see how to choose the safest upgrades.
Key Takeaways
- Survey room-by-room for damp, cracks, and material types, then fix gutters, ground levels, and leaks before insulating or sealing.
- Prioritise airtightness first: draught-proof sash windows, doors, loft hatches, and service penetrations using reversible seals that preserve original joinery.
- Restore sash windows traditionally—repair rot, renew cords, re-bed glass with linseed putty—then add discreet secondary glazing with low‑E panels.
- Insulate sensitively: ventilated loft insulation, breathable internal wall insulation, and draught-sealed timber floors with rugs, avoiding moisture-trapping materials.
- Protect heritage character by documenting features, checking listing or conservation rules, and bundling evidence-based upgrades into a single consent strategy.
Survey the House First (Fabric, Faults, Damp)
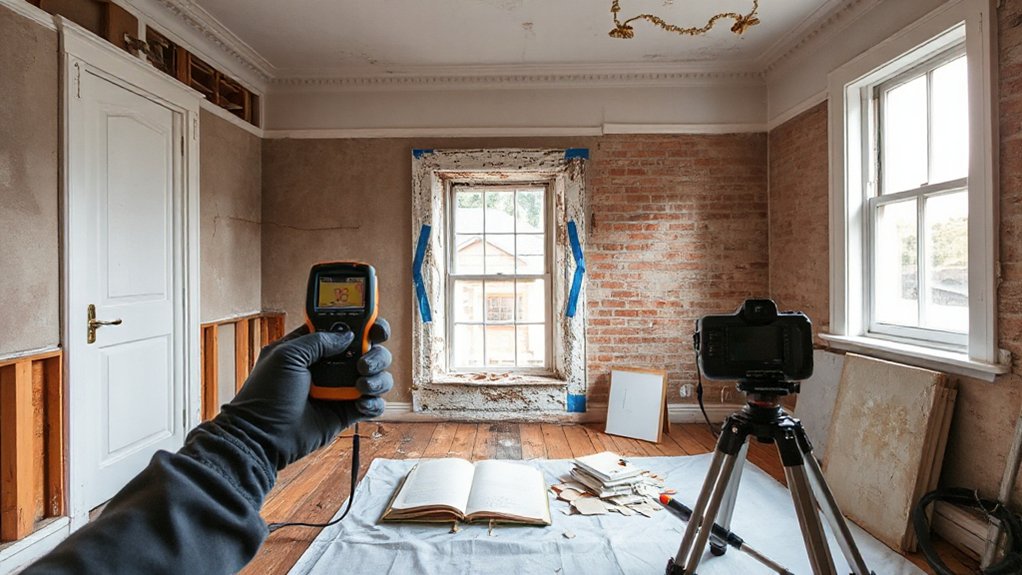
Before you add insulation, replace windows, or draft-proof, you need to survey the house as it actually performs today—its fabric, its faults, and its damp risks. Start room by room: note wall type (solid brick, lath-and-plaster), floor build-up, chimney paths, and any later alterations. Map cracks, staining, peeling paint, and salt deposits; photograph details for Historical accuracy. Check gutters, downpipes, and ground levels, then trace moisture sources: rising damp indicators at skirtings, penetrating damp at corners, and condensation on cold bridges. Use a moisture meter cautiously and confirm with ventilation checks and smell. Lift a floorboard where safe to inspect joists and sleeper walls. Record materials so every repair maintains Material compatibility and avoids trapping moisture later.
Set Priorities: Comfort Wins That Keep Character
Set your priorities around comfort gains that don’t erase Victorian character: stop uncontrolled air leakage first, then insulate where it won’t trap moisture or hide original details. You can draught-proof sash windows, doors, and floorboards with reversible seals, brushes, and discreet gaps that protect mouldings and allow movement. You can add insulation in lofts, under floors, and behind linings using breathable, properly ventilated build-ups so cornices, skirtings, and plasterwork stay intact.
Draught-Proofing Without Damage
Where does most heat escape in a Victorian house—without you ever noticing? It leaks through gaps: sash windows, door perimeters, floorboard cracks, and unused chimneys. Start with a smoke pencil or damp hand to map airflow, then tackle the worst rooms first for fast comfort.
Keep historical accuracy while ensuring modern compatibility by choosing reversible fixes. Fit brush or pile seals to sashes, add discreet staff-and-parting beads, and use compressible door seals plus a well-fitted threshold strip. Repair loose panes with linseed-based putty, not silicone. Seal floorboard edges with flexible filler or hemp rope, and cap redundant fireplaces with a ventilated chimney balloon so the flue can still breathe. You’ll cut drafts without scarring original joinery.
Insulation That Respects Details
Although Victorian houses feel solid, you’ll get the biggest comfort gains by insulating in an order that protects period fabric: start with the loft/roof space, then tackle suspended timber floors, and only then consider walls. In the roof, use breathable quilt or woodfibre between and over joists, keep eaves ventilation clear, and fit an airtight hatch. Under floors, lift boards carefully, add mineral wool or sheep’s wool on netting between joists, and maintain airflow through airbricks to prevent rot. For walls, avoid impermeable foam that traps moisture and harms Historical authenticity; choose vapour-open internal linings (woodfibre or calcium silicate) where needed, and detail around cornices, skirtings, and dado rails. Use modern technology like thermal imaging to target gaps before you cover anything.
Choose What to Restore: Value, Risk, Cost
Before you strip paint, replace windows, or gut a room, decide what’s actually worth restoring by weighing value, risk, and cost in that order. Start with high-heritage, high-visibility elements: cornices, ceiling roses, original joinery, encaustic tiles, and fireplaces. Prioritise what’s intact and repairable, and what affects the home’s character most.
Next, audit Restoration risks. Check for lead paint, asbestos in old linings, unstable plaster, damp-driven decay, and undersized electrics. If disturbing a feature will trigger wider damage, phase the work or bring in a specialist.
Finally, lock in Cost considerations. Price survey, repair, and compliant upgrades, plus contingency for hidden defects. Spend where you’ll keep fabric; choose reversible, low-impact improvements elsewhere to protect future options.
Repair Sash Windows and Draught-Proof Them
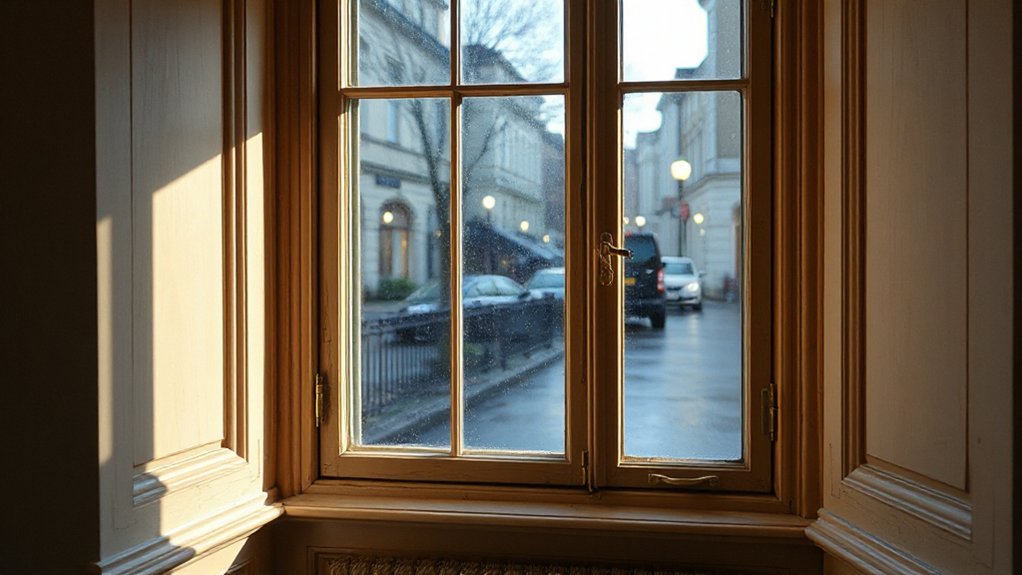
Once you’ve decided which original features deserve investment, put sash windows near the top of the list: they dominate the façade, drive a lot of heat loss, and usually respond well to repair. Start by checking each Window sash for rot at the meeting rails and sill, loose joints, and rattling glass. Re-bed panes with linseed putty, splice in matching timber, and tighten or re-pin mortise-and-tenon joints so the sashes run true.
Then tune the mechanism: clean pulleys, replace frayed cords, and balance weights so you’re not forcing frames out of square. Finish with Draught proofing that doesn’t fight the original design:
- Brush seals in staff and parting beads
- Compression seals at the meeting rail
- A discreet threshold seal at the bottom rail
Secondary Glazing Options for Sash Windows
If you want better thermal performance without changing your Victorian sash windows’ external appearance, you’ll add secondary glazing on the room side. You can choose magnetic secondary glazing for quick seasonal fitting, sliding panel systems that operate like a discreet inner sash, or hinged removable units that give you straightforward access for cleaning and ventilation. Each option differs in airtightness, day-to-day usability, and how neatly it integrates with shutters, staff beads, and window furniture.
Magnetic Secondary Glazing
How do you boost comfort in a Victorian sash window without drilling frames or hiding original joinery? You fit Magnetic secondary glazing: a slim acrylic or glass panel that seals to discreet steel tape on the sash or staff bead. You’ll cut draughts, reduce condensation risk, and keep sightlines clean because the system sits tight to existing mouldings and lifts off for cleaning.
- Measure the reveal precisely, then order panels with a continuous magnetic gasket for an even seal.
- Choose thicker panels and closed-cell seals for stronger Acoustic insulation near roads or rail lines.
- Check meeting rails and catches; maintain access so you can still operate the sashes and ventilate when needed.
Done properly, you’ll improve U-values without compromising historic fabric.
Sliding Panel Systems
Where magnetic panels give you a lift-off seal, sliding panel systems deliver everyday usability by running one or more secondary-glazing sashes on slim tracks fixed to the reveal, so you can open, close, and vent without dismantling anything. Choose top-and-bottom tracks for stability, and specify brush seals and interlocks to cut draughts and rattle. For tall bays, use multiple Sliding panels so you can access sash cords, locks, and meeting rails. You’ll get a strong energy retrofit when you set a generous air gap and select low‑E glass; it improves U-values and reduces condensation risk on the primary pane. Keep sightlines slim by recessing frames, and insist on colour-matched finishes to protect Victorian joinery and mouldings.
Hinged Removable Units
- Use lift-off hinges to remove the panel during summer.
- Specify magnetic catches for a tight, even seal.
- Allow clearance for sash lifts, locks, and staff beads.
Seal Victorian Doors With Reversible Draught-Proofing
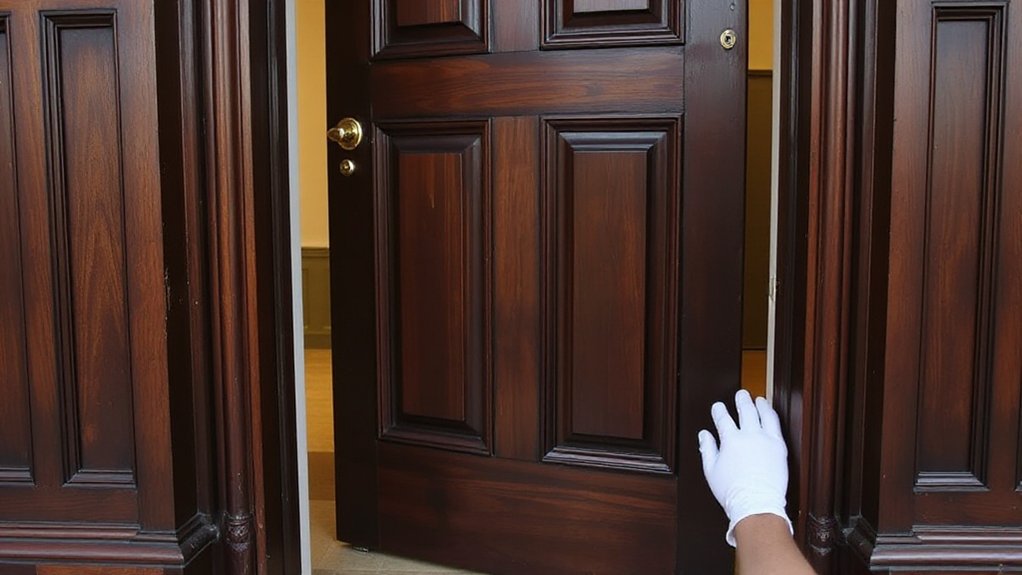
Although original Victorian doors look robust, most leak air around the jambs, letter plate, and threshold, so you’ll feel draughts long before you spot gaps. Start by understanding Victorian door design: warped stiles, worn stops, and uneven floors create sneaky leakage paths that don’t need invasive fixes.
Use reversible draught proofing techniques so you don’t damage historic timber. Fit brush or silicone compression seals into existing stop beads, or apply self-adhesive V-strip where clearances are tight. Add a clip-in letterbox brush and an internal cover plate you can remove for post. At the threshold, install a drop-down seal on the door’s inside face and pair it with a removable door snake for cold snaps. Test with a torch and a smoke pencil to confirm a continuous seal.
Insulate the Loft Without Blocking Airflow
If you insulate a Victorian loft without planning for ventilation, you can trap moisture against cold roof timbers and invite condensation, mould, and rot. Start by checking existing eaves and ridge paths, then design Loft ventilation that keeps outside air moving above the insulation layer. Use airflow management details that stop insulation from slumping into the eaves and blocking soffit vents. Fit insulation between and across joists to reduce thermal bridging, but don’t pack tight to the roof deck unless you’re installing a designed warm-roof system.
- Install rafter trays or baffles at eaves to maintain a clear air channel
- Keep loft hatches, pipe penetrations, and downlights sealed and fire-safe
- Leave access to water tanks, wiring junctions, and inspectable timbers
Solid-Wall Insulation: Internal vs External (Pros/Risks)
Because most Victorian homes rely on breathable solid brickwork rather than a cavity, you need to choose between internal wall insulation (IWI) and external wall insulation (EWI) with moisture behaviour and detailing in mind—not just U‑values. With IWI, you’ll keep the façade intact, but you’ll lose a little floor area and must manage cold bridging at joist ends, party walls, and window reveals; vapour-open, capillary-active boards and airtightness tapes reduce interstitial condensation risk. With EWI, you’ll wrap the thermal mass, cut thermal bridges, and keep rooms warmer, but you’ll change cornices, brick detailing, and roof/eaves lines, and you must redesign sills, gutters, and boundaries. For Solid wall insulation, internal vs external comes down to heritage impact versus whole-envelope continuity.
Insulate Suspended Timber Floors From Below
When you’ve got a ventilated void under a Victorian suspended timber floor, insulating from below usually gives you the best energy gains with the least disruption upstairs. You’ll lift access panels or work from a cellar, then fit rigid boards or mineral wool tight between joists, supported with netting or battens to prevent sagging. Keep joist ends dry and breathable, and don’t block air bricks; good Basement ventilation protects timber from rot. Add moisture barriers only where appropriate: use a vapour-permeable membrane on the cold side, and tape joints to reduce draughts without trapping moisture.
- Check vents, clear debris, and confirm crossflow.
- Seal gaps at perimeter and around service penetrations.
- Leave a small inspection gap and label future access points.
Fireplaces and Chimneys: Stop Drafts Safely
Although an open Victorian fireplace looks charming, it can act like a permanent extractor fan, pulling heated air up the flue and dragging cold air through every gap in the room. If you’re not lighting fires daily, fit a removable chimney balloon or a purpose-made top-sealing damper to stop drafts while keeping the flue ventilated. Keep the original grate and surround, but add a tight-fitting fireback and a register plate to reduce leakage around the throat. For Fireplace safety, have a HETAS-registered professional sweep and inspect the liner, pot, and flashing before you seal anything. Build chimney maintenance into your routine: sweep annually, check for crumbling mortar, and clear any vent grilles so moisture can escape.
Repair Plasterwork With Breathable Lime Materials
Victorian plaster usually needs to breathe, so you’ll get longer-lasting repairs by matching it with lime-based materials instead of hard modern gypsum or cement. Start by fixing the cause: damp, salts, and failed gutters will keep blowing new patches. Rake out loose edges, mist the background, then apply Lime plaster in thin coats so it keys and carbonates properly. Keep corners and mouldings crisp by using a straightedge and running profiles while the mix is green. Finish with vapour-open paints so moisture can escape without blistering.
- Patch with compatible lime putty or NHL, matched to existing aggregate
- Use scrim over cracks, not rigid fillers, to reduce future movement
- Choose breathable finishes (limewash or clay paint), not vinyl emulsions
Keep Timber Floors: Finish, Gaps, and Rugs
Keep your original timber floors and refinish them with breathable oils so the boards can move and moisture can escape without trapping damp. Seal drafty gaps between boards and around skirtings with appropriate gap fillers or draught strips to cut heat loss while preserving the floor’s character. Then add insulating wool rugs and underlays in high-use areas to boost comfort and reduce cold-floor chill without changing the fabric of the house.
Refinish With Breathable Oils
Once you’ve decided to retain the original timber floors, refinish them with breathable oils rather than thick varnishes so the boards can exchange moisture without trapping it. Start by evaluating wear, then sand lightly to remove surface grime while keeping the patina and crisp board edges. Vacuum thoroughly and wipe with mineral spirits so the oil bonds evenly. Apply breathable oils in thin coats, working with the grain, and buff off excess to avoid tackiness and patchy sheen. Build durability with multiple coats, allowing full cure time between applications for a hard-wearing, natural finish.
- Choose a hardwax oil or tung/linseed blend suited to foot traffic.
- Spot-test colour on a hidden board before committing.
- Maintain with dry mopping and periodic re-oiling, not harsh detergents.
Seal Drafty Floor Gaps
After you’ve oiled the boards and locked in a breathable finish, tackle the gaps that let cold air and dust stream up from below. Start by identifying movement: walk the room, listen for squeaks, and mark wide joints and perimeter gaps. Vacuum thoroughly so gap filling bonds to clean timber, not grit. Use flexible, paintable acrylic or polymer floorboard sealant for narrow gaps; it accommodates seasonal expansion better than rigid fillers. For wider joints, press in jute or foam backing cord first, then apply sealant flush and tool it smooth. At skirtings, run a neat bead to stop draughts without trapping moisture under the boards. Keep floor sealing continuous, but don’t bridge ventilation grilles or air bricks.
Add Insulating Wool Rugs
Although timber floors suit Victorian rooms, bare boards leak heat and feel cold underfoot, so lay dense wool rugs to add insulation without hiding the character. Choose 100% wool with a tight weave: it traps air, dampens sound, and wears well. Size rugs to sit within the room’s “furniture islands” so you keep a perimeter of visible boards and skirting.
- Use a felt or rubber-underlay to stop slip, reduce drafts through boards, and protect your finish.
- Pick colours and motifs drawn from Victorian textiles, but avoid harsh synthetics that look wrong and breathe poorly.
- Keep edges clear of freshly finished boards and any Historic paint on thresholds; wool can abrade soft coatings.
Rotate rugs seasonally, vacuum both sides, and air them to prevent moths and musty underlay.
Upgrade Heating Discreetly (Controls, Zoning, Radiators)
If you want better comfort and lower bills without disturbing Victorian cornices, fireplaces, or floorboards, start by upgrading your heating controls, zoning, and radiators in ways that stay largely out of sight. Fit discreet controls like a programmable thermostat, smart TRVs, and a load-compensating boiler controller to stop overheating and cut run time. Create room-by-room schedules so seldom-used bedrooms don’t steal heat from living spaces. Use zoning radiators strategically: size them to each room’s heat loss, keep them off external walls where possible, and choose period-style cast-iron or slim column designs that suit the era. Balance the system, set lower flow temperatures if your boiler allows, and bleed and flush to improve circulation. You’ll gain steadier temperatures with minimal visual change.
Permissions and Funding: Listed Consent and Grants
Better controls and well-sized radiators can deliver immediate savings, but Victorian homes—especially listed buildings or those in conservation areas—often require permissions before you touch fabric, façades, chimneys, windows, or even internal features such as staircases and cornices. Start by confirming your listing grade, local conservation constraints, and what counts as “like-for-like.” Follow Permission protocols: document existing details, propose reversible measures, and submit drawings, method statements, and materials schedules early to avoid redesigns.
- Speak to the conservation officer before appointing trades; align scope and evidence.
- Bundle measures (secondary glazing, draught-proofing, roof insulation) into one consent strategy.
- Map Funding sources: local authority grants, heritage charities, energy-efficiency schemes, and supplier obligations.
Keep receipts, photos, and approvals; they protect resale value and insurance.
Frequently Asked Questions
What Paint Colours Are Historically Accurate for Victorian Interiors?
You’ll get historically accurate Victorian interiors by using Victorian color palettes like deep oxblood, bottle green, Prussian blue, and rich ochre. Choose Historical paint shades in muted, complex tones, paired with warm creams, grained woodwork, gilt accents.
How Can I Source Reclaimed Period Tiles, Fireplaces, and Cornices Affordably?
Like a magpie, you’ll find bargains by scanning architectural salvage yards, reclamation depots, and online marketplaces. For reclaimed materials sourcing and affordable period fixtures, set alerts, buy job lots, negotiate, and check auctions, demolitions, and local classifieds.
Will Energy Upgrades Increase or Reduce My Home Insurance Premiums?
Energy upgrades can lower or raise your Insurance premiums—you’ll usually see reductions when you cut Energy cost and fire risk, but increases if you add high-value systems. Tell your insurer, document work, use certified installers.
Which Renovations Risk Lowering the Property’s Resale Value?
Poorly planned projects can lower resale: stripping Historic preservation details, replacing wood windows with cheap vinyl, open-plan gutting, overbuilt additions, and loud exterior cladding. You’ll protect value if you add Modern insulation discreetly.
How Do I Manage Noise Reduction Without Changing Original Appearance?
You’ll cut noise without altering looks by using Soundproofing techniques: add Acoustic insulation behind lath-and-plaster, install secondary glazing inside existing sashes, seal gaps with reversible putty, and lay dense underlay beneath rugs.
Conclusion
You’ve surveyed the fabric, fixed damp, and set priorities that protect comfort without stripping character. Now the real test begins: you choose which features to restore, and you do it in the right order. You’ll seal sash windows, add secondary glazing, and repair plaster with breathable lime so moisture can’t trap itself. You’ll keep timber floors, tighten gaps, and zone heating discreetly. Then comes the final reveal—permissions, grants, and the moment you feel the difference.
About the Author