
Start by evaluating the boards for rot, woodworm, splits and deflection, and check moisture (over 18–20% suggests damp). Strip carpets in 600–900mm rolls, score paint lines at skirtings, and pull grippers, staples and nails without tearing edges. Deal with bitumen, lead paint or asbestos-backed residues before sanding. Re-fix loose boards into joists, splice splits, and patch missing sections with matching reclaimed timber. Sand 24/36 through to 100/120 grit, manage gaps with slivers, then seal with hardwax oil or water-based PU—next you’ll see the finer points that make the finish last.
Key Takeaways
- Assess timber type, condition, and moisture; fix damp or rot issues before restoration work begins.
- Remove carpets, gripper rods, staples, and nails carefully; vacuum thoroughly and identify hazards like bitumen, lead paint, or asbestos.
- Repair loose, split, or missing boards using matching reclaimed timber; secure into joists and treat vulnerable ends with boron if needed.
- Level and silence the floor by re-fixing squeaks, setting nail heads, and planing cupped edges before sanding.
- Sand progressively through grits, then manage gaps with slivers or leave seasonal movement, and finish with hardwax oil or durable lacquer.
Assess Original Floorboards: Restore or Replace?
Before you lift a single board, you need to assess what you’ve actually got, because the right decision hinges on structural soundness rather than appearance. Start by identifying timber type and age: Georgian and Victorian boards are often slow-grown pine, while later repairs may be softwood or ply. Check for deflection, split tongues, end shakes, and cupping; probe suspected rot with a bradawl and note any powdery frass indicating woodworm. Measure moisture content with a meter; in UK homes, persistent readings above ~18–20% suggest an underlying damp issue. If over 25% of a room needs patching, replacement may be more economical. Prioritise Historical accuracy by retaining sound boards and matching widths; use modern materials only where concealed or unavoidable.
Lift Carpets and Remove Fixings Safely
Start by cutting the carpet into manageable strips with a sharp knife, then roll and tape each section so you can lift it without snagging on gripper rods or dragging grit across the boards. You’ll expose the tack strips and fixings next, so wear gloves and use a wide bolster chisel or pry bar to lever gripper rods up in short lifts, keeping the tool flat to avoid gouging the timber. Bag and label all tacks, staples, and nails as you go, and run a magnet over the floor before you move on to sanding or repairs.
Carpet Lifting Techniques
Although lifting carpet looks straightforward, you’ll get cleaner results—and avoid gouging original boards—by working methodically with the right tools: a sharp craft knife, bolster/paint scraper, pry bar, and end-cutting nippers. Start at a doorway threshold and cut the carpet into manageable 600–900mm strips, keeping the blade shallow so you don’t score the boards. Roll each strip tightly, then lever up the edge with the scraper and pry bar, using a thin offcut as a fulcrum to protect the timber. As you expose grippers or staples, snip protruding fixings flush and pull remaining pins with nippers, lifting straight up to prevent splitting. Bag underlay and debris immediately to preserve flooring aesthetics and historical accuracy. Mark pipe notches and seams for later repair work.
Safe Tack Strip Removal
With the carpet and underlay rolled back in strips, you’ll be left with tack strips (gripper rods) and a scatter of staples, nails, and pins that can splinter original floorboards if you prise them up carelessly. Work methodically so you don’t scar floorboard patterns or lose historical significance.
- Score paint lines along skirting with a sharp knife to prevent tear-out.
- Use end-cutting nippers to pull staples vertically, not sideways across grain.
- Slide a wide bolster or stiff putty knife under gripper rods, then lever on a scrap board.
- Back out nails with a cat’s paw; if they’re stubborn, drive them through with a nail set.
- Bag fixings immediately; loose pins become puncture hazards and can jam sanders.
Finish by vacuuming thoroughly and checking for raised fibres.
Deal With Old Adhesive, Paint, and Hazards
Before you reach for a sander, you’ll need to identify and control any old adhesive, paint, or hidden hazards on the floorboards, because tackling them in the wrong order can spread contamination, clog abrasives, and damage the timber. Check for bitumen residues from old tiles, carpet glue, and brittle varnish edges; photograph suspect areas.
For Adhesive removal, soften water-based mastics with warm water and a scraper, but use a low-odour citrus gel or heat gun for stubborn modern glues, keeping the blade flat to avoid gouging. For Paint stripping, assume pre-1970 coatings may contain lead; use a lead test kit, mist-spray to suppress dust, and collect scrapings into sealed bags. If you find black mastic or unusual fibrous backing, stop and arrange UKAS-tested sampling for asbestos. Wear FFP3, ventilate well.
Repair Original Floorboards: Loose, Split, Missing
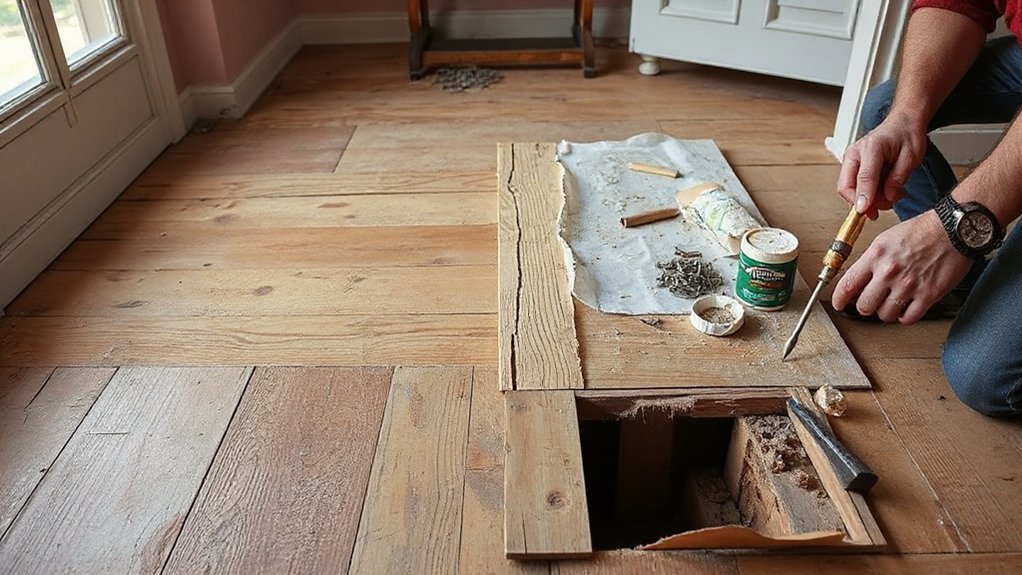
You’ll need to stabilise any loose floorboards first by re-fixing them to the joists with lost-head nails or appropriate screws, checking for services below before you fasten. You can then repair splits and cracks with glued timber slips, epoxy filler, or resin repair systems, clamping where required to keep the board flat and tight. Where boards are missing, you should splice in reclaimed matching boards (species, thickness, and face width) and trim to suit the existing tongue-and-groove or square-edge detail.
Fix Loose Floorboards
Although old timber floors often feel springy after decades of movement, a loose floorboard usually points to failed fixings or a worn joist edge rather than the board itself. Lift any nearby boards carefully, then resecure the loose one to sound timber, keeping services clear.
- Locate joists with a stud finder or by reading nail lines, then mark centres.
- Replace cut nails with countersunk wood screws; pre-drill to prevent splitting.
- If the joist edge is chewed, glue and screw a timber fillet or plywood packer to restore bearing.
- Refix with two screws per joist, staggered, and check for squeaks before closing up.
- When adding Floorboard insulation, keep fixings accessible and avoid Modern flooring overlays that trap moisture and amplify movement.
Repair Splits And Cracks
Once the boards sit tight on the joists, deal with splits and cracks that let draughts through and spread under foot traffic. First, clean out debris with a scraper and vacuum, then check movement by flexing the board edges. For hairline splits, work in a low-viscosity wood adhesive, clamp, and wipe squeeze-out before it skins.
For wider cracks, avoid brittle filler that’ll pop out; instead, glue in tapered timber slips cut with the grain, matching species and colour for Historical authenticity. Plane flush once cured and re-pin only where necessary, using lost-head nails set below the surface. If you’ve Decorative inlays, mask them and keep adhesives off exposed end grain to prevent staining. Sand lightly.
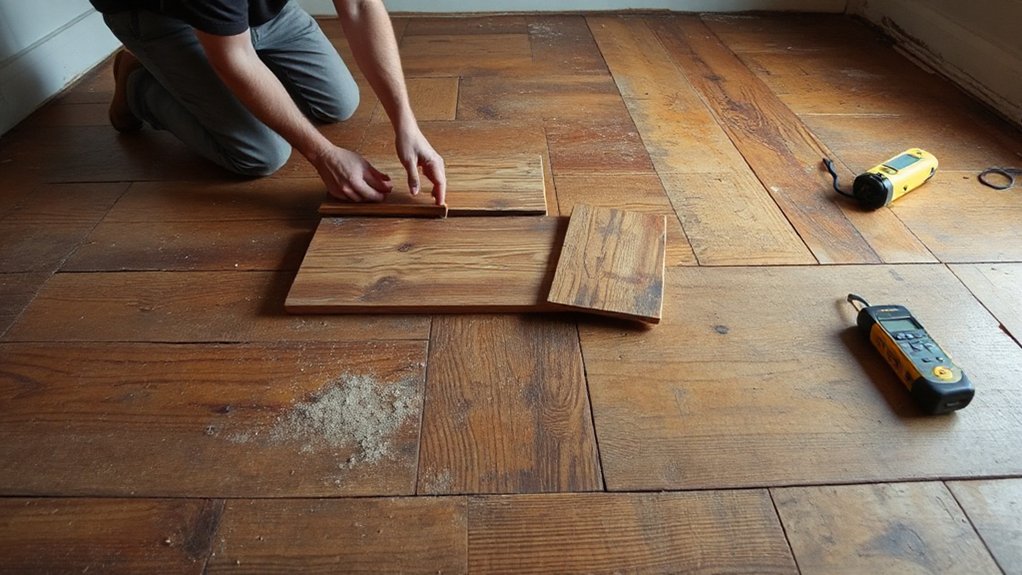
Replace Missing Boards
When a floorboard’s missing, don’t rush to patch the gap with sheet material or filler; instead, source a like-for-like replacement that matches the original species, thickness and profile, then verify the joist spacing and fixing method so the repair sits tight and doesn’t introduce squeaks. For Floorboard restoration in a period property, cut the replacement to the exact bay length, then undercut the tongue or remove the lower groove lip so you can drop it in without lifting adjacent boards. Pre-drill to avoid splitting, and fix into joists only. Keep services clear and maintain ventilation.
- Reclaim matching pine/oak from UK salvage yards
- Check board width, crown, and edge profile
- Treat ends with boron where rot risk exists
- Use lost-head nails or screws, consistent with original
- Re-instate insulation and draft strips without blocking airbricks
Stop Squeaks and Level Uneven Floorboards
If your restored floorboards creak underfoot or feel slightly proud and hollow in places, you’ll need to lock them down and bring the surface back to plane before any sanding or finishing. First, trace squeaks: walk slowly, mark boards, then lift a nearby board to inspect joists, noggins, and old cut nails. Re-fix using countersunk flooring screws into joists (pilot first to prevent splitting), and add construction adhesive where tongues are intact. Pack gaps over joists with tapered timber slips; avoid foam that can trap moisture after wood treatment. Where boards cup or edge-lip, plane high edges with a sharp block plane and check with a straightedge. Finally, punch protruding nail heads below the surface for safe, consistent aesthetic restoration.
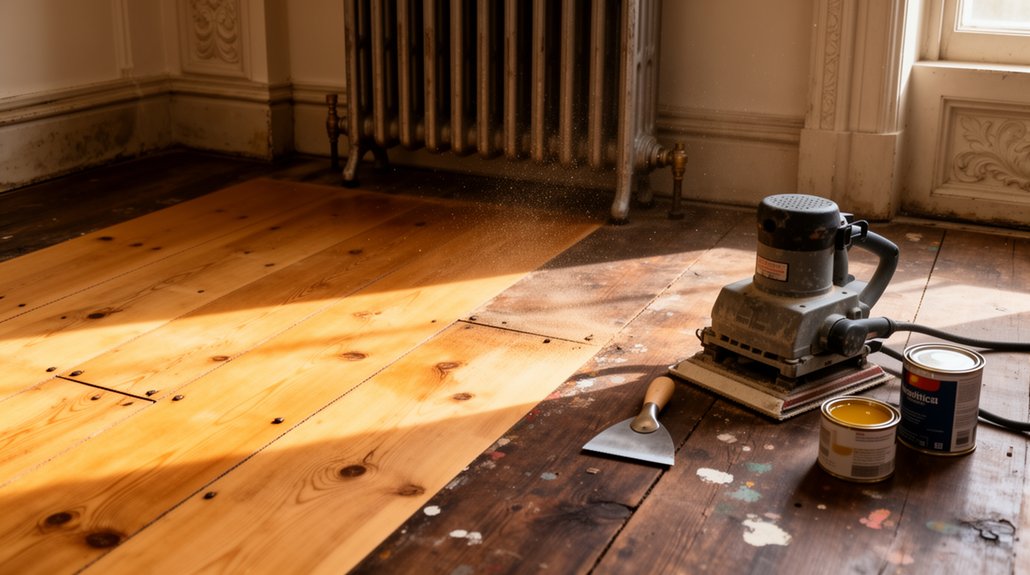
Sand Original Floorboards: Tools and Grit Plan
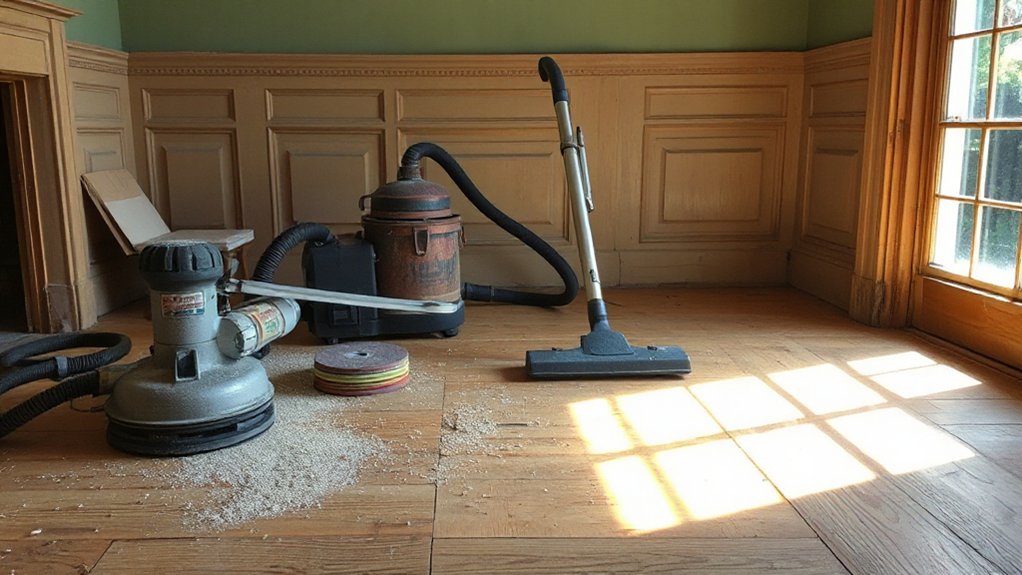
Although you can sand floorboards with a handheld belt sander in tight areas, you’ll get flatter, faster results by hiring a proper drum sander and edging sander (most UK hire shops supply both with dust bags) and planning your grit sequence before you start. Begin with Floorboard cleaning: lift staples, set nails below the surface, and vacuum grit that’ll cut swirls. Your Grit selection should match condition; don’t jump grades or you’ll chase scratches.
- Start 24/36 grit only for heavy cupping or paint remnants
- Use 40 grit to remove wear and blend repairs
- Progress to 60 then 80 for uniform scratch pattern
- Finish 100/120 for sealing-ready smoothness on softwood
- Edge sand with the same grit steps, then hand-scrape corners
Decide Whether to Fill Floorboard Gaps
Sanding leaves you with clean, bright timber and makes every gap between boards obvious, so decide now whether you’ll leave the boards to move naturally or fill the joints for a tighter finish. In UK period houses, seasonal expansion is normal; wide Victorian pine boards can open 2–5mm in winter, then close in summer.
If you want historical authenticity, leave small gaps and just lift loose debris. Where draughts or crumbs are a nuisance, fit timber slivers (matching species and grain) glued to one edge only, so movement isn’t locked. Avoid rigid fillers across full-width gaps; they’ll crack and telegraph through later work. Use flexible gap seal where boards meet skirtings or around services. Treat around Decorative inlays conservatively: don’t fill proud, and don’t smear adhesive into details.
Finish and Protect Period Floorboards Long-Term
Once you’ve settled how the boards will move and where gaps will remain, lock in that work with a finish that suits both the timber and UK living conditions. For softwood in Victorian terraces, hardwax oil gives breathable protection and easy patch repairs; for high-traffic halls, a water-based polyurethane offers higher abrasion resistance but can look less traditional. Prioritise historical accuracy by matching sheen and tone to surviving thresholds, and keep Decorative finishing subtle so the grain reads, not the coating.
- Vacuum and tack-rag to prevent nibs under the film
- Apply a dewaxed shellac seal coat to block resin bleed
- Maintain 18–22°C and steady RH during curing
- Work with the grain; de-nib between coats with 240 grit
- Fit felt pads and use breathable rugs to reduce wear
Frequently Asked Questions
Will Restoring Floorboards Affect My Home’s Listed-Building Consent Requirements?
Yes, restoring floorboards can trigger listed-building consent, especially with floorboard removal or replacing sections. You should consult your conservation officer, document historical accuracy, and use reversible methods; like-for-like repairs often proceed with simpler approvals.
How Do I Match Stain Colour to Other Original Wood Features?
Start where the eye lingers: you’ll stain match by sampling inconspicuously. Clean, de-wax, and sand equally, then trial stains in daylight. Adjust Wood color via dilution, layering, or toners, sealing to confirm.
What’s the Best Way to Reduce Draughts Without Sealing Boards Permanently?
Use compressible draught excluder strips or rope caulk between boards for Draft prevention; you’ll get Temporary sealing you can lift later. Add underfloor felt or foil-backed quilt on joists, and fit removable skirting seals.
Can I Install Underfloor Heating Beneath Existing Period Floorboards?
Yes, you can, like my neighbour’s 1890s terrace where warm pipes tamed 3°C winter swings. You’ll need low-profile wet UFH, underfloor insulation, careful floorboard repair, and moisture checks, plus building regs-compliant controls.
How Often Should I Re-Oil or Re-Varnish Restored Floorboards?
You should re-oil every 6–12 months in high-traffic UK rooms, or 12–24 months otherwise; re-varnish every 3–5 years. After floorboard sanding, follow wood treatment techniques and monitor wear patterns, moisture.
Conclusion
You’ve peeled back the carpets like lifting a veil, and the boards beneath become the property’s backbone. Once you’ve checked what’s worth saving, removed fixings, and managed old adhesive, paint, and lead dust safely, you can repair splits, tighten loose boards, and tame squeaks. Sand methodically, weigh gap-filling, then seal with a hardwearing finish. Done right, your restored floorboards aren’t just timber—they’re the house’s original heartbeat, protected for decades.


