
Over 60% of remote bothy comfort problems trace back to moisture ingress and uncontrolled air leakage. You start by checking access constraints, permissions, and a hard budget, then you prioritise safety-critical defects like roof spread, unstable masonry, and flue integrity. You seal water paths, manage vapour with controlled ventilation, and plan insulation so you don’t trap damp. Get that sequence wrong and your stove, power, and storage choices won’t matter—here’s what you tackle next.
Key Takeaways
- Secure landowner consent, check planning constraints, and inspect structure for cracks, bulging walls, rotten timbers, and unsafe floors before any work.
- Plan access and logistics: seasonal tracks, vehicle limits, pack-in weights, waste removal, and add 15–25% contingency for weather delays.
- Fix damp first by repairing roof and flashings, clearing gutters, regrading ground, and repointing stone with lime mortar for breathability.
- Install safe heat and airflow: UKCA/CE stove, sound flue and hearth clearances, dedicated vents, plus CO alarms and humidity monitoring.
- Add off-grid comforts: 100–200W solar with LiFePO4 battery, LED/USB power, treated water storage, and modular sleeping and drying storage with good airflow.
Set Your Bothy Plan: Rules, Budget, Access
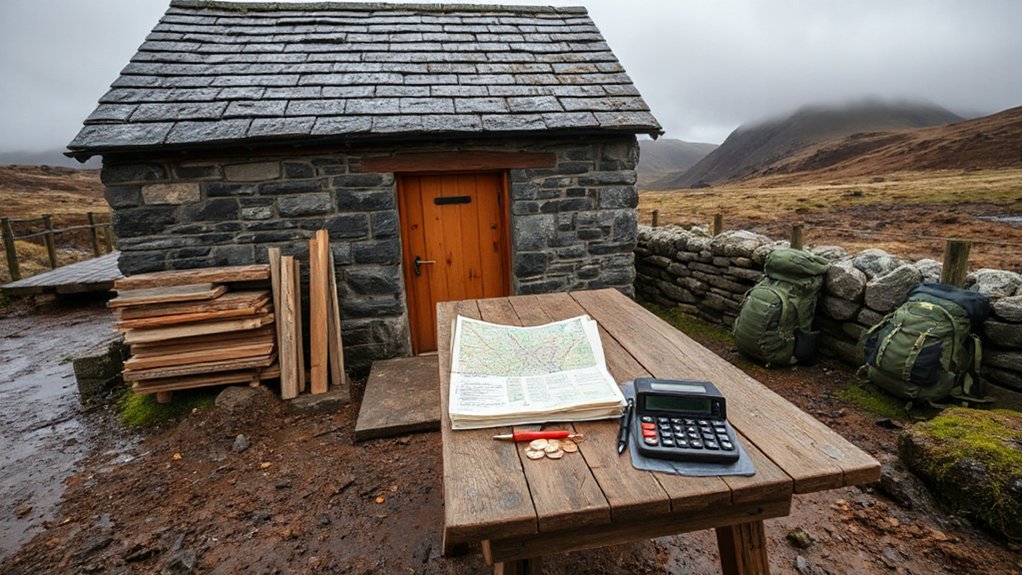
Before you lift a hammer, lock down a bothy plan that covers compliance, cost, and logistics: confirm the landowner’s consent and any statutory constraints (planning permission, listed status, environmental designations, right-of-way obligations), set a line-item budget with contingencies for transport and off-grid systems, and map access realistically by season (track condition, bridge crossings, vehicle limits, pack-in distance). Document scope in a method statement: materials schedule, waste removal, and delivery sequencing. Price pack-in weights, fuel, batteries, and water storage, then add a 15–25% contingency for weather delays. Plan access windows around stalking, lambing, and river spate risk, and identify safe turnaround and staging points. Specify how you’ll accommodate outdoor activities and protect bothy art (moisture control, lockable storage, no solvent fumes).
Inspect the Bothy for Safety-Critical Repairs
Although you might be itching to strip out damp lining and light the stove, start by treating the bothy as a structural and fire-risk assessment and identify anything that could fail suddenly. Check Structural integrity first: inspect roof timbers for sagging, wall heads for bulging, and masonry for stepped cracking; probe lintels and joist ends for softness, and verify the chimney stack is plumb and well-bonded. Assess floors for bounce and localized collapse risk, especially around hearths and thresholds. Next, confirm electrical safety: isolate any supply, remove improvised generators, and test circuits only with an RCD and continuity/insulation readings; replace scorched accessories, exposed conductors, and unprotected junctions. Finally, review stove clearances, hearth construction, flue condition, and ventilation openings before any test burn.
Stop Leaks and Manage Bothy Damp and Drafts
Once you’ve confirmed the structure and fire setup won’t bite you later, tackle water ingress and uncontrolled air movement because they drive rot, mould, and heat loss fast in a highland bothy. Start at the roof: replace missing slates, re-bed ridge tiles, and seal flashings with lead-compatible mastic. Clear gutters, cut back turf, and regrade ground to shed runoff away from walls. For Moisture control, keep breathability: repoint stone with lime mortar, not cement, and use a vapour-permeable membrane behind any new linings. Chase drafts by sealing sill gaps, door thresholds, and service penetrations with compressible tape and backer rod; avoid foams on damp masonry. Apply Insulation techniques only after you’ve stopped bulk water.
Install a Safe Bothy Stove and Ventilation
You’ll start by selecting a stove with the correct heat output for your bothy’s cubic volume and a flue system rated for solid fuel, then confirm you can meet required hearth clearances and combustible separation distances. You’ll map ventilation as a dedicated air supply plus a reliable exhaust path, positioning vents to prevent backdrafting and to maintain stable draught across the stove. You can’t treat this as optional—get the stove, flue routing, and vent geometry right to control carbon monoxide risk and maximise heating efficiency.
Choosing The Right Stove
Before you commit to a stove for your bothy, size the unit to the space and choose a model that’s certifiable for solid fuel use with a proper flue system, because heat output and combustion design directly affect safety and ventilation requirements. Aim for 4–6 kW for most small bothies; oversizing drives slumbering, creosote, and poor fuel efficiency. Pick a clean-burn or secondary-combustion stove with CE/UKCA marking, tested clearances, and a sealed door for controlled draft. Specify a flue collar that matches standard twin-wall components and a compatible register plate. For stove safety, select a non-combustible hearth of correct projection and check manufacturer distances to timber walls; add heat shields only if the manual allows them. Choose cast iron for steady radiant heat, steel for fast warm-up.
Planning Safe Ventilation Paths
How does a small bothy stay warm without becoming airtight and dangerous? You plan ventilation as a controlled circuit: fresh-air inlets low, exhaust high, and a dedicated combustion air feed to the stove. Cut a wall vent near floor level on the windward side, then add a high-level vent or passive stack on the leeward side to maintain pressure balance and prevent backdrafting. Keep vents clear of sleeping platforms and use insect mesh plus baffles to reduce spindrift. Seal uncontrolled leaks around the flue with fire-rated collar and high-temp sealant, but don’t block intentional vents. For airflow optimization, size openings to match stove output and room volume. Add air quality monitoring: CO alarm, hygrometer, and periodic smoke tests.
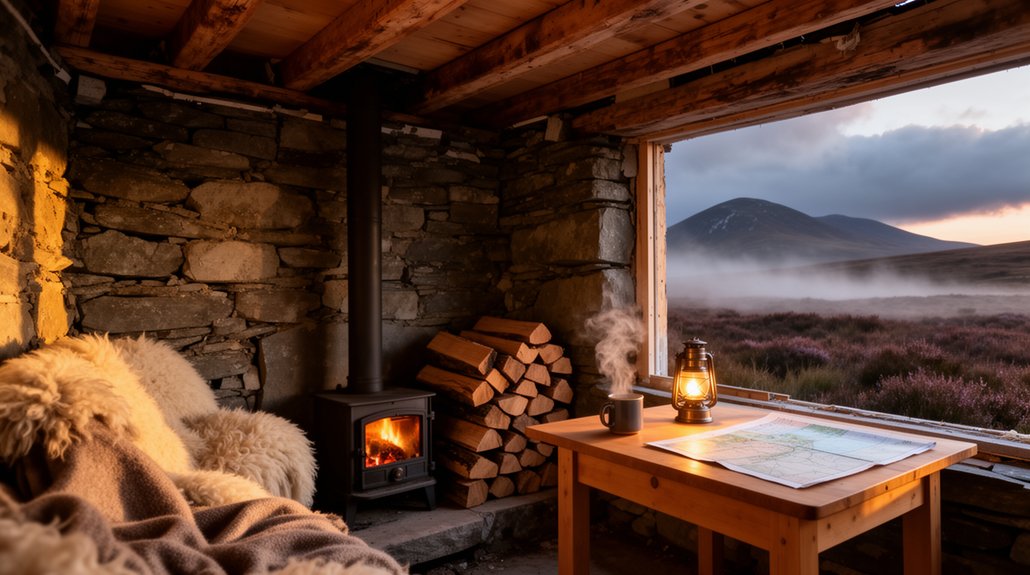
Add Off-Grid Bothy Lighting and Device Charging
Although the bothy sits miles from the grid, you can still run reliable lighting and keep phones, GPS units, and headtorches charged by building a small, robust 12V off‑grid system. Start with solar power feeding a MPPT charge controller, then size a LiFePO4 battery for two cloudy days’ autonomy. Wire LED lighting on a dedicated fused circuit, using 2‑core tinned copper cable and proper strain relief. Add a DC-DC USB-C PD module so modern devices fast-charge without an inverter’s losses. Mount all gear on a plywood backboard, label fuses, and keep connections accessible for fault-finding.
- 100W–200W panel + MPPT controller
- 20Ah–50Ah LiFePO4 battery + main fuse
- 12V LED lighting + USB-C outlets
Sort Bothy Water, Washing and a Simple Kitchen
Even if you’ve nailed power and lighting, you won’t make a bothy genuinely livable until you’ve got a safe water chain, a hygienic washing setup, and a kitchen layout that controls mess, condensation, and fire risk. Start at source: assess Water quality (upstream grazing, peat stain, turbidity) and treat accordingly—pre-filter through a mesh/sediment cartridge, then use a 0.1–0.2 micron filter or boil; add UV only if water’s clear. Store in food-grade jerrycans, label “raw/treated,” and keep caps clean. For washing facilities, rig a dedicated basin and greywater bucket; use biodegradable soap sparingly and dispose well away from watercourses. In the kitchen, fix a stable stove base, heat-shield clearances, and a wipe-clean splashback; ventilate with a crack vent to limit condensation.
Add Sleeping, Seating, Drying and Storage
Next, you’ll optimise the bothy’s footprint with multi-use sleeping platforms that integrate lift-up lids or under-bunk drawers for kit stowage. You’ll add compact seating—fold-down benches, stackable stools, or a built-in settle—that maintains clear walkways and meets load-bearing requirements. You’ll also install a drying line, ventilated hanging rack, and sealed storage totes to manage wet gear, reduce condensation, and keep supplies vermin-proof.
Multi-Use Sleeping Platforms
How do you squeeze sleeping, seating, drying, and storage into one tight bothy footprint? You build a raised sleeping platform with a torsion-box deck and access hatches, so every cubic inch works. Size it to standard mattress widths, then specify Futon versatility for day-to-night conversion without extra furniture. Design Modular arrangements: split the deck into two locking modules so you can reconfigure for solo trips, gear-heavy overnights, or guests. Add a ventilated slat zone to prevent condensation under bedding, and route airflow from the stove side. Integrate a drying rail above the platform, keeping wet kit clear of combustibles and allowing convective drying.- Hinged lids for stovewood, food bins, and tools- Perforated kickboard for airflow and dust control- Pull-out trays for boots and damp gloves
Compact Seating Solutions
Where do you sit when every square metre has to earn its keep? Specify seating that nests, folds, and tolerates damp ingress. Start with a wall-mounted drop-leaf bench: you’ll get a rigid perch without consuming floor area, and it doubles as a prep ledge beside your stove. Add folding furniture like compact camp chairs with aluminium frames and synthetic slings; they dry fast and won’t swell. For overnight overflow, choose multi functional seating such as an ottoman-bench engineered with a high-density foam core and washable cover, sized to align with your sleeping platform as an extension. Keep clearances tight: 450 mm seat height, 400–450 mm depth, and secure all mounts into solid timber or masonry.
Drying And Storage Systems
Because wet kit and tight floor area can turn a bothy clammy overnight, you’ll need an integrated drying-and-storage system that stacks sleeping, seating, and gear management into one resilient zone. Build a raised bunk-bench with vented toe-kicks, so airflow dries boots while you sit or sleep. Line the wall cavity with Eco friendly insulation, then fit a vapour barrier and slatted cladding to prevent condensation behind stored kit. Add Solar powered heating via a low-watt fan-assisted radiator or ducted warm-air loop, controlled by a humidistat to hit drying temperatures without overcooking the space. Keep everything modular so you can service it fast.
- Under-bunk mesh drawers for damp layers and stoves
- Ceiling rail and drip tray above a boot rack
- Lidded, gasketed bins to isolate food and fuel safely
Frequently Asked Questions
Do I Need Planning Permission to Refurbish a Remote Bothy?
You might not need planning permission for like-for-like repairs, but you’ll need it for extensions or change of use. Check Building regulations, conservation considerations, listed status, and consult the local authority before works.
How Do I Deter Vandalism or Theft When I’M Not There?
You’ll deter vandalism by hardening access points and adding surveillance; most break-ins occur via doors or windows (over 70%). Install Security cameras with IR, use monitored Alarm systems, fit anti-tamper locks, and log assets.
What Insurance Covers a Bothy Renovation and Public Liability Risks?
You’ll need specialist renovation/builders risk insurance plus public liability coverage; check Insurance requirements with your insurer. Add employer’s liability if hiring trades, and consider vacant property and contents cover. Confirm policy limits, exclusions, inspections, endorsements.
How Can I Improve Mobile Signal or Install Emergency Communications?
Like climbing to a ridge for one bar, you’ll boost comms by fitting roof-mounted Signal boosters with directional antennas, then add a Satellite phone as fail-safe. You’ll test RSSI, log coverage, and add a PLB.
What Are the Best Low-Impact Methods for Managing Human Waste?
Use Eco friendly composting toilets with carbon bulking (sawdust) and sealed bins; keep units vented. Site pits 70m from water, 30cm deep. Implement Greywater recycling via filter trench and biodegradable soaps.
Conclusion
You’ve now turned that “romantic ruin” into a controlled environment, not a damp museum exhibit. Stick to access rules, budget for structural remediation, and log every defect. Seal ingress points, manage vapour with ventilation, and insulate without trapping moisture. Fit a CE/UKCA solid-fuel stove, carbon monoxide alarm, and proper flue clearances—because folklore won’t pass a safety audit. Add off-grid DC lighting, treated water, and modular storage. Congratulations: you’ve engineered cosiness.


