
You start by deciding whether the ruined farmhouse can be saved without erasing what makes it historic. You commission a structural engineer, flag hazards, and run targeted tests on masonry, timber, and moisture paths. You photograph, sketch, and label every wall line before anything shifts. You check heritage constraints early so you don’t waste money on the wrong scope. Once you see what must stay, you’ll face the next decision…
Key Takeaways
- Start with structural and hazard assessments, documenting load paths, movement, moisture, and risks like asbestos, lead, rot, or unstable masonry.
- Stabilize before rebuilding: set exclusion zones, shore walls and gables, secure foundations, and stop water ingress through temporary roof and drainage fixes.
- Record everything: comprehensive photos, measured drawings, condition logs, and labeled services to enable traceable, reversible, heritage-appropriate repairs.
- Follow heritage rules early: confirm listing status, obtain consents, consult officers in writing, and plan archaeology assessments or watching briefs when required.
- Repair like-for-like: match lime mortars, stone geology, and timber; avoid hard cement; sequence works from weather-tight envelope to drying, structure, then services.
Is the Ruined Farmhouse Worth Rebuilding?
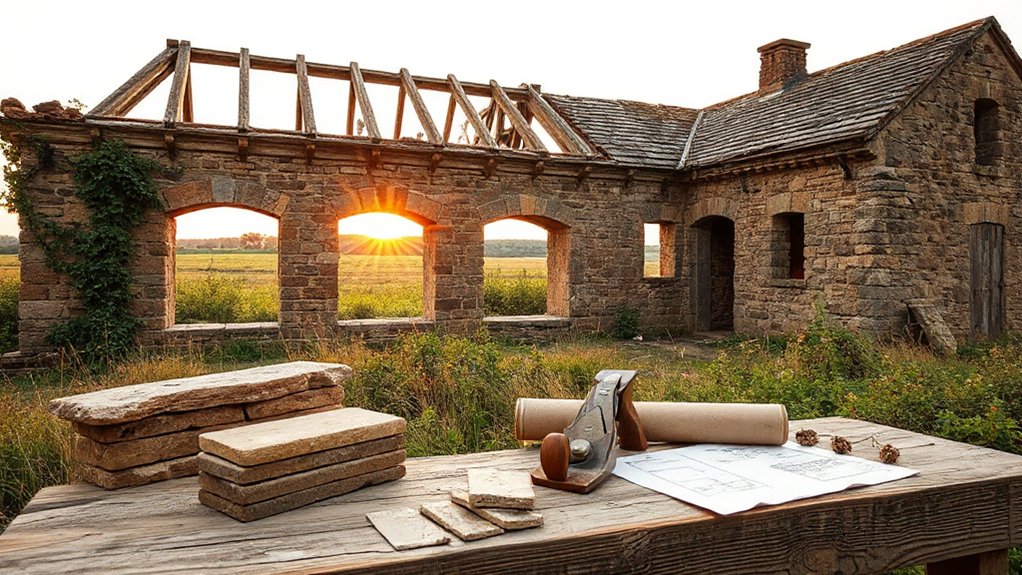
Although a ruined farmhouse can look beyond saving, it’s worth rebuilding when a site assessment shows the structure retains a stable foundation, repairable load-bearing elements, and enough historically significant fabric to justify conservation over replacement. You’ll weigh Historical significance by documenting original plan form, masonry bonds, joinery marks, roof geometry, and surviving finishes, then mapping how much can be retained in situ. You’ll compare embodied carbon and waste streams against selective dismantling, salvage, and compatible repair, prioritizing reversible interventions and like-for-like materials. You should also value setting and agrarian character: outbuildings, yards, hedgelines, and circulation patterns that define authenticity. Finally, you’ll factor emotional value—family history, community identity, and continuity of use—so your rebuild supports meaningful occupation, not just cosmetic restoration.
Survey the Structure (Engineer, Hazards, Tests)
Before you plan any rebuild, you’ll engage a structural engineer to document load paths, foundation movement, and timber or masonry distress so you can retain sound fabric and target only failed members. You’ll identify site and material hazards—unstable gables, loose lintels, rot, mold, lead paint, asbestos, and compromised electrics—then lock down access and temporary shoring. You’ll confirm conditions with focused tests like moisture readings, probe drilling, level surveys, crack gauges, and selective openings to validate what must be repaired versus conserved.
Engage A Structural Engineer
Once you’ve stabilized the site for safe access, bring in a licensed structural engineer to survey the farmhouse and document what can be conserved versus what must be rebuilt. You’ll get a measured record of plumb, level, and racking, plus notes on load paths, diaphragm action, and lateral bracing. Ask for a written scope that distinguishes temporary shoring from permanent repairs and that sequences work to prevent progressive collapse.
Have the engineer review Foundation considerations: bearing, settlement, moisture migration, and how any underpinning interfaces with historic stone or brick. Require material compatibility in every detail—mortar strength, timber species and grading, fastener metallurgy, and stiffness matching—so new interventions don’t overstress surviving fabric. Insist on stamped sketches for connections, splice details, and repair limits for members.
Identify Hazards And Test
After the structural engineer establishes a baseline survey, you’ll identify hazards and run targeted tests to separate immediate life-safety risks from repairable deterioration without destroying historic fabric. Start hazard identification with unstable chimneys, loose masonry, failing lintels, rotted sills, and compromised floor diaphragms; then map egress routes and shoring needs. Screen for environmental hazards: asbestos in pipe lagging, lead paint, mold, bat guano, and rodent contamination. Use minimally invasive testing procedures: moisture meters, borescopes in existing voids, infrared thermography for hidden wetting, and resistograph drilling only where decay is suspected. Take small mortar and timber samples for lab analysis, and test masonry salts to predict spalling. Photograph, tag, and log every finding so repairs stay traceable and reversible.
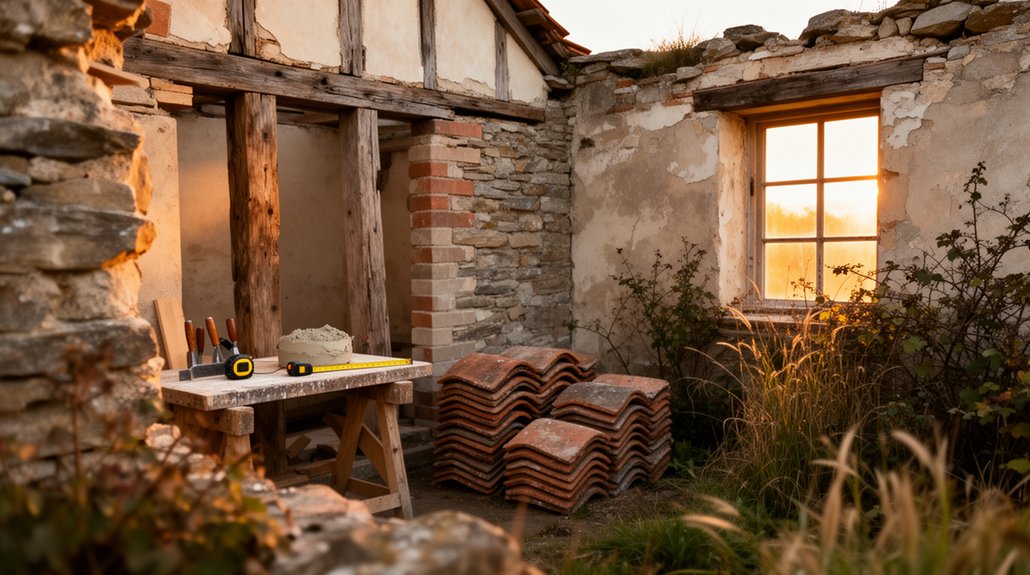
Record the Farmhouse Before Any Work
Although you’re enthusiastic to start demolition and repairs, document the farmhouse as it stands so you don’t erase evidence you’ll need for planning, permits, insurance, and historically sensitive decisions. Begin with a room-by-room photo set: wide shots, elevation-like wall photos, and close-ups of joinery, plaster keys, tool marks, and paint layers that signal Historical significance and guide aesthetic preservation.
Create measured drawings: floor plans, section sketches, and ceiling heights, plus window/door schedules noting sash profiles, glazing type, and hardware. Capture deviations with a laser measure and plumb/level readings on leaning walls. Log material conditions: moisture staining, salt efflorescence, insect galleries, and mortar loss, tagged to locations. Record utilities routes, chimney flues, and drainage paths. Label everything with date, compass orientation, and a consistent filename scheme. Back up to cloud and an external drive.
Check Permissions and Heritage Rules Early
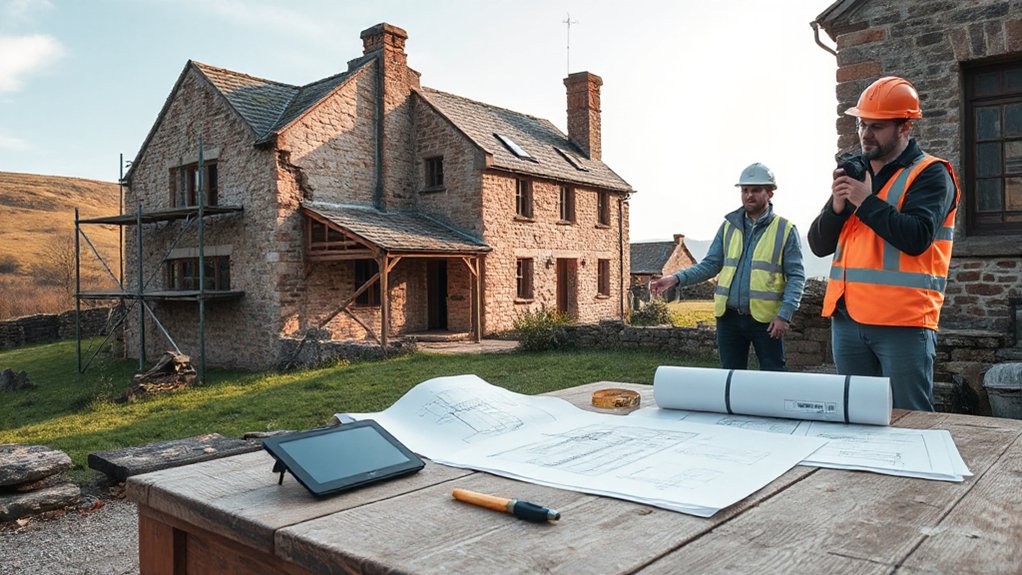
Before you order materials or pull permits, map the farmhouse’s regulatory landscape so you don’t trigger stop-work orders or irreversible compliance mistakes. Confirm the property’s listing status and constraints: national register, local conservation area, or designated Heritage site. Request the official designation file and any prior consent decisions; they define protected fabric, setting, and views. Meet planning and building-control officers early, and document advice in writing. If archaeology is likely, commission a desk-based assessment and agree on watching briefs before disturbance. Check easements, rights-of-way, and septic/well rules that affect footprints and drainage. Identify which works need legal permissions: demolition, roof replacement, window changes, repointing methods, new openings, and services routes. Align specifications with conservation guidance and approved materials.
Plan the Farmhouse Rebuild: Scope and Sequence
With the permissions and heritage constraints mapped, you can now turn them into a buildable plan that sets scope and sequence without risking protected fabric. Translate constraints into drawings, schedules, and method statements, tagging every element as retain, repair, or replace like-for-like. Define the scope by room and elevation, then by trades, so tender packages stay measurable and comparable.
Sequence work logically: survey-led documentation, selective stripping, services strategy, then fabric repairs. Program foundation restoration before any load changes, and schedule drainage, ground levels, and lime-compatible floor builds as one coordinated package. Map interior refurbishment to minimize rework: run first-fix routes through existing voids, preserve joinery, and specify reversible fixings. Lock material specs early, include salvage protocols, and set inspection hold points for each heritage-critical junction.
Stabilise the Farmhouse Safely First
Once you’ve set scope and sequence, stabilise the structure so it won’t move, shed more historic fabric, or put anyone at risk during opening-up. Start with exclusion zones, signage, and a competent person’s brief; wear safety equipment: hard hat, respirator, gloves, eye protection, and boots. Shore first, then probe: install raking shores to bulging walls, needle-beam props under failing joists, and temporary ties across spreading gables. Verify foundation integrity by checking for rotation, undermined edges, active washout, and differential settlement; add trench sheeting or cribbing before you excavate near footings. Control water immediately: cap chimneys, patch roofs with tarps and battens, divert downpipes, and route runoff away. Document each stabilisation step and load path.
Save Original Fabric Before You Replace
Although replacement can feel like the fastest route to progress, you’ll protect the farmhouse’s value and performance by salvaging and repairing original fabric wherever it remains sound and serviceable. Start with a room-by-room survey and label every element before you disturb it. Photograph junctions, note dimensions, and map cracks, deflection, moisture staining, insect flight holes, and salt bloom—your baseline for identifying fabric damage. Lift boards, slates, and ironmongery carefully, stack them dry, and record provenance so you can reinstall like-for-like. Strip later coatings only where they trap moisture or conceal defects, and retain historic finishes that still bond. Consolidate loose sections, pin delaminating members, and shore sagging openings rather than cutting back. Prioritise preserving original materials because embodied energy, patina, and compatibility can’t be bought.
Match Repairs: Lime, Stone, Timber
Before you mix a batch or order new stock, match each repair to the farmhouse’s original lime, stone, and timber so the wall, frame, and finishes keep moving, drying, and carrying load as they were designed to. Take samples and record binder type, aggregate grading, colour, and set; use like-for-like lime (air or hydraulic) and avoid hard cement that traps moisture and causes edge spalling. Source stone from the same geology and bedding plane; dress it to original tooling and joint width, and pin with compatible lime grout where needed. For timber, identify species, moisture content, and growth ring orientation; splice with scarf joints, oak pegs, and breathable primers, not impermeable coatings. Prioritise historical accuracy and material compatibility in every interface.
Fix Roof and Drainage to Stop Decay
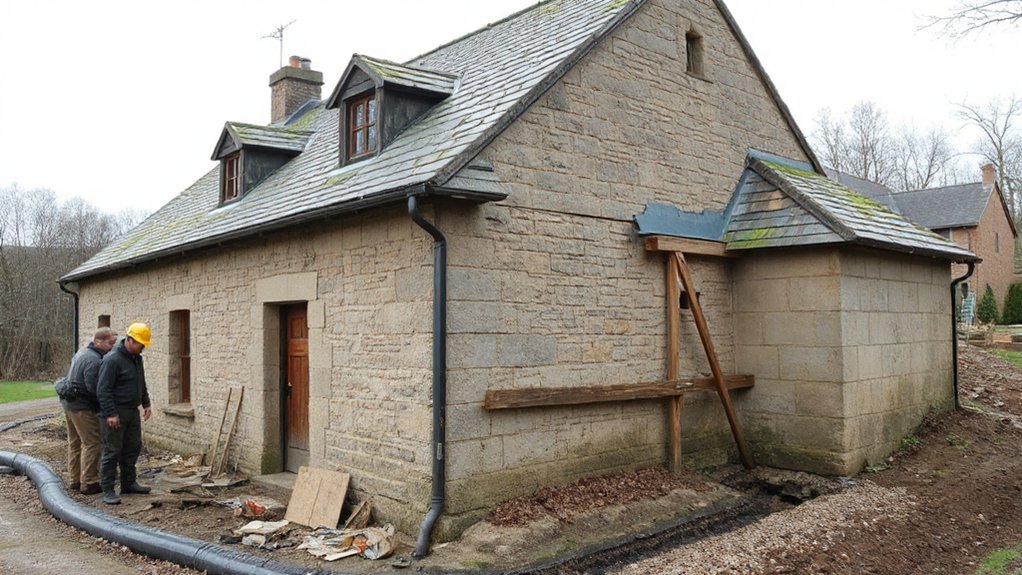
Matching lime, stone, and timber keeps the fabric compatible, but it won’t last if the building keeps taking water from above and holding it at the base. Start by making the roof weather-tight: reset slipped slates/tiles, renew flashings in lead to traditional laps, and clear valleys so they don’t pond. Check rafters and purlins for deflection and beetle damage; use Roof reinforcement only where needed, adding sistered timber or discreet steel plates while keeping original members in place. Ventilate cold roofs to limit condensation. Then tackle ground moisture with drainage solutions: repair gutters and downpipes, discharge to soakaways away from foundations, and regrade falls so surface water sheds. Keep drains roddable, avoid cement fillets, and don’t trap walls with impermeable membranes.
Budget, Timeline, and Managing Trades
You’ll set a realistic budget by pricing scope by system (structure, envelope, MEP, finishes), adding line-item allowances for salvage-friendly repairs, testing, permits, and a 15–25% contingency for hidden rot and code upgrades. You’ll build a timeline around sequencing that protects historic fabric—stabilization first, then roof and drainage, then drying/structural work, then rough-ins—while locking inspection points and procurement lead times into clear milestones. You’ll manage trades with written scopes, conservation constraints (reuse, reversible fixes, compatible materials), and weekly coordination so handoffs stay clean and rework doesn’t erode the schedule or the budget.
Setting A Realistic Budget
Even if the farmhouse looks “mostly sound,” you should build your budget from measured scope, not optimism: document existing conditions room by room, prioritize structural and weather-tight repairs, and price work in phases that match how trades actually sequence on site. Use conservation-minded assumptions: repair before replace, retain plaster and trim where feasible, and specify like-for-like materials that won’t trap moisture.
For cost estimation, get line-item quotes tied to drawings, photos, and investigative openings, then add allowances for hidden decay, hazardous materials, and code-triggered upgrades. Carry 15–25% contingency for unknowns and 5–10% for escalation. Track soft costs—engineering, permits, testing, temporary weather protection, and waste handling—separately. Confirm funding sources early (cash flow, loans, grants, tax credits), and align them with phase-level deliverables and inspections.
Scheduling Trades And Milestones
Where do schedules on old farmhouses usually fail—at the handoffs between trades and the hidden conditions that force rework. You’ll prevent that by sequencing milestones around inspection points and “reveal” tasks: selective demolition, moisture mapping, and structural probing before you lock in finish dates. Set a critical path: stabilize roof and drainage, then framing, MEP rough-ins, insulation/air control, plaster or lath repairs, and finally floors, cabinetry, and paint. Build timing considerations into cure times for lime mortar, plaster, and epoxy consolidants, and into seasonal humidity that affects reclaimed lumber. Require contractor coordination meetings weekly, with marked-up drawings and a three-week lookahead. Use hold points for historic fabric: you don’t cover wiring or sheathing until you’ve photo-documented and signed off.
Frequently Asked Questions
How Can I Live On-Site Safely During the Rebuild?
You can live on-site safely by zoning a clean, sealed caravan, enforcing Construction safety briefings, PPE, and clear walkways. Maintain Site security with fencing, lighting, locked tools, permits, fire extinguishers, and dust controls.
What Insurance Covers a Partially Collapsed Farmhouse Under Renovation?
Like shoring a sagging beam, you’ll need builder’s risk plus vacant/renovation endorsements; you’ll file Insurance claims for collapse. Review coverage limitations: wear, neglect, and faulty work exclusions, plus liability for visitors and contractors.
How Do I Source Reclaimed Materials Without Encouraging Illegal Salvage?
Use Legal sourcing: buy from licensed architectural salvage yards, documented deconstruction firms, or auctions with provenance. Apply Salvage ethics: require permits, chain-of-custody receipts, and photos; avoid “found” materials, heritage sites, and trespass-sourced offers.
Which Heating System Best Suits an Old Farmhouse After Rebuilding?
You’ll usually get the best fit from an air-to-water heat pump with low-temperature radiators or underfloor, balancing heating system comparison and energy efficiency strategies; prioritize airtightness, insulation, and humidity control to protect historic fabric.
How Can I Improve Insulation Without Harming Breathable Walls?
You’ll improve insulation by using vapor-permeable materials, sealing thermal gaps, and avoiding impermeable vapor barriers. Add wood-fiber or lime-hemp internally, maintain capillary continuity, and ventilate cavities; you’ll preserve drying potential and reduce interstitial condensation.
Conclusion
You’ll rebuild a ruined farmhouse well when you treat it like a conservation project, not a demolition job. You’ve surveyed hazards, documented every joint and crack, secured permissions, and sequenced works to stabilise first. You’ll salvage and tag original stone, timber, and fittings, then repair like-for-like with lime mortar and compatible materials. You’ll prioritise roof and drainage to halt moisture-driven decay, and manage trades and costs. Think: measure twice, like a laser level.


