
You could spend a lifetime chasing comfort in a Cotswold stone cottage and still miss the real problem. Start by surveying what’s there and documenting every crack, patch, and join. Check listed status before you touch stone, sash, or roofline. Stop water first—gutters, chimneys, flashing—then diagnose damp and repair with lime and breathable layers. Only then should you strengthen timbers, tune joinery, and plan discreet insulation and heating—because the next decision changes everything…
Key Takeaways
- Survey outside-in, photograph defects, and map cracks, salts, vegetation, and air/water paths before planning any intervention.
- Check listed status early and align proposed changes with heritage values; submit drawings, specifications, and a heritage statement for consent.
- Stop water ingress first: repair roof, gutters, chimneys, and flashings, and verify performance during rainfall before internal work begins.
- Diagnose damp by combining visual mapping with moisture and carbide tests, then correct ground levels, drainage, ventilation, and impermeable finishes.
- Repair fabric with breathable, like-for-like materials—lime mortars, stone repairs, and joinery conservation—then add capillary-active insulation and low, steady heating.
Survey Your Cotswold Stone Cottage (What to Check)
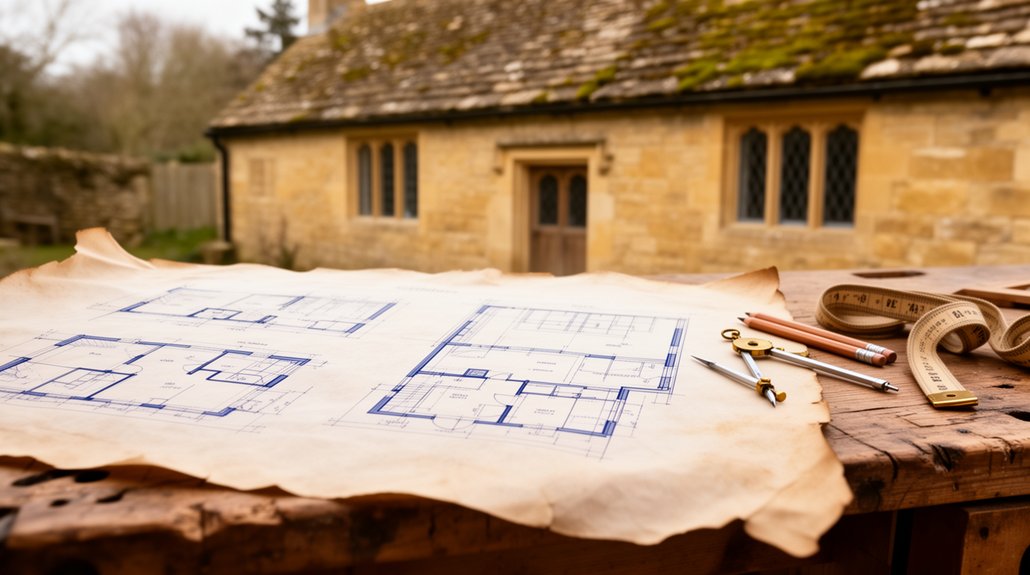
Before you touch a single stone, survey the cottage like a conservation architect: start outside and work in, recording what you see rather than what you hope is there. Check roof lines, stone slates, ridges, and leadwork for slipped courses, staining, and failed flashings. Read the walls: identify erosion, open joints, hard cement pointing, and spalled faces that betray trapped moisture. Note cracking patterns around lintels, quoins, and chimney stacks, and map vegetation, salts, and damp tide marks.
Inside, trace air and water paths. Inspect floors for deflection, beetle flight holes, and breathability failures from modern membranes. Lift small sections of skirting to confirm ventilation. Photograph every junction—window reveals, hearths, stair strings—so you can respect Cotswold craftsmanship and target Heritage preservation with measured repairs only.
Listed Building Consent: What Needs Permission
Once you’ve surveyed the cottage, you must identify what triggers Listed Building Consent—any change that affects the building’s special architectural or historic interest, inside or out. Typical permission-requiring works include altering stonework or mortar, replacing windows or doors, changing roof coverings, removing fireplaces or joinery, and rerouting services that cut into historic fabric. You’ll prepare a clear, design-led application with drawings, specifications, and a heritage statement, then plan for conditions that lock in materials, methods, and workmanship.
Understanding Consent Triggers
Although you might treat a listed cottage like any other renovation project, listed building consent triggers far earlier—and for far more design decisions—than most owners expect. You’ll trigger it whenever you propose changes that affect the building’s special architectural or historic interest, even if the work feels minor or “like-for-like.” Think in terms of importance, not scope: what defines the cottage’s character, craftsmanship, and evidence of age. Before you draw details, map heritage values room by room, then test each intervention against reversibility, material authenticity, and visual impact. Align your design narrative with Heritage preservation goals, because that’s the yardstick officers use. Build consent timing into renovation financing too: surveys, heritage statements, and iterations cost money and protect your critical path.
Typical Works Requiring Permission
Because listed status protects character as much as fabric, you’ll usually need listed building consent for any work that alters what makes your Cotswold stone cottage legible as historic—its plan form, openings, materials, joinery, and surface finishes. That typically includes removing chimney breasts, opening up inglenooks, replacing lime plaster, re-routing staircases, or altering roof structure. You’ll also need it for changes to windows and doors, new or enlarged openings, secondary glazing, or replacing historic ironmongery. Fireplaces, bread ovens, flagstone floors, skirtings, panelling, and built-in cupboards count as significant joinery and finishes. Even “minor” Interior decoration can trigger consent if you strip historic paint layers or expose stone by removing plaster. Outside, garden landscaping that affects boundary walls, steps, terraces, or historic outbuildings can also require consent.
Navigating Applications And Conditions
How do you move from “this might need consent” to an approval you can build from without losing historic detail? You start by mapping every intervention to significance: fabric, setting, and how the cottage reads. Prepare a crisp schedule of works with annotated drawings, joinery sections, mortar specs, and window profiles. Support it with a Heritage Impact Statement that argues repair-first, like-for-like materials, and reversibility where change is unavoidable—core Heritage conservation principles.
Then manage Planning permissions and conditions proactively. Meet the conservation officer early, agree samples (stone, limewash, leadwork), and lock details into condition-discharge packs. Don’t leave “to be confirmed on site” notes; they trigger delays. Keep a decision log, update drawings, and ensure your contractor follows approved methods and recording requirements.
Fix Gutters, Chimneys, and Roof Leaks First
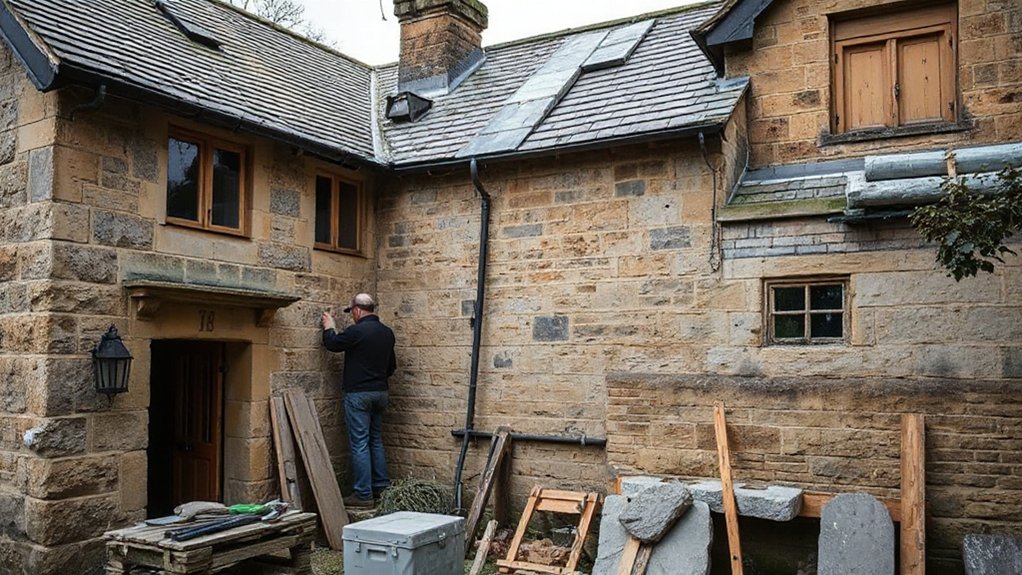
Before you touch plaster, floors, or joinery, you must stop water at its entry points: gutters, chimneys, and the roof plane. Treat this as the cottage’s first design move: protect the fabric so every later finish performs.
Start with Gutter maintenance. Clear silt, check falls, and reset brackets so water discharges into sound gullies, not across stone. Replace cracked sections like-for-like, and keep overflows discreet. Next, schedule Chimney repair: renew lead flashings and back gutters, rebed loose pots, and repoint eroded joints with compatible lime. Fit a vented cap where appropriate to shed rain without trapping moisture.
On the roof, swap slipped slates or stone tiles, fix nail fatigue, and patch underlay breaches. Then test during rainfall, not guesswork.
Diagnose Damp in Cotswold Stone Walls
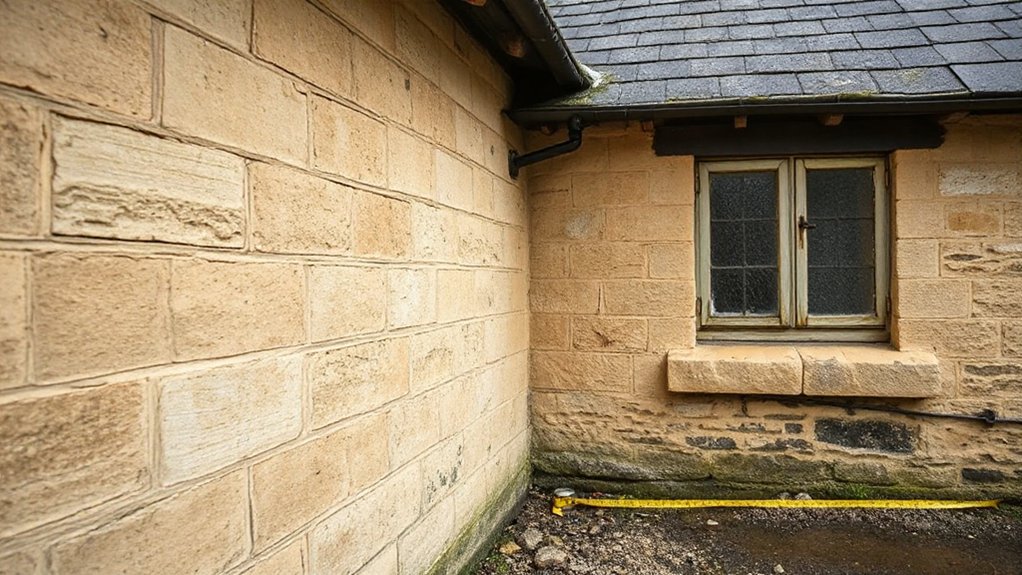
Once you’ve made the roofline watertight, diagnose damp in Cotswold stone walls by treating moisture as a movement problem, not a cosmetic defect. Map symptoms room by room: tide marks, powdery salts, peeling paint, musty odour, and cold spots. Note height and pattern—low-level bands suggest rising moisture; isolated patches point to bridging or splashback; chimney breasts can wick lateral wetting. Use a moisture meter for trends, then confirm with carbide testing where possible to avoid false readings on conductive salts. Check external ground levels, hard standings, and planted borders against the wall base, and trace rainwater discharge routes. Inside, assess ventilation, heating cycles, and impermeable finishes that trap vapour. This evidence-led sequence supports Heritage preservation and informs Stone restoration decisions later.
Repair Cotswold Stonework and Lime Pointing
When you’ve traced moisture paths and ruled out active leaks, you can repair Cotswold stonework and lime pointing with a fabric-first approach that keeps the wall breathable and visually coherent. Start by recording joint profiles and stone sizes, then rake out failed cement or hollow lime by hand to avoid spalling soft oolitic faces. Wash gently; don’t sandblast. Reset loose stones on lime mortar, bedding fully and packing voids so water can’t sit behind the arrises. Match aggregate, colour, and joint finish to existing work; too-flush pointing looks hard-edged and sheds water onto stone. Use NHL or hot-mixed lime where appropriate, keep mixes lean, and cure slowly under hessian. That’s Heritage conservation with Traditional techniques, executed cleanly.
Strengthen Floors, Joists, and Oak Beams
Although the Cotswold stone shell sets the character, your cottage’s performance often hinges on what the floors and timbers are doing under load, so treat joists and oak beams as a structural-and-design element rather than hidden carpentry. Start by mapping spans, deflection, and any bounce; you’ll confirm sizes, bearing points, and past notches before you touch finishes. For Heritage preservation, retain sound oak, clean it gently, and document carpenter’s marks. Where strength is short, choose Structural reinforcement that reads quietly: sister joists in matching timber, flitch plates recessed and fire-protected, or concealed resin-bonded rods to stabilise checks. Improve bearings with lime-compatible pads, not hard cement. Add discreet noggins and straps to tie floors to walls, then level with breathable build-ups so boards sit flat.
Repair Windows and Doors (Keep Original Details)
Because windows and doors control light, draughts, and first impressions, treat them as joinery worth conserving, not components to swap. Start with a careful survey: note warped sashes, loose glazing bars, split stiles, and failing paint. For window restoration, ease bindings, renew cords, and splice in matching timber where rot’s local, keeping original profiles crisp. Reset panes with linseed putty, and retain wavy glass whenever you can. Strip back heavy coatings, then repaint with breathable systems that sharpen mouldings rather than bury them. For door preservation, square the frame, tighten joints with concealed wedges, and repair panels instead of replacing slabs. Keep ironmongery: clean, wax, and refit latches and rim locks so the cottage reads authentic.
Insulate and Heat a Breathable Stone Cottage
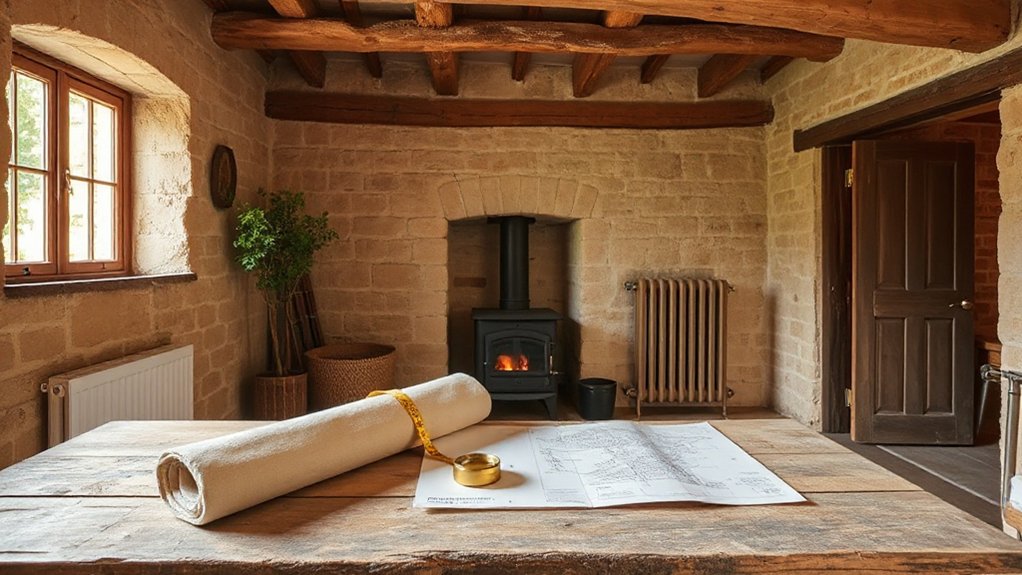
Even if you’re chasing modern comfort, you’ll get the best results by treating insulation and heating as part of the cottage’s moisture strategy, not a standalone upgrade. Keep walls vapour-open: use lime plaster, woodfibre or cork internal insulation, and capillary-active finishes that buffer humidity without trapping it. Insulate roof slopes with breathable batts and fit an airtight, intelligent membrane; then detail junctions to stop drafts, not airflow through stone.
For heat, you’ll want low, steady output: underfloor on limecrete, or oversized radiators on a heat pump, both paired with weather compensation. Add mechanical extract in wet rooms, and consider MVHR only if you can achieve consistent airtightness. Document choices for Heritage funding, and specify traditional craftsmanship for reveals, skirtings, and service routes.
Frequently Asked Questions
How Do I Find a Conservation-Accredited Builder Experienced With Cotswold Stone?
Check Historic England and CIOB registers, then shortlist builders with proven Cotswold stone portfolios. You’ll verify Heritage craftsmanship, ask for lime-mortar details, and confirm they’ll meet Conservation standards through references, site visits, and contract clauses.
What Restoration Work Typically Offers the Best Return on Investment?
You’ll see best ROI from fixing roof and drainage, reinstating breathable lime mortar, upgrading heating discreetly, and restoring windows/doors. Prioritise historic preservation and authentic craftsmanship techniques; they protect fabric, boost comfort, and strengthen valuations.
How Long Does a Full Cotswold Stone Cottage Restoration Usually Take?
You’ll usually need 9–18 months for a full Cotswold stone cottage restoration, depending on surveys, listed-consent, and specialist trades. You’ll phase Cottage interior finishes and Garden restoration after structural, roof, lime mortar, and services upgrades.
What Insurance Covers a Cottage During Major Heritage Renovation Works?
You’ll need specialist renovation/builders’ risk cover plus public liability and existing-structure protection in one Insurance policy. Make sure it includes Heritage preservation clauses, listed-building materials, temporary works, theft, fire, and professional indemnity for consultants.
How Can I Source Matching Reclaimed Cotswold Stone and Period Materials?
Measure twice, cut once: you’ll source matching stone by surveying existing blocks, then using reputable reclamation yards, salvage brokers, and local quarries. You’ll verify patina, tooling, and bedding planes, and log certified period materials provenance.
Conclusion
Bring your Cotswold stone cottage back to life by working top-down and fabric-first: survey, secure consent, stop water at rooflines, then treat damp with breathable lime and careful stone repair. Keep joists honest, beams sound, and joinery crisp. A client once fixed a hidden valley leak and watched indoor RH drop from 78% to 58% in two weeks—like opening a blocked artery. Finish with discreet insulation and heritage-led heating, and you’ll gain comfort without losing character.


