You’ll maximise a small urban apartment with bento zoning by splitting it into 4–6 purpose-built zones, each contained by trays, shelves, bins, rugs, and layered lighting so clutter can’t creep. Track your routine for three typical days, then map hotspots where time or patience is lost and place zones by adjacency. Measure precisely and keep circulation paths at least 30 inches wide. Assign each zone a kit of top essentials and a fast reset routine. Next, you’ll see how to set boundaries and storage.
Key Takeaways
- Create 4–6 purpose-built zones with physical boundaries (trays, bins, shelves) to contain items and prevent clutter creep.
- Track routines for three days, map hotspots and friction points, then place zones where you lose the most time.
- Test boundaries with tape and keep circulation paths at least 30 inches, preserving door swings, drawer clearances, and chair pull-outs.
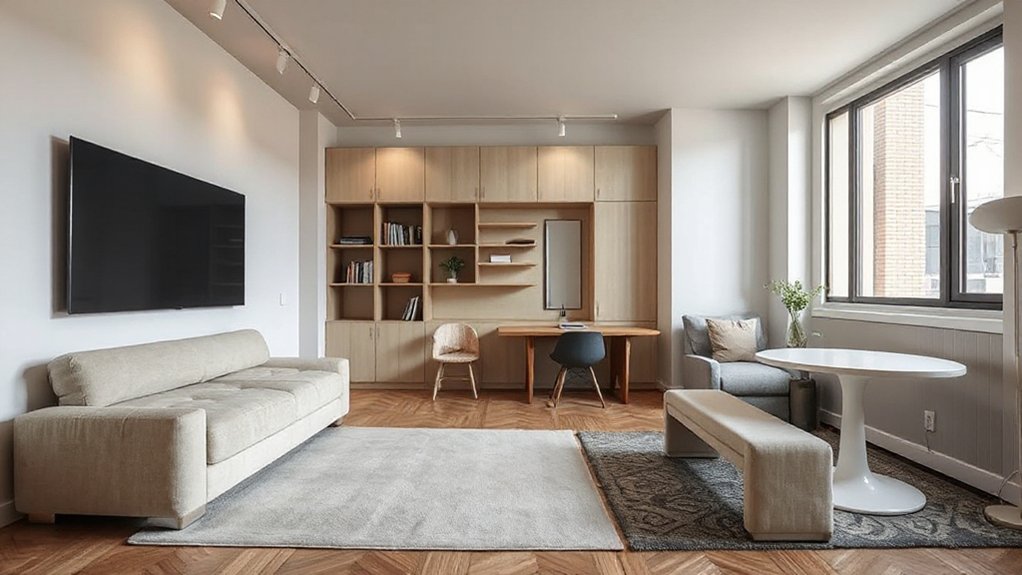
- Use furniture as dividers—floating sofas, perpendicular bookcases, consoles—and add rugs and layered lighting as visual zone cues.
- Build vertical storage and “zone kits” for essentials, plus quick-reset drop zones for entry and work to keep surfaces clear.
What Bento Zoning Is (and Why It Works)
Why does Bento Zoning make it easier to take action? Because you stop “organising the whole apartment” and start assigning compact, purpose-built zones, like compartments in a bento box. You define what each zone must hold, how it’s accessed, and what doesn’t belong, so decisions become yes/no instead of endless shuffling.
Bento Zoning draws on Cultural origins of Japanese bento: efficient packing, clear separation, and respect for limited space. The core design principles are containment, adjacency, and reset. You use physical boundaries (trays, shelves, bins) to prevent creep; you place related tools together to cut steps; and you keep a simple reset rule so zones return to ready state daily. In small urban apartments, this reduces visual noise, improves flow, and protects usable surfaces.
Map Your Routine for Bento Zoning
Start by tracking your daily movement patterns for a few days, noting where you stop, what you reach for, and how long you stay in each spot. Use that log to identify activity hotspots—your highest-traffic, highest-frequency areas that should anchor each bento zone. Then prioritize essential zone needs by listing the tools and supplies you use most in those hotspots and assigning them to the closest, easiest-to-access locations.
Track Daily Movement Patterns
Over the course of a normal day, where do you actually spend your time—and how do you move between those places? Track your movements for three typical days, including work-from-home, weekend, and errand-heavy days. Use a simple log: time, starting point, destination, task, and what you carried. Note micro-movements too—kitchen to desk, desk to closet, bed to bathroom—because they reveal circulation needs.
Then sketch a quick path map on your floor plan. Mark door swings, pinch points, and where you pause to drop bags, shoes, or laundry. Include progressions tied to Outdoor activities and Fitness routines: grabbing a jacket, filling a bottle, stretching, or packing gear. You’ll design zones around actual flow, not assumptions.
Identify Activity Hotspots
With three days of movement logs and a path sketch in hand, you can now pinpoint the few spots that do most of the work in your home. Circle where you stop repeatedly: the entry drop zone, the prep corner, the desk edge, the sofa arm, the bedside reach. Mark dwell time and actions (keys, shoes, mail; chopping, rinsing, plating; charging, writing, calls).
Next, rank hotspots by frequency and friction. If you’re detouring around a chair to reach the sink, that’s a high-friction kitchen node that should drive Kitchen organization decisions. Note light, outlets, and sightlines, plus the surfaces you keep clearing. Finally, annotate mood cues: Outdoor palettes near the window might already anchor your reset spot; capture it as a true hotspot.
Prioritize Essential Zone Needs
Where do you lose the most time or patience each day—getting out the door, making coffee, sitting down to work, or winding down at night? Start there and define the “essential” needs of that zone: what must be reachable in 10 seconds, what can live nearby, and what belongs elsewhere. List the top five items you touch every session, then allocate a dedicated surface, hook, tray, or drawer for each. Keep duplicates only if they remove friction (keys bowl by the door, charger by the bed). Use Minimalist decor to cut visual noise: closed storage, one display object, and clear counters. Lock in Color coordination to reinforce zones—one accent color per zone—so you reset faster and misplace less daily.
Measure Your Space for Bento Zoning
Measure your apartment dimensions with a tape measure and record wall lengths, window and door placements, and outlet locations on a simple floor sketch. Then mark clear zoning boundaries by noting fixed elements (radiators, built-ins) and natural breaks like corners and traffic paths. Finally, account for clearance space—leave room for doors to swing, drawers to open, and at least 30–36 inches for main walkways so each bento zone stays usable.
Map Apartment Dimensions
How do you know a bento zone will actually fit before you rearrange everything? You map your apartment dimensions with precise spatial measurements, not guesses. Start by sketching a simple floor plan to scale on graph paper or in a notes app. Measure each wall length, ceiling height, and any jogs or alcoves, then label them clearly. Record door and window widths, swing direction, sill height, and radiator or baseboard locations. Note permanent features: outlets, switches, vents, pipes, and built-ins. Measure circulation pinch points like entryways and the path to the bathroom. Finally, list the exact footprints of key items—bed, sofa, desk, shelving—plus clearance needs for drawers and doors. This map becomes your planning reference.
Identify Zoning Boundaries
With your scaled floor plan and furniture footprints in hand, you can now identify zoning boundaries—the lines that define each bento zone’s usable “box” without blocking daily movement. Start by tracing the fixed edges: walls, window lines, built-ins, and door swings. Then draw straight boundary lines that align with primary travel paths, keeping each zone rectangular where possible for easier furnishing. Use Color coding to differentiate function (sleep, work, dine, store) at a glance, and add zoning labels directly inside each box so you don’t second-guess intent later. Where zones touch, mark a clear “handoff” line at the midpoint between furniture footprints. Finally, check that every boundary supports a single purpose and that no zone overlaps another’s footprint on the plan.
Account For Clearance Space
Once you’ve drawn your zone boundaries, you need to reserve clearance space so each bento box functions without daily bottlenecks. Start with doors and drawers: mark their swing arcs and full extension lines, then keep those paths unobstructed. Next, map your walking routes. You should maintain 24–30 inches for primary circulation and at least 18 inches for secondary passes between zones. For seating and sleep zones, add functional clearances: 18 inches behind a dining chair, 30 inches at the bed’s open side, and 36 inches in front of closets if you dress there. Use tape to test layouts at scale. If clearances collide, tighten zone separation by shifting boundaries, swapping furniture orientation, or choosing slimmer pieces. Recheck after adding storage lids or fold-down surfaces.
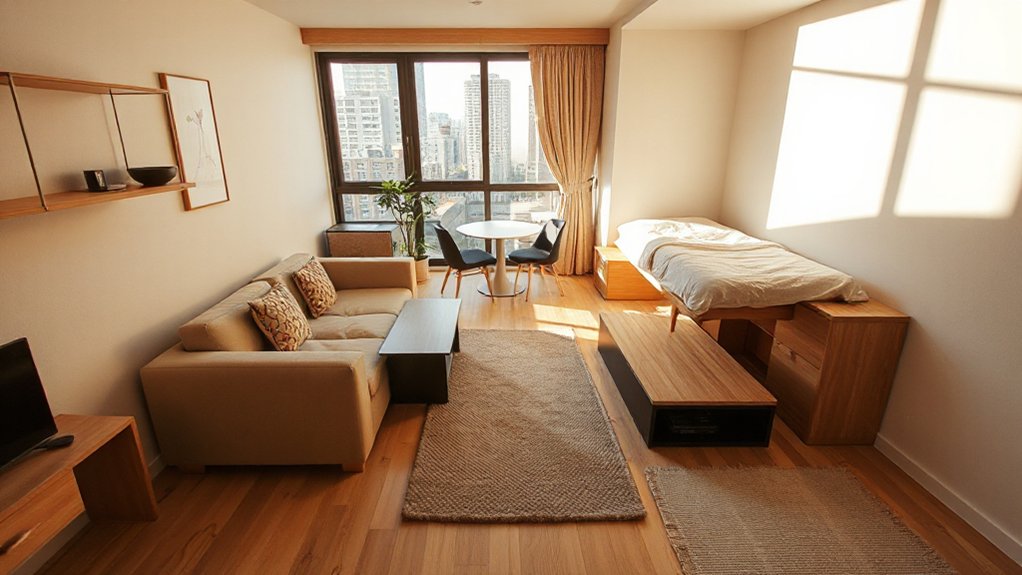
Choose 4–6 Bento Zones for Your Layout
Before you start placing elements, commit to 4–6 bento zones that match what your layout must communicate at a glance. Pick only the functions you truly do daily, then rank them by frequency and time spent: sleep, work, cook/eat, lounge, entry drop, and storage are the usual finalists. If you can’t name the zone in one noun-verb pair (Work Desk, Sleep Bed), it’s too vague.
Assign each zone a tight kit of essentials and a single visual cue so you can read the plan instantly. Use Color coordination to keep zones distinct yet calm, and rely on Material selection to signal function—soft textiles for rest, hardwearing surfaces for prep, easy-clean finishes for entry. Keep each zone’s items exclusive, or clutter migrates fast.
Define Bento Zones Without Building Walls
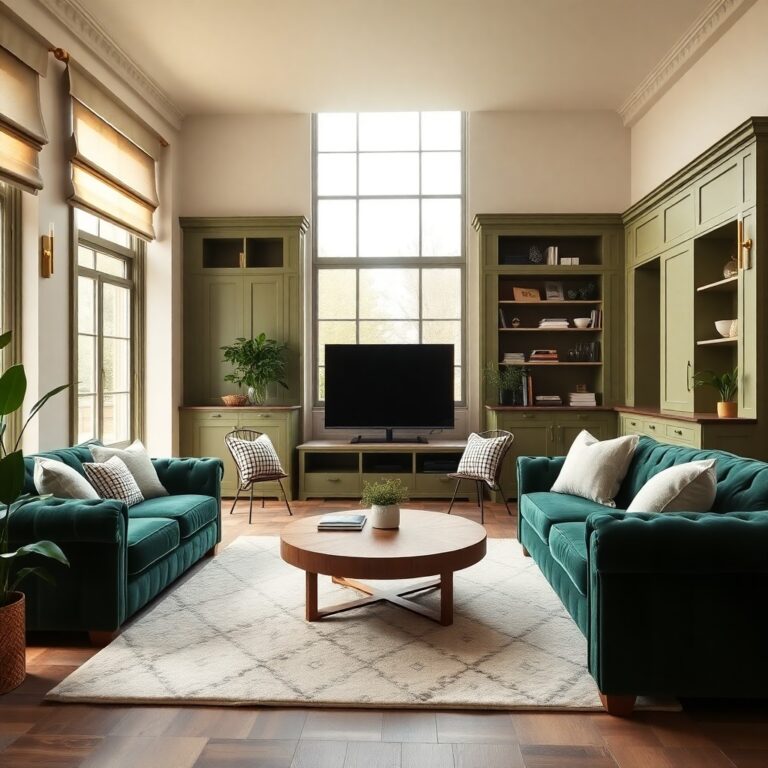
You don’t need walls to define Bento zones—you need clear visual boundaries and consistent cues. Use furniture as dividers by floating a sofa, placing a console behind seating, or turning a bookcase perpendicular to traffic flow to mark edges without blocking light. Then lock each zone in place by layering lighting (task, ambient, accent) and rugs that match the zone’s footprint and function.
Use Furniture As Dividers
Because bento zoning depends on clear functional boundaries, furniture can do the heavy lifting without a single new wall. Start with furniture arrangement: float a sofa to mark the lounge edge, then align its back with a narrow console to create a “hallway” buffer. Use a bookcase or open shelving perpendicular to the wall to split sleep and work zones while keeping sightlines and airflow. Choose pieces with dual access—like a storage bench that faces the entry and the living area—so every divider earns its footprint. Keep circulation paths at least 30 inches wide and aim dividers to guide, not block, movement. Prioritise zoning flexibility by using casters, nesting tables, or folding screens you can reset fast.
Layer Lighting And Rugs
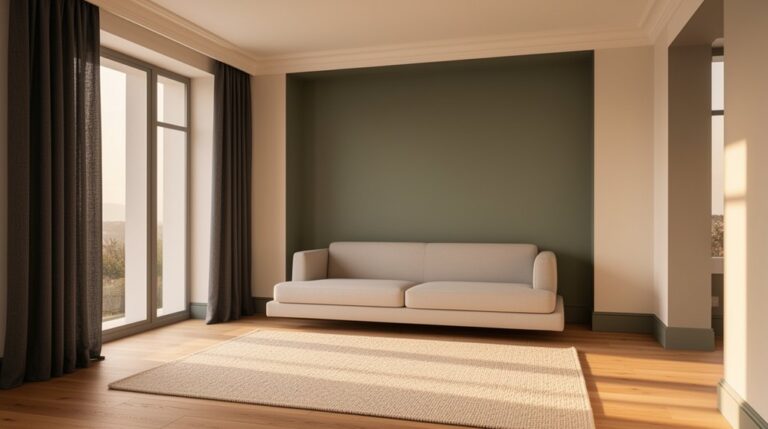
When walls stay put, lighting and rugs can draw crisp boundaries that your brain reads instantly. Start by assigning each zone its own light “recipe” and floor texture, then repeat it consistently so the space feels intentional, not cluttered. Use Ambient lighting for shared circulation, and layer task and accent lights to anchor specific activities.
- Put a dimmable ceiling or wall wash as your baseline; keep it even across the apartment to reduce visual noise.
- Drop a focused lamp over each zone’s “center”: reading chair, desk, or dining edge, aiming light downward to contain it.
- Place decorative rugs to frame footprints: sofa legs on one rug, desk chair fully on another, leaving a clean border between them.
Keep palettes tight, edges aligned, and cords hidden.
Use Rugs and Lighting to Mark Bento Zones
Although bento zoning starts with furniture placement, rugs and lighting make each zone unmistakable by drawing clear visual borders and setting the right task-level brightness. Anchor each activity area with a rug sized to the zone’s footprint: front legs of seating on, desk fully on, or bedside rug aligned to the bed edge. Use Color schemes to reinforce boundaries—cool neutrals for work, warmer tones for lounging—while repeating a shared base color to keep the apartment cohesive. Then layer lighting by function: a focused desk lamp for work, a shaded floor lamp for reading, and soft ambient light for winding down. Add dimmers or smart bulbs to shift intensity by time. Finish with decorative accents that echo rug tones, so zones read intentional, not cluttered.
Pick Multi-Use Furniture for Each Bento Zone
To make bento zoning work in a small space, you’ll get the cleanest results by choosing furniture that does double duty within each zone’s main task. Start by naming each zone’s primary action—sleep, work, dine, lounge—then select Multi functional furniture that supports that action without spilling into others. Prioritise pieces with fast, repeatable conversions so you’ll actually use them daily.
- A storage ottoman that serves as footrest, extra seat, and coffee table
- A drop-leaf or extendable table that shifts from desk to dining surface
- A sofa bed or daybed that keeps lounging and sleeping contained
Measure clearances, not just dimensions: allow pull-out paths, chair tuck-in space, and door swings. These Space saving solutions keep zones crisp, calm, and functional.
Add Vertical Storage to Support Bento Zoning
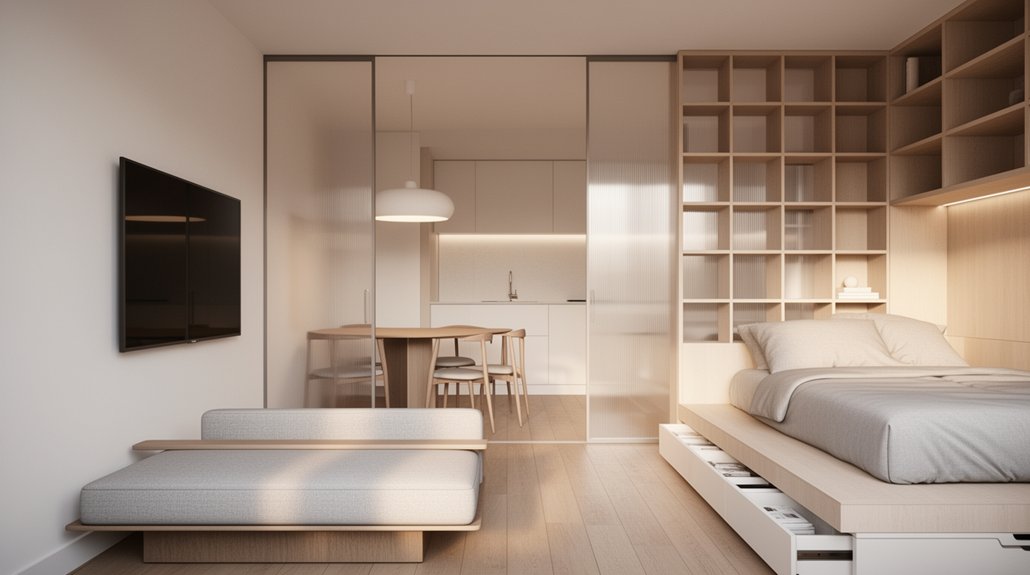
Because floor area disappears fast in a small room, you’ll keep bento zones clear by pushing storage up the walls instead of out into your walkways. Install a tall, narrow shelving tower to anchor each zone’s supplies without widening its footprint. Use wall-mounted cabinets above desks, beds, and sofas to store low-use items, keeping daily tools within arm’s reach. Add a pegboard or rail system for flexible hooks, bins, and small shelves, so you can reconfigure as your needs change. Choose stackable, lidded containers and label spines for fast retrieval. For Space optimization, align shelf heights to your typical item sizes and keep the lowest shelves for heavier loads. Vertical storage protects pathways and makes every zone easier to maintain daily.
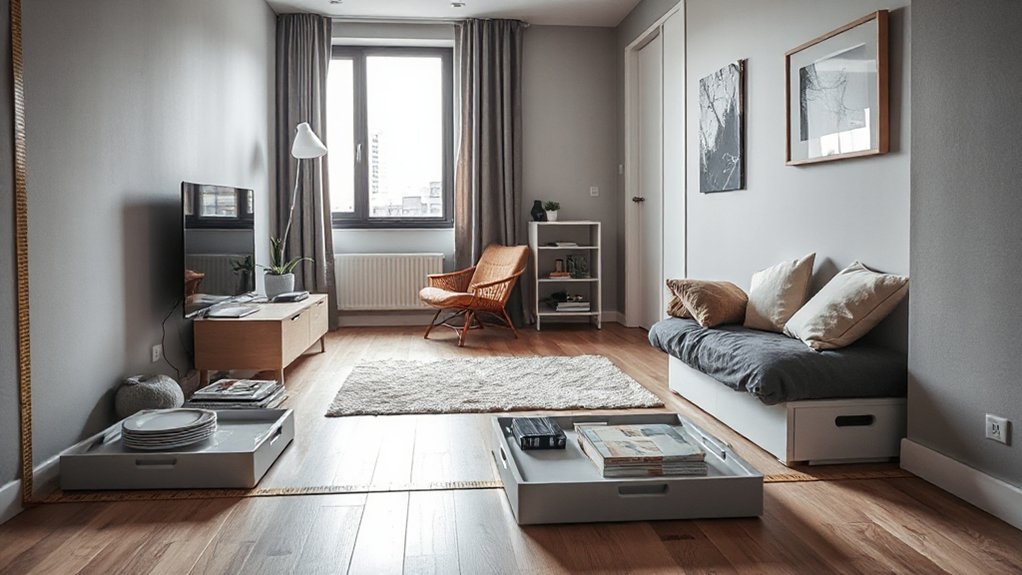
Bento-Zone Your Entryway to Stop Drop-Clutter
Vertical storage keeps your bento zones off the floor, and the entryway is where that payoff shows up fastest. Define a tight “drop zone” so nothing migrates to chairs, counters, or the bed. For Entryway organization, assign one home per item category and label it if guests share the space. Build the zone around what you actually carry daily, then enforce a one-minute reset when you walk in.
- Wall hooks at eye level for keys, bag, and jacket; cap it at one per person.
- A slim tray or dish for pocket items; empty it every Sunday.
- A shoe slot per pair in rotation; store extras elsewhere to support clutter prevention.
Keep the zone narrow, reachable, and consistent.
Set Up a Work Bento Zone That Packs Away
When you don’t have a dedicated office, a work bento zone lets you set up fast, stay focused, and clear the surface in under two minutes. Choose one tray, caddy, or slim lidded box that lives on a shelf. Stock it with only work essentials: laptop stand, charger, pen, notebook, headset, and a clip-on light. Keep a fold-flat mouse pad and cable tie inside so you don’t tangle cords.Use Bento box styles as your organising model: one compartment for power, one for writing tools, one for audio, one for paperwork. Label each section so reset takes seconds. Add a wipeable placemat to protect the table, then stow it with your Meal preparation kit to free the counter nightly.
Fix the Most Common Bento Zoning Mistakes
A tidy work bento zone only stays fast and functional if you avoid a few predictable missteps. First, don’t let one zone sprawl into another; define hard edges with trays, bins, or a mat so items return automatically. Second, stop over-storing: if you can’t close the zone in one motion, you’ve got duplicates or “maybe” tools.
- Keep only the daily-use kit in reach; archive the rest in labeled backstock.
- Use Creative storage vertically (file rack, peg strip, under-shelf basket) to protect your surface.
- Maintain aesthetic cohesion by matching container sizes, colors, and labels so visual noise doesn’t invite clutter.
Finally, check cable routing and charging: mount a hub inside the zone, then tie down leads so teardown stays instant.
Frequently Asked Questions
How Much Does It Cost to Implement Bento Zoning in a Small Apartment?
You’ll typically spend $200–$2,500 to implement bento zoning, depending on furniture swaps and storage. You can save by using color coordination, DIY dividers, and affordable decorative accents, while investing in modular pieces.
Does Bento Zoning Work in Shared Apartments With Roommates or Partners?
Yes, bento zoning works in shared apartments if you define micro-zones and rules. You’ll strengthen Shared privacy with screens and schedules, and reduce Compatibility concerns by assigning storage, noise boundaries, and shared-use priorities.
Can Renters Use Bento Zoning Without Damaging Walls or Violating Lease Rules?
Yes—you can use bento zoning as a renter without wall damage or breaking lease compliance. Use freestanding shelving, tension rods, adhesive hooks, area rugs, and lighting zones. Document setups, avoid drilling, and restore surfaces.
How Do I Maintain Bento Zones With Kids or Pets in the Apartment?
You maintain bento zones with kids or pets by enforcing simple routines and clear boundaries. Use Child proofing strategies (latches, rounded edges) and Pet friendly materials (washable rugs, scratch-resistant finishes) throughout.
What Cleaning Routine Keeps Bento Zones Tidy Without Constant Reorganizing?
Use a daily 5-minute reset and a weekly deep-clean: wipe surfaces, return items to labeled bins, and empty catch-alls. Follow Cleaning schedules and Organization tips: one-touch putaway, zone-based checklists, monthly declutter.
Conclusion
You’ve turned your small apartment into a bento box: each compartment earns its keep. When you map your routine, measure tightly, and pick 4–6 clear zones, you stop spillover before it starts. Use rugs, lighting, and shelving to draw borders without walls, and push storage upward to free the floor. Keep the entry zone strict, let the work zone fold away, and you’ll avoid the usual zoning leaks.